この翻訳は、ソースガイドの最新の更新を反映していない可能性があります。 翻訳の更新に協力してください。 または ソースガイドを参照してください。
はじめに
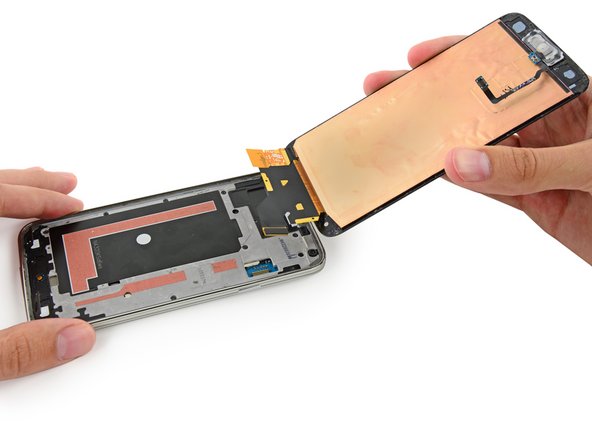
フロントガラス、デジタイザー、ホームボタンケーブルを含むディスプレイアセンブリを交換するにはこの手順を参照してください。
必要な工具と部品


デバイスを再組み立てする際は、これらのインストラクションを逆の順番に従って作業を進めてください。
デバイスを再組み立てする際は、これらのインストラクションを逆の順番に従って作業を進めてください。
535 の人々がこのガイドを完成させました。
以下の翻訳者の皆さんにお礼を申し上げます:
95%

これらの翻訳者の方々は世界を修理する私たちのサポートをしてくれています。 あなたも貢献してみませんか?
翻訳を始める ›


36 件のコメント
Be aware that the LCD is glued not just at the edges, but also in the middle (the orange areas in the photos for Step 20. These can adhere strongly enough to cause the LCD to crack. Don't ask how I know that.
I cracked it this way, so yeah. Any way to get the glue fluetly enough to get the LCD off the rest of the Phone? (the LCD and digitalizer is cracked anyway)
Onfortunately I read this to late. Many thanks anyway for confirming I'm not the only one ;)
Been there man. Had my Samsung Galaxy S5 Active pull one of those numbers. not a fun time.
Just found out about that, during my first time. Thanks for the tip.