メインコンテンツにスキップ

Samsung Galaxy S4 Disassembly

アーカイブされたガイド
このガイドは将来的な使用のためにのみ保存されてます。ご自身の修理作業には更新バージョンをご利用ください。

必要な工具と部品

  1. Samsung Galaxy S4 Disassembly, The Back: 手順 1、 3の画像 1 Samsung Galaxy S4 Disassembly, The Back: 手順 1、 3の画像 2 Samsung Galaxy S4 Disassembly, The Back: 手順 1、 3の画像 3
    • Peel off back of phone

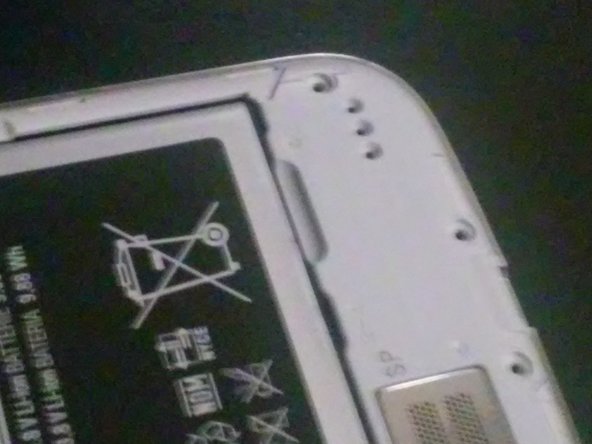
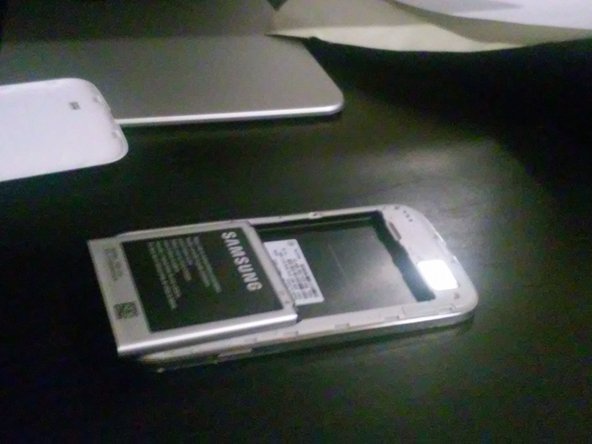
  2. Samsung Galaxy S4 Disassembly, Battery: 手順 2、 3の画像 1 Samsung Galaxy S4 Disassembly, Battery: 手順 2、 3の画像 2 Samsung Galaxy S4 Disassembly, Battery: 手順 2、 3の画像 3
    • Remove battery.

  3. Samsung Galaxy S4 Disassembly: 手順 3、 1の画像 1
    • Remove all 8 screws

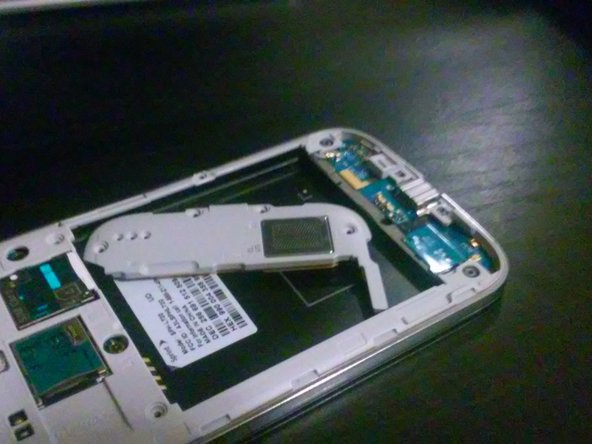
  4. Samsung Galaxy S4 Disassembly, Speaker: 手順 4、 2の画像 1 Samsung Galaxy S4 Disassembly, Speaker: 手順 4、 2の画像 2
    • Remove Speaker using a thin rigid plastic thing, starting from where the battery nail-hold is located.

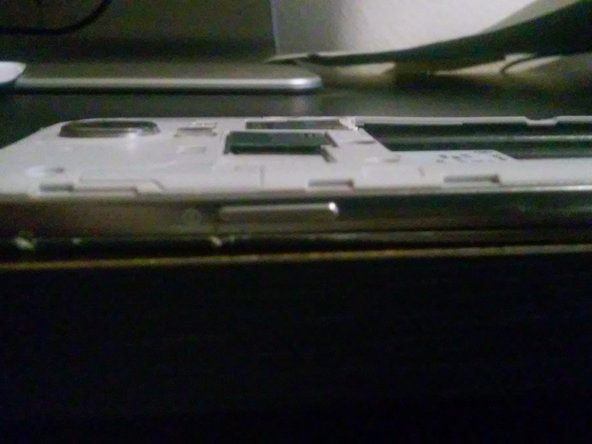
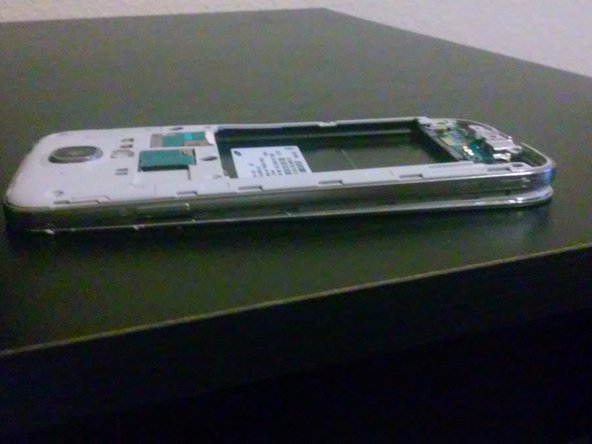
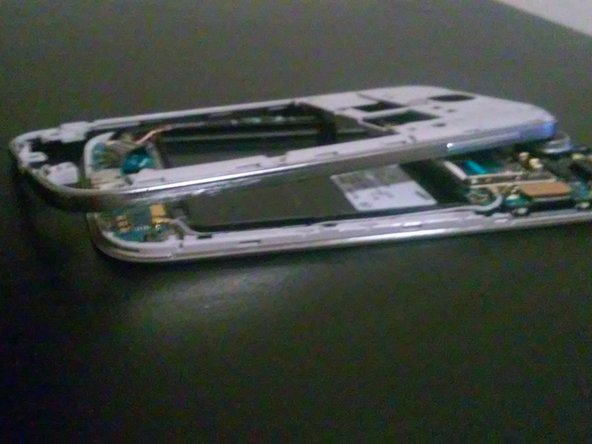
  5. Samsung Galaxy S4 Disassembly, Clips: 手順 5、 3の画像 1 Samsung Galaxy S4 Disassembly, Clips: 手順 5、 3の画像 2 Samsung Galaxy S4 Disassembly, Clips: 手順 5、 3の画像 3
    • Release clips on the outer rim

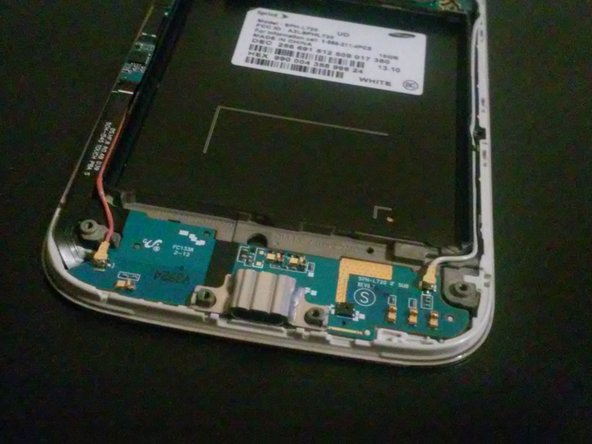
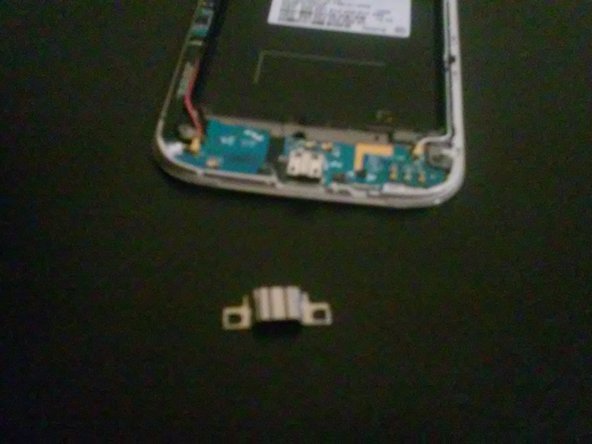
  6. Samsung Galaxy S4 Disassembly, Clamp: 手順 6、 2の画像 1 Samsung Galaxy S4 Disassembly, Clamp: 手順 6、 2の画像 2
    • Remove clip off of USB port with a flathead screwdriver.

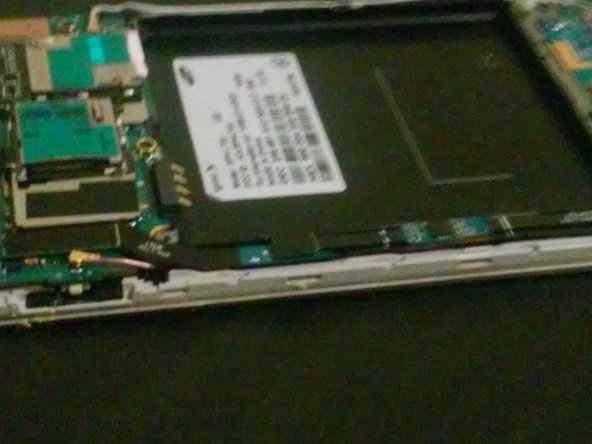
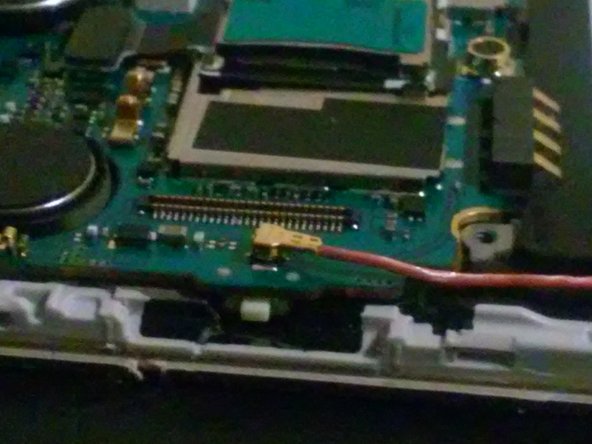
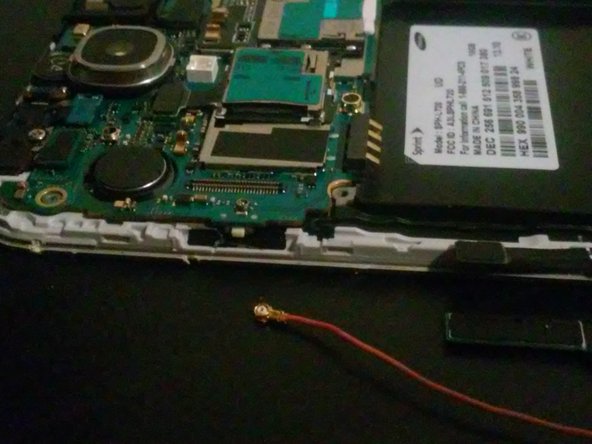
  7. Samsung Galaxy S4 Disassembly, 3G and GSM antenna flex cable: 手順 7、 2の画像 1 Samsung Galaxy S4 Disassembly, 3G and GSM antenna flex cable: 手順 7、 2の画像 2
    • Use a platic knife or flathead srewdriver to gently unplug the cable.

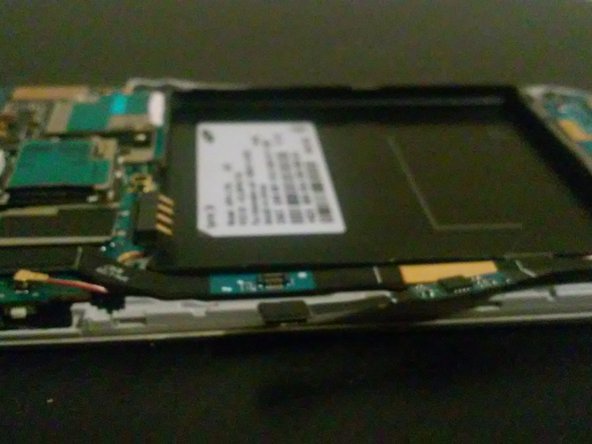
  8. Samsung Galaxy S4 Disassembly, Touch and Homscreen Flex Cable: 手順 8、 2の画像 1 Samsung Galaxy S4 Disassembly, Touch and Homscreen Flex Cable: 手順 8、 2の画像 2
    • Use your flathead screwdrive to carefully detatch the Touch and Homescreen Flex cable

  9. Samsung Galaxy S4 Disassembly, Another Flex Cable: 手順 9、 2の画像 1 Samsung Galaxy S4 Disassembly, Another Flex Cable: 手順 9、 2の画像 2
    • Remove the cable

  10. Samsung Galaxy S4 Disassembly, Flex Cable: 手順 10、 2の画像 1 Samsung Galaxy S4 Disassembly, Flex Cable: 手順 10、 2の画像 2
    • Detach the flex cable

  11. Samsung Galaxy S4 Disassembly, Flex cable: 手順 11、 2の画像 1 Samsung Galaxy S4 Disassembly, Flex cable: 手順 11、 2の画像 2
    • Completely remove the flex cable

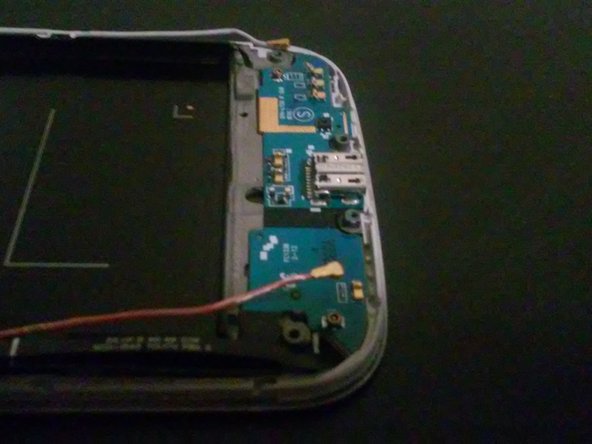
  12. Samsung Galaxy S4 Disassembly, USB PORT: 手順 12、 1の画像 1
    • Remove the usb complete port

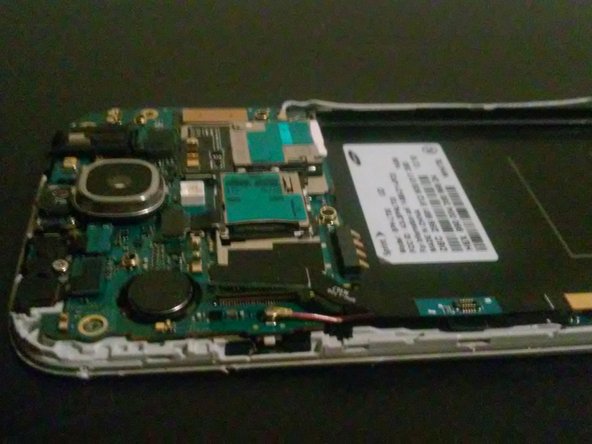
  13. Samsung Galaxy S4 Disassembly, 3G and GSM antenna flex cable: 手順 13、 2の画像 1 Samsung Galaxy S4 Disassembly, 3G and GSM antenna flex cable: 手順 13、 2の画像 2
    • Remove the 3G and GSM antenna cable from the motherboard.

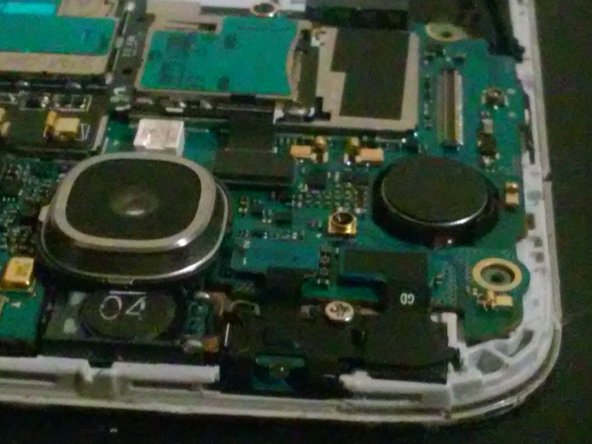
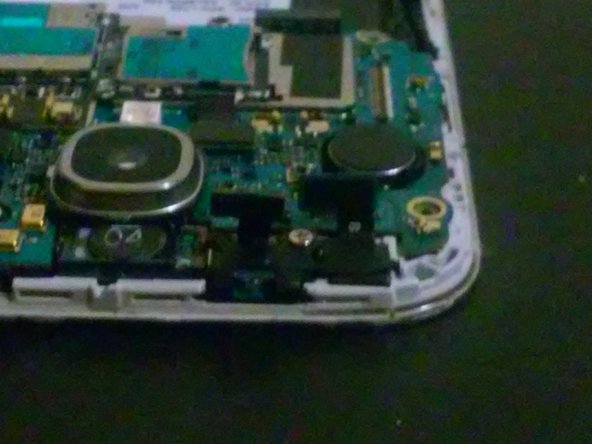
  14. Samsung Galaxy S4 Disassembly, Port: 手順 14、 2の画像 1 Samsung Galaxy S4 Disassembly, Port: 手順 14、 2の画像 2
    • Lift ports from motherboard

  15. Samsung Galaxy S4 Disassembly, Detach: 手順 15、 2の画像 1 Samsung Galaxy S4 Disassembly, Detach: 手順 15、 2の画像 2
    • Detach this port from the motherboard

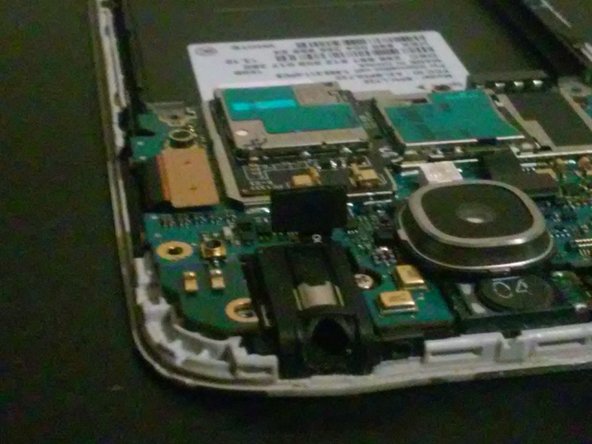
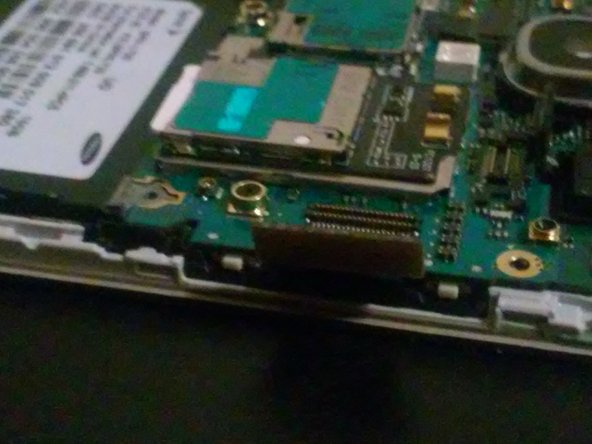
  16. Samsung Galaxy S4 Disassembly, Screen cable: 手順 16、 2の画像 1 Samsung Galaxy S4 Disassembly, Screen cable: 手順 16、 2の画像 2
    • Disconnect main screen cable

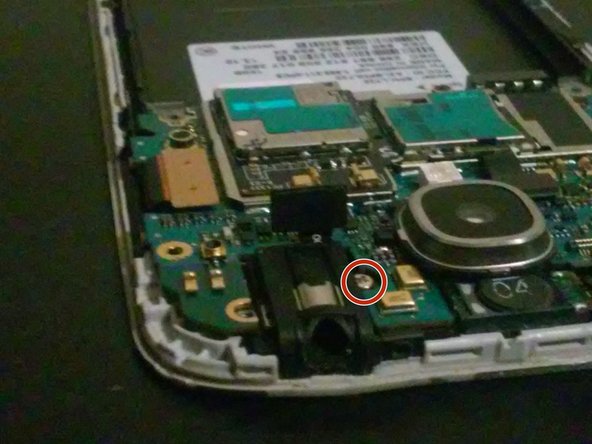
    • Don't forget to remove this screw.

  17. Samsung Galaxy S4 Disassembly, Motherboard: 手順 17、 1の画像 1
    • Now you can take off the motherboard

終わりに

To reassemble your device, follow these instructions in reverse order.

8 の人々がこのガイドを完成させました。

作成者

3人の作成者と共同で作成されました。

AhsAlexFerguson

メンバー登録日: 11/01/16

423 ポイント

1ガイドが承認済み

2 件のコメント

This sucked so baaaaaaad.

AhsAlexFerguson - 返信

I found it helpful, though you're right that it could use a lot of work.

You neglected to mention a screw that holds the motherboard to the display assembly. It can be found to the lower right of the headphone jack and should be removed immediately prior to step 17.

To others who may come along, the USB/daughterboard assembly is affixed to the display chassis with mild adhesive. The daughterboard is VERY flexible and should be removed with caution. I used the flat end of a spudger to gently pry the board up from the chassis by going underneath the cabling on the lefthand side.

Thanks!

E West -

コメントを追加

統計データ:

過去 24時間: 0

過去 7 日: 0

過去 30 日: 0

今までの合計 3,186