このバージョンは誤った内容を含んでいる可能性があります。最新の承認済みスナップショットに切り替えてください。
必要な工具と部品
-
この手順は未翻訳です。 翻訳を手伝う。
-
The inner plate is held on by six screws that are 1/16 of an inch (1.6 mm).
-
Remove the screws with a Philips head precision screwdriver.
-
Place all screws someplace that they will not easily be lost, such as a magnetic mat or a plastic bag.
-
-
-
この手順は未翻訳です。 翻訳を手伝う。
-
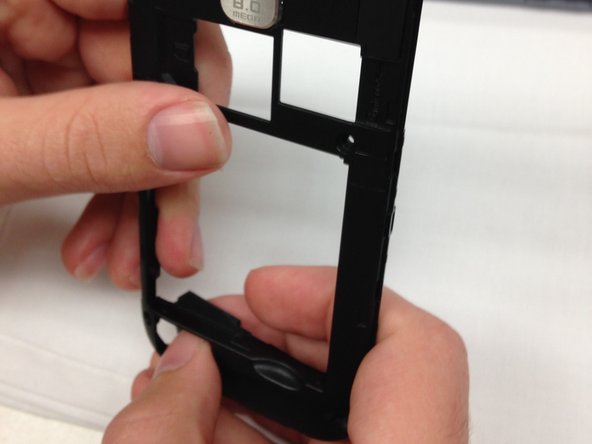
After the screws have been removed, the only thing holding the inner plate in is several plastic tabs built into the frame of the phone.
-
Firmly pinch the edge, as shown in the picture, and pull the plate away from the frame.
-
If you cannot get a grip on the inner plate, consider using the spudger to pry and lift the plate out.
-


2 の人々がこのガイドを完成させました。
チーム

Clemson, Team 1-5, Benson Spring 2014 Clemson, Team 1-5, Benson Spring 2014人のメンバー
CLEM-BENSON-S14S1G5
4 メンバー
9のガイドは作成済み
3 件のコメント
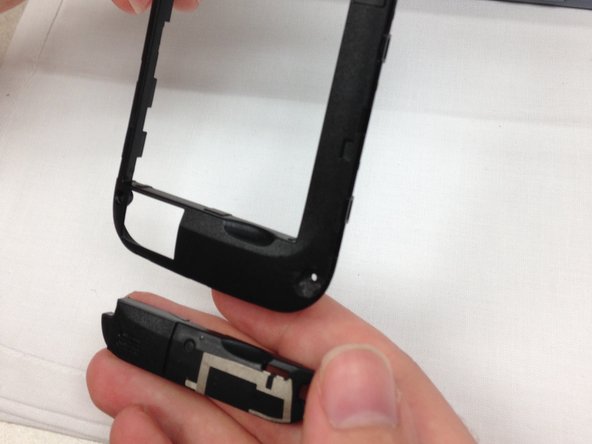
speaker jumper ways