はじめに
Before being able to access the inside of the phone to repair or replace things like the motherboard, camera, or volume control the inner plate must be removed. This plate protects the delicate wires and circuitry of the device from physical harm.
必要な工具と部品
-
-
To remove the rear cover, locate the tab indicated by the red outline.
-
Using your fingernail, gently pry the rear cover.
-
-
-
The SIM card is the small white rectangle located in the red rectangle.
-
To remove the SIM card, press down on the card and slide it to the left, until it no longer is in contact with the metal.
-
-
-
-
The media card is found inside the area indicated with the red rectangle. The card itself is small and black making it hard to easily see.
-
After locating the card, gently use your fingers to slide the card to the right, until the card is no longer in contact with the metal.
-
-
-
The battery can be removed from the phone by applying an upwards pressure to the bottom right edge of the battery, as indicated by the red rectangle.
-
After the battery starts to lift upwards, use your hand to hold and remove it.
-
-
この手順で使用する道具:Magnetic Project Mat$19.95
-
The inner plate is held on by six screws that are 1/16 of an inch (1.6 mm).
-
Remove the screws with a Philips head precision screwdriver.
-
Place all screws someplace that they will not easily be lost, such as a magnetic mat or a plastic bag.
-
-
-
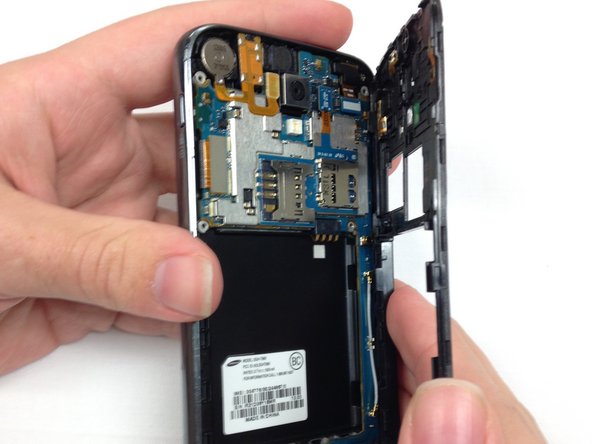
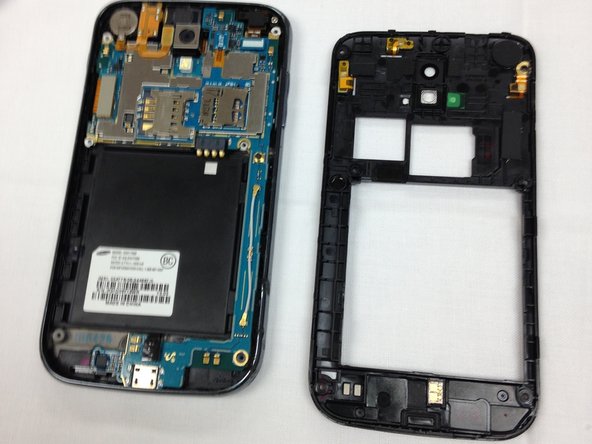
After the screws have been removed, the only thing holding the inner plate in is several plastic tabs built into the frame of the phone.
-
Firmly pinch the edge, as shown in the picture, and pull the plate away from the frame.
-
If you cannot get a grip on the inner plate, consider using the spudger to pry and lift the plate out.
-


To reassemble your device, follow these instructions in reverse order.
To reassemble your device, follow these instructions in reverse order.
チーム

Clemson, Team 1-5, Benson Spring 2014 Clemson, Team 1-5, Benson Spring 2014人のメンバー
CLEM-BENSON-S14S1G5
4 メンバー
9のガイドは作成済み