はじめに
Is the screen on your Samsung Galaxy S Blaze not responding to your touch? First things first, have you checked if the phone is charged? If so and it still does not turn on then it could be the charger, port or battery. After determining that it is none of those then the next place to look at is the display assembly itself. This guide will take you through step-by-step how to replace the display assembly on your Samsung Galaxy S Blaze.
必要な工具と部品
-
-
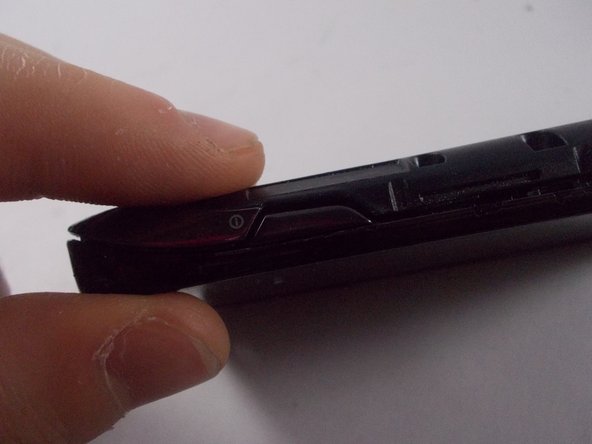
Start by removing the back plastic cover by lifting it up from the notch on the left side of the phone.
-
-
-
-
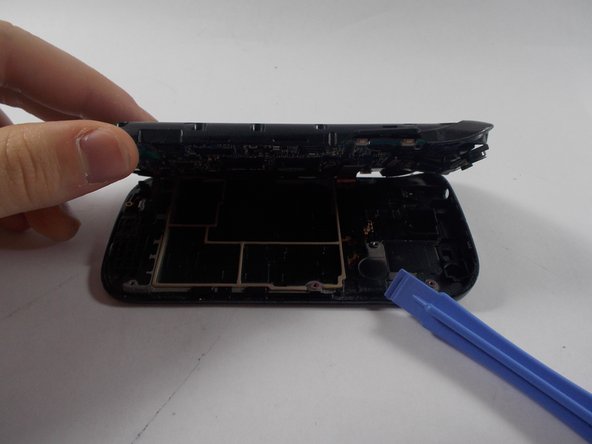
Gently remove the 2 ribbon cables as shown.
-
Connect the new screen to the main motherboard just the same way it was connected before.
-


To reassemble your device, follow these instructions in reverse order.
To reassemble your device, follow these instructions in reverse order.
2 の人々がこのガイドを完成させました。
チーム

University of Maryland, Team 6-2, Vijaybhaskar Spring 2014 University of Maryland, Team 6-2, Vijaybhaskar Spring 2014人のメンバー
UMD-VIJAYBHASKAR-S14S6G2
4 メンバー
15のガイドは作成済み