はじめに
The speaker assembly is what produces that sounds that come from the phone. Whether playing music or just listening to someone talk on the phone, the speakers are an essential piece of the phone. If the sounds are grainy or distorted, you may consider replacing the speaker. The motherboard must be lifted before removing the speaker. It can easily be removed by lifting the small flap on the side.
必要な工具と部品
-
-
Insert your fingernail or a plastic tool into the opening near the headphone jack on top of the phone.
-
Gently pry apart the rear case from the midframe and remove.
-
-
-
Insert your fingernail, or a plastic tool, into the crevice on the lower left side of the back side.
-
Gently pry the battery from the back of the phone.
-
-
-
-
With the Phillips head screwdriver, remove all seven 4.0 mm screws, highlighted in red, from the rear case.
-
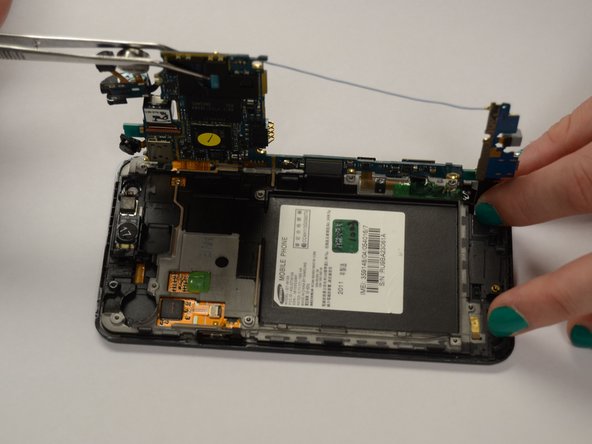
Insert your finger or an opening tool underneath the midframe and gently pry apart from the phone.
-
-
-
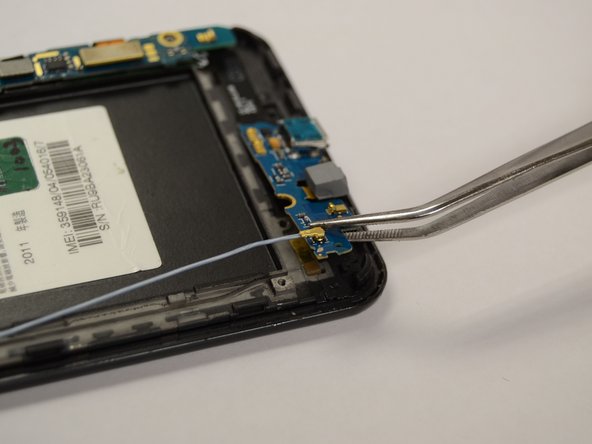
Insert an opening tool underneath the bottom panel near the bottom left side of the back of the phone.
-
Gently pry the part of the motherboard that is pointed out in the picture to the left from underneath the part of the phone that it is latched under.
-
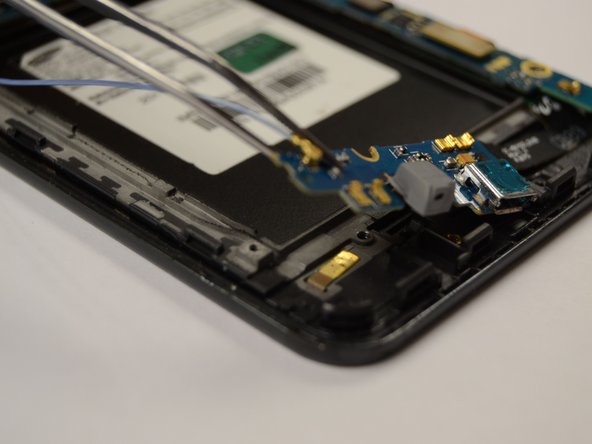
Gently lift the bottom panel from the back of the phone.
-
-
-
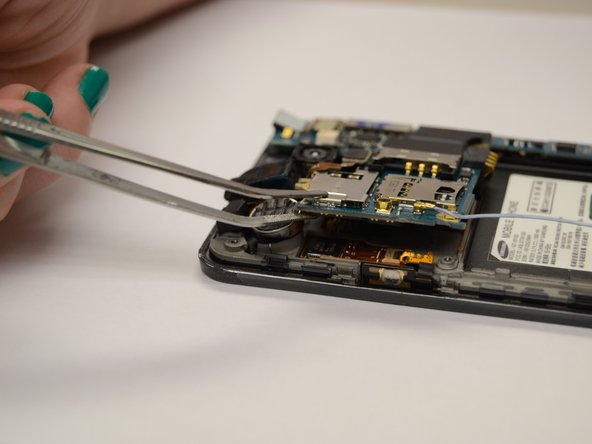
Use tweezers to grasp the vibrator piece firmly and pull it away from the top panel with enough force to break the glue bond.
-
Insert an opening tool underneath the top panel near the top left side of the back of the phone.
-
Gently lift the panel from the back of the phone.
-
-
-
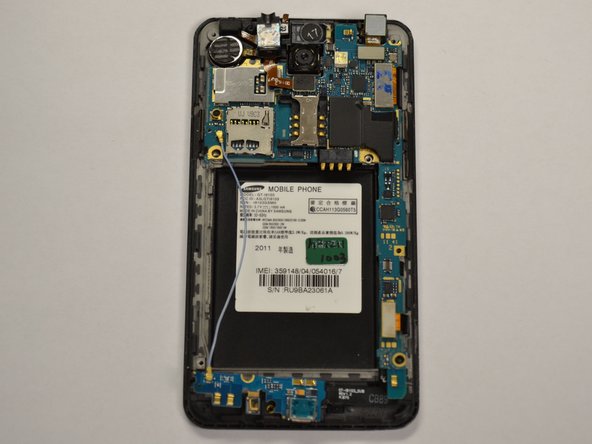
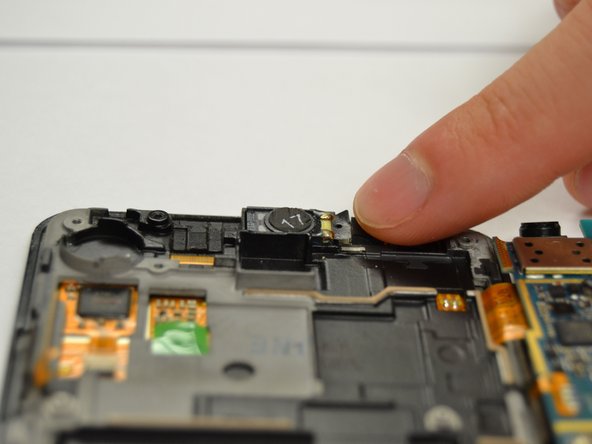
The speaker is located near the top of the phone underneath the motherboard circled in red.
-
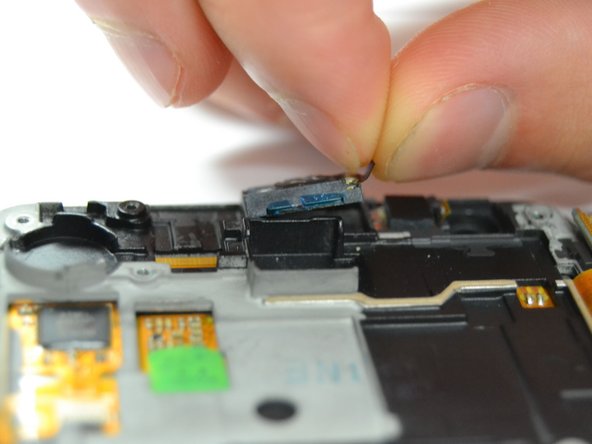
To remove the speaker, gently pull on the strap attached until it releases from the phone.
-


To reassemble your device, follow these instructions in reverse order.
To reassemble your device, follow these instructions in reverse order.
2 の人々がこのガイドを完成させました。
チーム

Clemson, Team 3-3, Benson Fall 2014 Clemson, Team 3-3, Benson Fall 2014人のメンバー
CLEM-BENSON-F14S3G3
5 メンバー
8のガイドは作成済み