メインコンテンツにスキップ

このバージョンは誤った内容を含んでいる可能性があります。最新の承認済みスナップショットに切り替えてください。

必要な工具と部品

  1. この手順は未翻訳です。 翻訳を手伝う。

    : 手順 1、 1の画像 1
    • Locate the side notch that allows you to open the back casing.

  2. この手順は未翻訳です。 翻訳を手伝う。

    : 手順 2、 3の画像 1 : 手順 2、 3の画像 2 : 手順 2、 3の画像 3
    • Use a plastic prying tool or your fingernail to pop the back cover off of the phone.

  3. この手順は未翻訳です。 翻訳を手伝う。

    : 手順 3、 3の画像 1 : 手順 3、 3の画像 2 : 手順 3、 3の画像 3
    • Locate the battery notch and remove the battery, using either your finger or a plastic prying tool.

    • Be careful not to puncture the battery. Lithium-ion batteries are highly flammable when exposed to oxygen.

  4. この手順は未翻訳です。 翻訳を手伝う。

    : 手順 4、 2の画像 1 : 手順 4、 2の画像 2
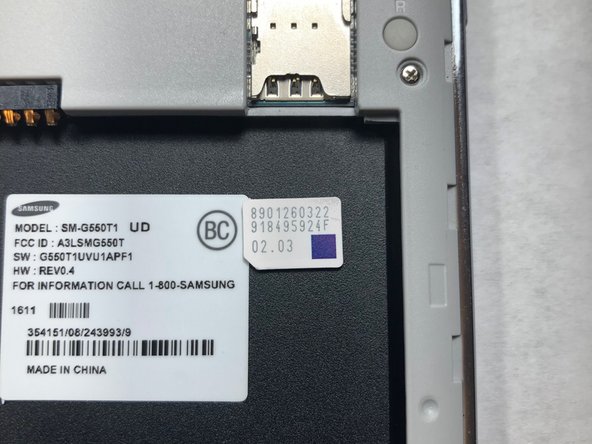
    • Before disassembling the phone, take out the SIM card and microSD card.

    • Use a plastic pry tool to slide both of the cards out.

    • Do not use a metal pry tool. Using this could cause damage to the cards and/or card holder.

  5. この手順は未翻訳です。 翻訳を手伝う。

    : 手順 5、 3の画像 1 : 手順 5、 3の画像 2 : 手順 5、 3の画像 3
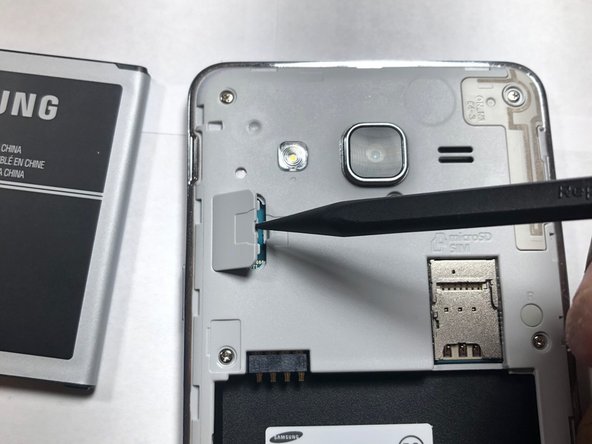
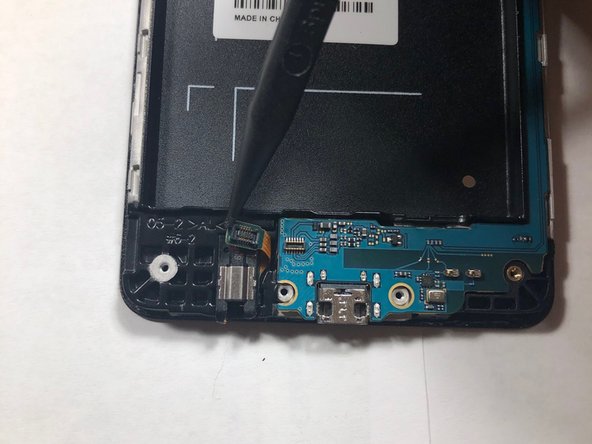
    • Use the plastic Spudger tool to pry open the LCD ribbon cable cover.

    • This part might be a little hard to open. Take your time and be careful not to push too hard as doing so could result in damage to the ribbon.

  6. この手順は未翻訳です。 翻訳を手伝う。

    : 手順 6、 3の画像 1 : 手順 6、 3の画像 2 : 手順 6、 3の画像 3
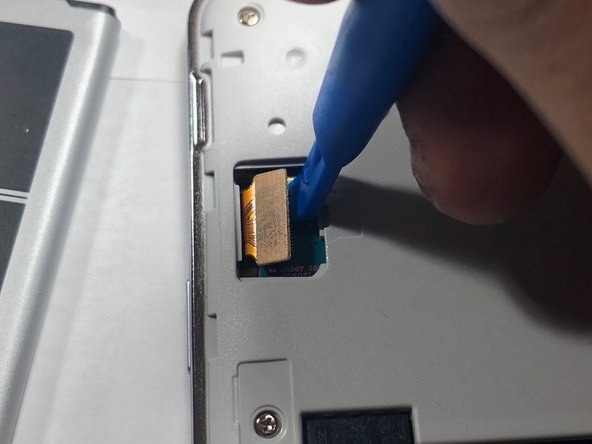
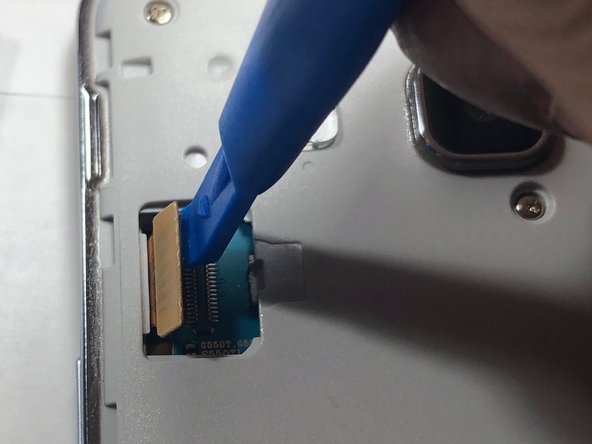
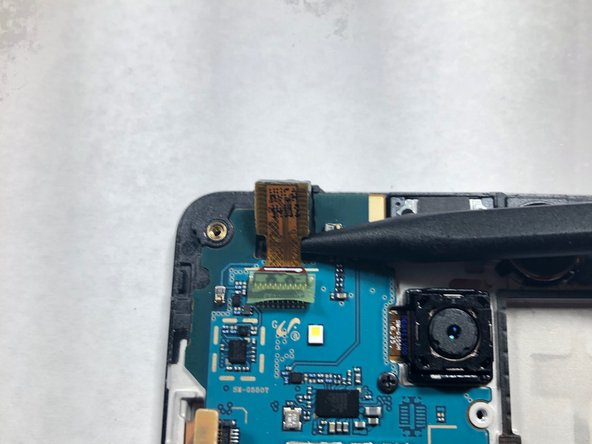
    • Using a plastic pry tool, carefully pry the LCD ribbon cable from the logic board.

    • Do not use a metal pry tool. Metal pry tools can cause damage to the logic board and to the ribbon cable.

    • This LCD ribbon cable sends signal from the logic board to the LCD screen.

  7. この手順は未翻訳です。 翻訳を手伝う。

    : 手順 7、 2の画像 1 : 手順 7、 2の画像 2
    • Take a Phillips #00 head and remove all 9 screws. Once done place them aside where you won't lose them.

    • All 9 screws are the same size.

  8. この手順は未翻訳です。 翻訳を手伝う。

    : 手順 8、 2の画像 1 : 手順 8、 2の画像 2
    • Use an iFixit plastic pick to pry away the LCD from the back assembly.

    • This process will take some time due to the glue that's holding the LCD and back assembly together. Slowly move around the edge of the screen to loosen the glue up.

    • If you have a heat gun, you can use it to heat up the glue. Heating up the glue makes it easier to separate the LCD and back assembly.

  9. この手順は未翻訳です。 翻訳を手伝う。

    : 手順 9、 3の画像 1 : 手順 9、 3の画像 2 : 手順 9、 3の画像 3
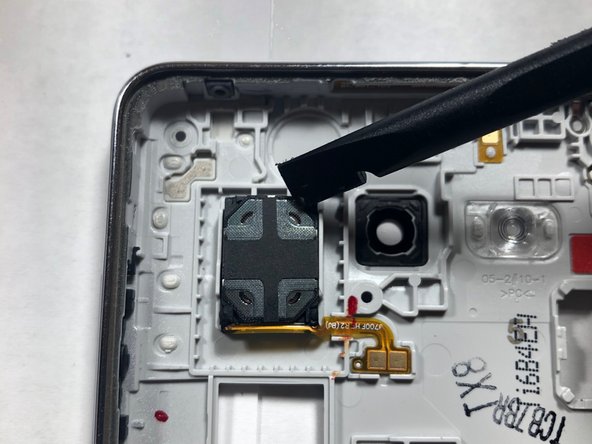
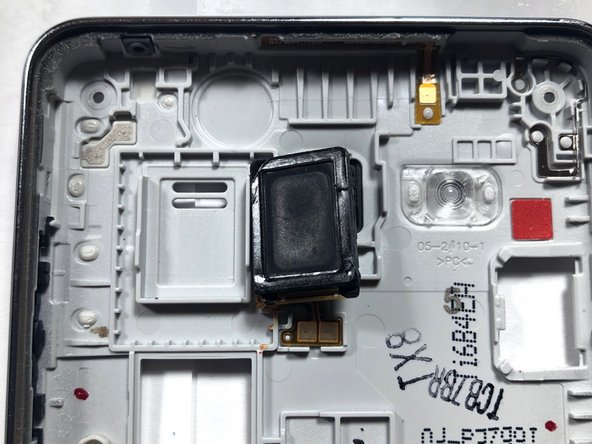
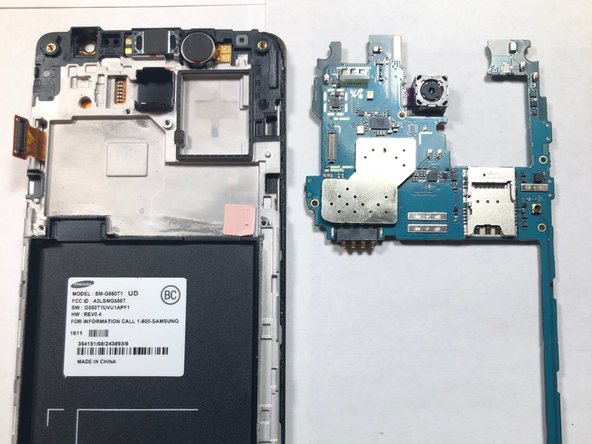
    • Once both the LCD and back assembly come apart, look at the back assembly where the speaker is located.

    • Once located, take the plastic pry tool to remove the speaker from its housing and replace it with a new one.

  10. この手順は未翻訳です。 翻訳を手伝う。

    : 手順 10、 2の画像 1 : 手順 10、 2の画像 2
    • Use a plastic pry tool to lift the front-facing camera from its housing.

    • Always use plastic pry tool over metal tools when working on delicate electronic devices.

  11. この手順は未翻訳です。 翻訳を手伝う。

    : 手順 11、 1の画像 1
    • Once the camera is out of the housing, disconnect the camera from the logic board.

  12. この手順は未翻訳です。 翻訳を手伝う。

    : 手順 12、 1の画像 1
    • You have now sucessfully removed the front-facing camera.

  13. この手順は未翻訳です。 翻訳を手伝う。

    : 手順 13、 1の画像 1
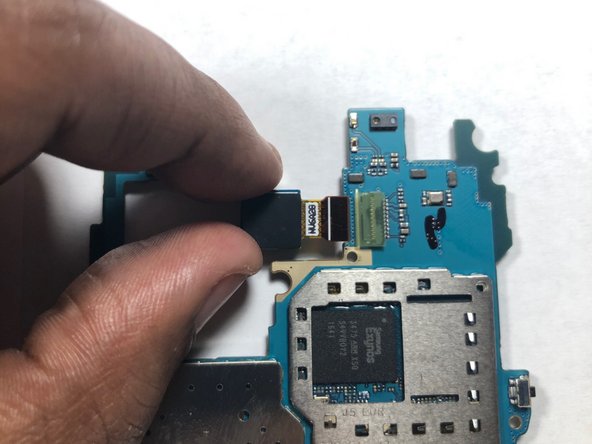
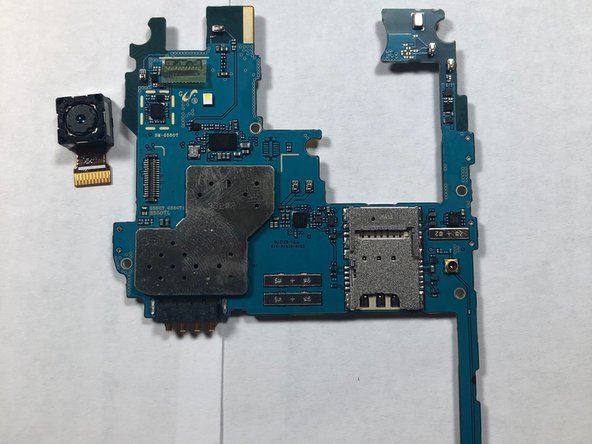
    • Using a Phillips #00 screwdriver, remove the screw securing the rear-facing camera.

    • When using a metal tool always be aware of where you're placing the bit. Damage to the motherboard can be irreparable with normal tools.

  14. この手順は未翻訳です。 翻訳を手伝う。

    : 手順 14、 3の画像 1 : 手順 14、 3の画像 2 : 手順 14、 3の画像 3
    • Use a plastic pry tool to disconnect the headphone ribbon from the motherboard.

    • Remove the motherboard from the LCD housing by lifting up from the ends of the logic board.

  15. この手順は未翻訳です。 翻訳を手伝う。

    : 手順 15、 3の画像 1 : 手順 15、 3の画像 2 : 手順 15、 3の画像 3
    • Flip the logic board so the camera lens is facing down rather than at you.

    • Use your finger to remove the camera from its connection on the logic board.

ゴール

ある他の人がこのガイドを完成しました。

作成者

3人の作成者と共同で作成されました。

The Dark Night part 2

メンバー登録日: 09/19/18

983 ポイント

5のガイドは作成済み

チーム

Gateway, Team S1-G5, Luster Fall 2018 Gateway, Team S1-G5, Luster Fall 2018人のメンバー

GCC-LUSTER-F18S1G5

1 メンバー

5のガイドは作成済み

0 件のコメント

コメントを追加

統計データ:

過去 24時間: 1

過去 7 日: 7

過去 30 日: 18

今までの合計 1,039