メインコンテンツにスキップ

Samsung Galaxy Note7 Screen Assembly Replacement

必要な工具と部品

  1. Samsung Galaxy Note7 Screen Assembly Replacement, Screen Assembly: 手順 1、 1の画像 1
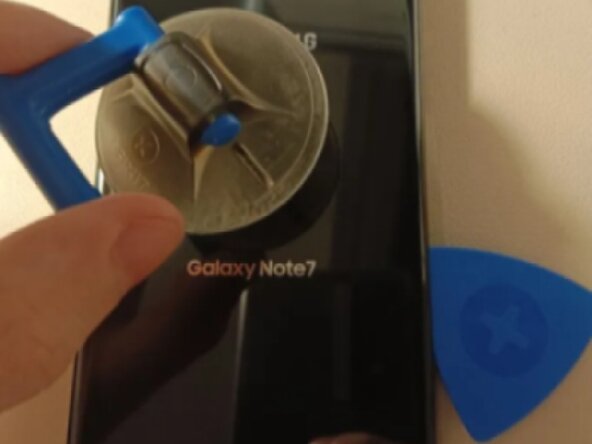
    • Apply heat to the back panel, use a guitar pick and suction cup to carefully remove the adhesive and remove the back panel.

  2. Samsung Galaxy Note7 Screen Assembly Replacement: 手順 2、 1の画像 1
    • Remove the screws holding the wireless charging and NFC cover in place using a 00 screwdriver, then lift it off.

  3. Samsung Galaxy Note7 Screen Assembly Replacement: 手順 3、 1の画像 1
    • Carefully disconnect and remove the battery by lifting up the connector with either your fingernail or the flat end of a plastic spudger.

  4. Samsung Galaxy Note7 Screen Assembly Replacement: 手順 4、 1の画像 1
    • Remove the five screws holding the speaker pass-through and lift it off.

  5. Samsung Galaxy Note7 Screen Assembly Replacement: 手順 5、 2の画像 1 Samsung Galaxy Note7 Screen Assembly Replacement: 手順 5、 2の画像 2
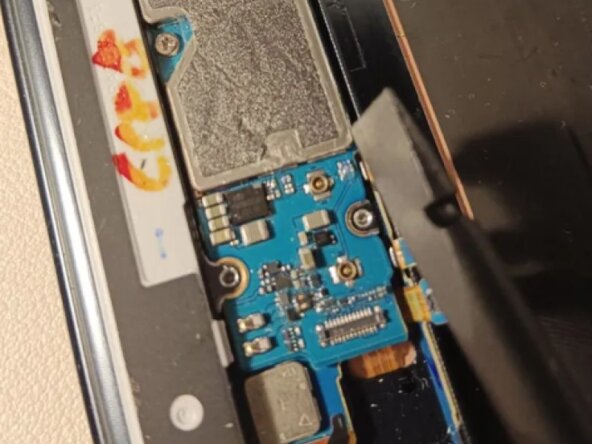
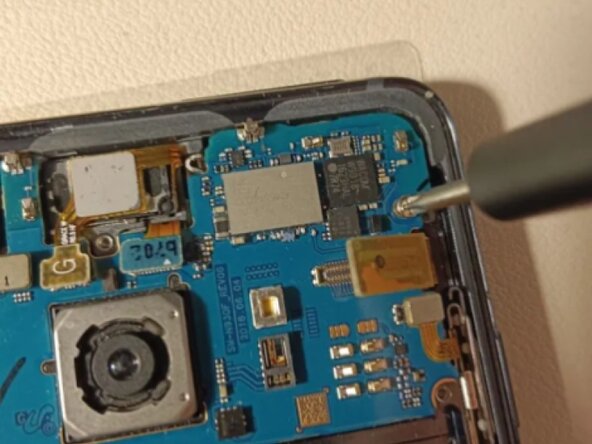
    • Using the flat end of a plastic spudger, carefully remove and lift up every connector on the board.

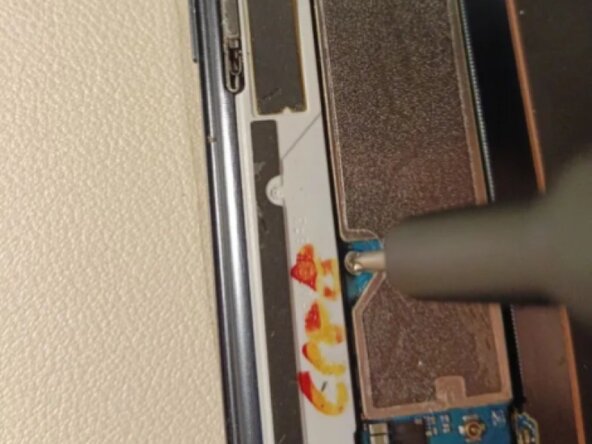
    • Make sure to press them a little further upward using the spudger, or else they might end up blocking the motherboard from being lifted up, and can also get stuck underneath it during the reassembly process.

  6. Samsung Galaxy Note7 Screen Assembly Replacement: 手順 6、 2の画像 1 Samsung Galaxy Note7 Screen Assembly Replacement: 手順 6、 2の画像 2
    • Remove the two screws holding the motherboard to the frame.

  7. Samsung Galaxy Note7 Screen Assembly Replacement: 手順 7、 1の画像 1
    • Using a plastic spudger, lift up the bottom part of the motherboard, then lift it up and out of the frame.

    • To reassemble the phone with the new screen + midframe, follow these steps in reverse order.

終わりに

To reassemble your device, follow these instructions in reverse order.

ある他の人がこのガイドを完成しました。

作成者

1人の作成者と共同作成されました。

Kugel Fisch

メンバー登録日: 10/14/25

157 ポイント

1ガイドが承認済み

0件のガイドコメント

コメントを追加

統計データ:

過去 24時間: 1

過去 7 日: 12

過去 30 日: 26

今までの合計 68