メインコンテンツにスキップ
リペアコミュニティに参加 - アカウントの作成

Samsung Galaxy Note II Midframe Replacement

必要な工具と部品

  1. Samsung Galaxy Note II Midframe Replacement, Stylus: 手順 1、 2の画像 1 Samsung Galaxy Note II Midframe Replacement, Stylus: 手順 1、 2の画像 2
    • Grasp the end of the stylus and remove it from its slot in the midframe.

    FixBotに聞いてみる

  2. Samsung Galaxy Note II Midframe Replacement, Rear Case: 手順 2、 2の画像 1 Samsung Galaxy Note II Midframe Replacement, Rear Case: 手順 2、 2の画像 2
    • Pry with a plastic opening tool, or your fingernail, in the divot to the left of the rear-facing camera, near the power button.

    FixBotに聞いてみる

  3. Samsung Galaxy Note II Midframe Replacement: 手順 3、 3の画像 1 Samsung Galaxy Note II Midframe Replacement: 手順 3、 3の画像 2 Samsung Galaxy Note II Midframe Replacement: 手順 3、 3の画像 3
    • Lift the rear case by the corner nearest the divot and remove it from the phone.

    FixBotに聞いてみる
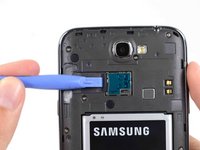
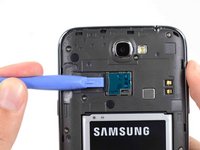
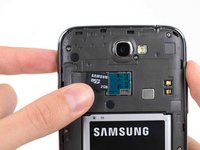
  4. Samsung Galaxy Note II Midframe Replacement, MicroSD Card: 手順 4、 3の画像 1 Samsung Galaxy Note II Midframe Replacement, MicroSD Card: 手順 4、 3の画像 2 Samsung Galaxy Note II Midframe Replacement, MicroSD Card: 手順 4、 3の画像 3
    • If you have an SD card inserted, use the flat end of a spudger, or your fingernail, to press the microSD card slightly deeper into its slot until you hear a click.

    • After the click, release the card and it will pop out of its slot.

    • Remove the microSD card.

    • For reassembly, push the microSD card into the slot until it clicks in place.

    FixBotに聞いてみる
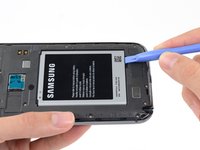
  5. Samsung Galaxy Note II Midframe Replacement, Battery: 手順 5、 2の画像 1 Samsung Galaxy Note II Midframe Replacement, Battery: 手順 5、 2の画像 2
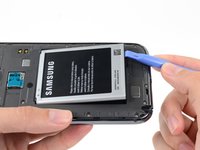
    • Insert a plastic opening tool, or your finger, into the notch of the battery compartment and lift the battery upward.

    FixBotに聞いてみる
  6. Samsung Galaxy Note II Midframe Replacement: 手順 6、 1の画像 1
    • Remove the battery from the midframe.

    FixBotに聞いてみる
  7. Samsung Galaxy Note II Midframe Replacement, Midframe: 手順 7、 1の画像 1
    • Remove the eleven 4.0 mm Phillips #00 screws securing the midframe to the display assembly.

    FixBotに聞いてみる
  8. Samsung Galaxy Note II Midframe Replacement: 手順 8、 3の画像 1 Samsung Galaxy Note II Midframe Replacement: 手順 8、 3の画像 2 Samsung Galaxy Note II Midframe Replacement: 手順 8、 3の画像 3
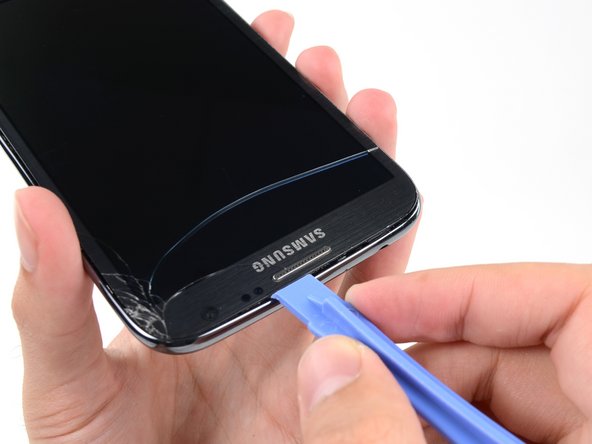
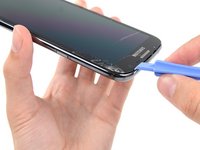
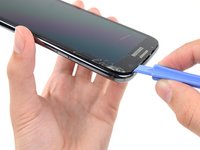
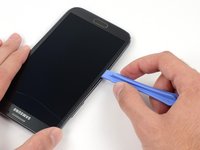
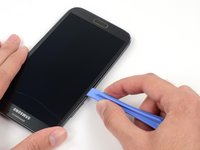
    • Insert your plastic opening tool between the midframe and front panel assembly on the side of the phone.

    • Slide the plastic opening tool down the seam.

    FixBotに聞いてみる
  9. Samsung Galaxy Note II Midframe Replacement: 手順 9、 3の画像 1 Samsung Galaxy Note II Midframe Replacement: 手順 9、 3の画像 2 Samsung Galaxy Note II Midframe Replacement: 手順 9、 3の画像 3
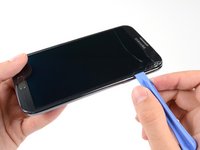
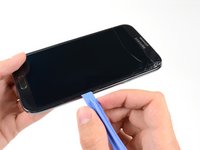
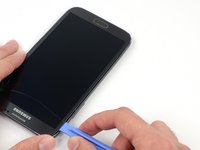
    • Continue to run the plastic opening tool down the seam.

    FixBotに聞いてみる
  10. Samsung Galaxy Note II Midframe Replacement: 手順 10、 2の画像 1 Samsung Galaxy Note II Midframe Replacement: 手順 10、 2の画像 2
    • Carefully pry around the corner with a plastic opening tool.

    FixBotに聞いてみる
  11. Samsung Galaxy Note II Midframe Replacement: 手順 11、 2の画像 1 Samsung Galaxy Note II Midframe Replacement: 手順 11、 2の画像 2
    • Pry along the top of the phone with a plastic opening tool.

    FixBotに聞いてみる
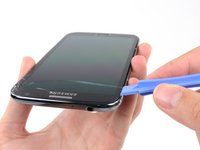
  12. Samsung Galaxy Note II Midframe Replacement: 手順 12、 2の画像 1 Samsung Galaxy Note II Midframe Replacement: 手順 12、 2の画像 2
    • Push the plastic opening tool down to free the corner of the midframe from the display assembly.

    FixBotに聞いてみる

  13. Samsung Galaxy Note II Midframe Replacement: 手順 13、 2の画像 1 Samsung Galaxy Note II Midframe Replacement: 手順 13、 2の画像 2
    • Free the clips along the power button side of the phone.

    • Lastly, free the two clips along the top and bottom edge of battery compartment.

    FixBotに聞いてみる
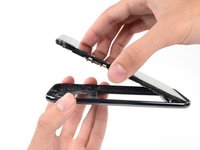
  14. Samsung Galaxy Note II Midframe Replacement: 手順 14、 2の画像 1 Samsung Galaxy Note II Midframe Replacement: 手順 14、 2の画像 2
    • Lift the display assembly out of the midframe.

    FixBotに聞いてみる
終わりに

To reassemble your device, follow these instructions in reverse order.

52 の人々がこのガイドを完成させました。

作成者

7人の作成者と共同で作成されました。

Sam Goldheart

メンバー登録日: 10/18/12

477,269 ポイント

538のガイドは作成済み

チーム

iFixit iFixit人のメンバー

Staff

123 メンバー

25,707のガイドは作成済み

5件のガイドコメント

There are two hidden clips near battery housing. One inside in upper part of battery housing and the second below battery near antenna.

milankerslager - 返信 共有

How do I fix the glass

Nena Summer Perez - 返信 共有

Very good job you are doing. It is very helpful to us. Thanks for sharing your knowledge to the people my wishes are with you god bless you.

HARDIK PANCHOLI - 返信 共有

very very very useful brother

Arunkrishna T H - 返信 共有

Brilliant Thanks.

michaeleggar6 - 返信 共有

コメントを追加

統計データ:

過去 24時間: 5

過去 7 日: 24

過去 30 日: 92

今までの合計 31,265