メインコンテンツにスキップ
リペアコミュニティに参加 - アカウントの作成

Samsung Galaxy Note II Display Assembly Replacement

必要な工具と部品

  1. Samsung Galaxy Note II Display Assembly Replacement, Stylus: 手順 1、 2の画像 1 Samsung Galaxy Note II Display Assembly Replacement, Stylus: 手順 1、 2の画像 2
    • Grasp the end of the stylus and remove it from its slot in the midframe.

    FixBotに聞いてみる
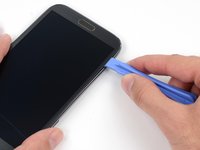
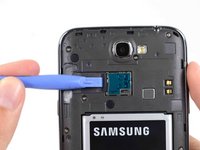
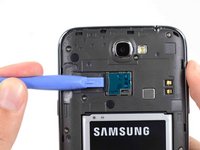
  2. Samsung Galaxy Note II Display Assembly Replacement, Rear Case: 手順 2、 2の画像 1 Samsung Galaxy Note II Display Assembly Replacement, Rear Case: 手順 2、 2の画像 2
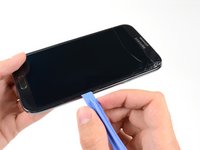
    • Pry with a plastic opening tool, or your fingernail, in the divot to the left of the rear-facing camera, near the power button.

    FixBotに聞いてみる
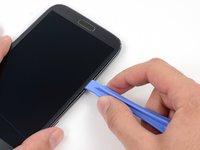
  3. Samsung Galaxy Note II Display Assembly Replacement: 手順 3、 3の画像 1 Samsung Galaxy Note II Display Assembly Replacement: 手順 3、 3の画像 2 Samsung Galaxy Note II Display Assembly Replacement: 手順 3、 3の画像 3
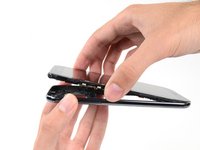
    • Lift the rear case by the corner nearest the divot and remove it from the phone.

    FixBotに聞いてみる
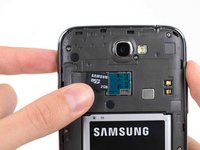
  4. Samsung Galaxy Note II Display Assembly Replacement, MicroSD Card: 手順 4、 3の画像 1 Samsung Galaxy Note II Display Assembly Replacement, MicroSD Card: 手順 4、 3の画像 2 Samsung Galaxy Note II Display Assembly Replacement, MicroSD Card: 手順 4、 3の画像 3
    • If you have an SD card inserted, use the flat end of a spudger, or your fingernail, to press the microSD card slightly deeper into its slot until you hear a click.

    • After the click, release the card and it will pop out of its slot.

    • Remove the microSD card.

    • For reassembly, push the microSD card into the slot until it clicks in place.

    FixBotに聞いてみる
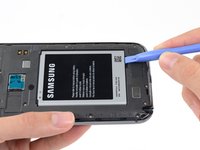
  5. Samsung Galaxy Note II Display Assembly Replacement, Battery: 手順 5、 2の画像 1 Samsung Galaxy Note II Display Assembly Replacement, Battery: 手順 5、 2の画像 2
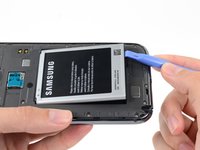
    • Insert a plastic opening tool, or your finger, into the notch of the battery compartment and lift the battery upward.

    FixBotに聞いてみる
  6. Samsung Galaxy Note II Display Assembly Replacement: 手順 6、 1の画像 1
    • Remove the battery from the midframe.

    FixBotに聞いてみる
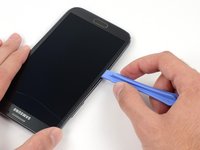
  7. Samsung Galaxy Note II Display Assembly Replacement, Midframe: 手順 7、 1の画像 1
    • Remove the eleven 4.0 mm Phillips #00 screws securing the midframe to the display assembly.

    FixBotに聞いてみる
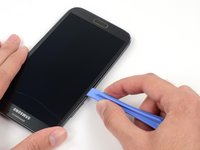
  8. Samsung Galaxy Note II Display Assembly Replacement: 手順 8、 3の画像 1 Samsung Galaxy Note II Display Assembly Replacement: 手順 8、 3の画像 2 Samsung Galaxy Note II Display Assembly Replacement: 手順 8、 3の画像 3
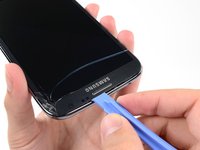
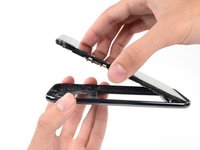
    • Insert your plastic opening tool between the midframe and front panel assembly on the side of the phone.

    • Slide the plastic opening tool down the seam.

    FixBotに聞いてみる
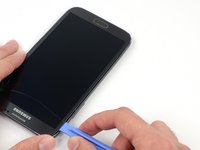
  9. Samsung Galaxy Note II Display Assembly Replacement: 手順 9、 3の画像 1 Samsung Galaxy Note II Display Assembly Replacement: 手順 9、 3の画像 2 Samsung Galaxy Note II Display Assembly Replacement: 手順 9、 3の画像 3
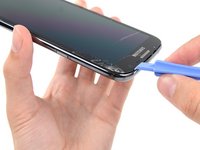
    • Continue to run the plastic opening tool down the seam.

    FixBotに聞いてみる
  10. Samsung Galaxy Note II Display Assembly Replacement: 手順 10、 2の画像 1 Samsung Galaxy Note II Display Assembly Replacement: 手順 10、 2の画像 2
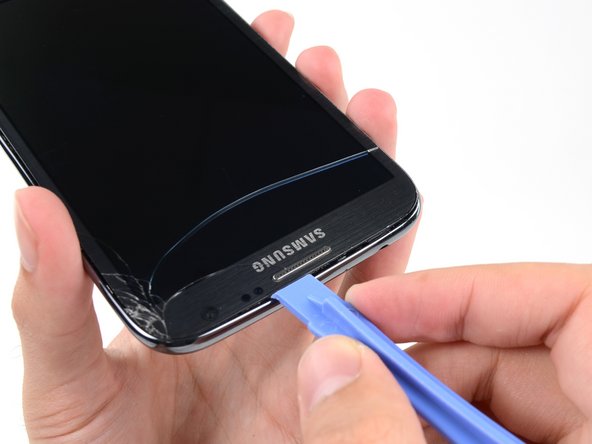
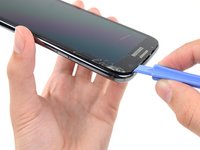
    • Carefully pry around the corner with a plastic opening tool.

    FixBotに聞いてみる
  11. Samsung Galaxy Note II Display Assembly Replacement: 手順 11、 2の画像 1 Samsung Galaxy Note II Display Assembly Replacement: 手順 11、 2の画像 2
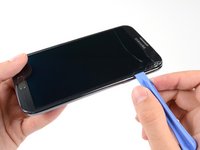
    • Pry along the top of the phone with a plastic opening tool.

    FixBotに聞いてみる
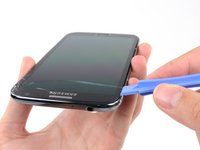
  12. Samsung Galaxy Note II Display Assembly Replacement: 手順 12、 2の画像 1 Samsung Galaxy Note II Display Assembly Replacement: 手順 12、 2の画像 2
    • Push the plastic opening tool down to free the corner of the midframe from the display assembly.

    FixBotに聞いてみる
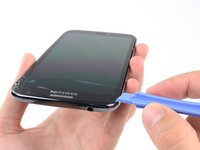
  13. Samsung Galaxy Note II Display Assembly Replacement: 手順 13、 2の画像 1 Samsung Galaxy Note II Display Assembly Replacement: 手順 13、 2の画像 2
    • Free the clips along the power button side of the phone.

    • Lastly, free the two clips along the top and bottom edge of battery compartment.

    FixBotに聞いてみる
  14. Samsung Galaxy Note II Display Assembly Replacement: 手順 14、 2の画像 1 Samsung Galaxy Note II Display Assembly Replacement: 手順 14、 2の画像 2
    • Lift the display assembly out of the midframe.

    FixBotに聞いてみる
  15. Samsung Galaxy Note II Display Assembly Replacement, Motherboard Assembly: 手順 15、 3の画像 1 Samsung Galaxy Note II Display Assembly Replacement, Motherboard Assembly: 手順 15、 3の画像 2 Samsung Galaxy Note II Display Assembly Replacement, Motherboard Assembly: 手順 15、 3の画像 3
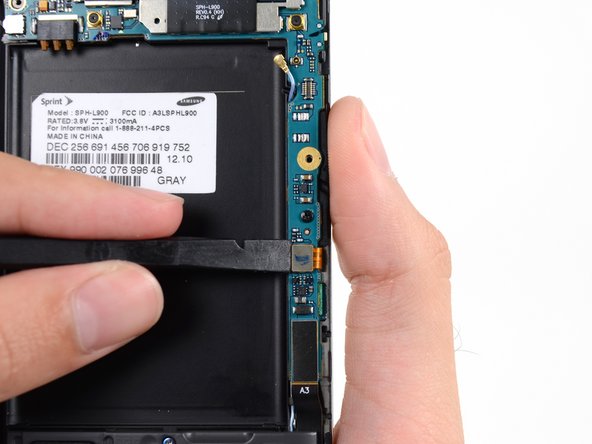
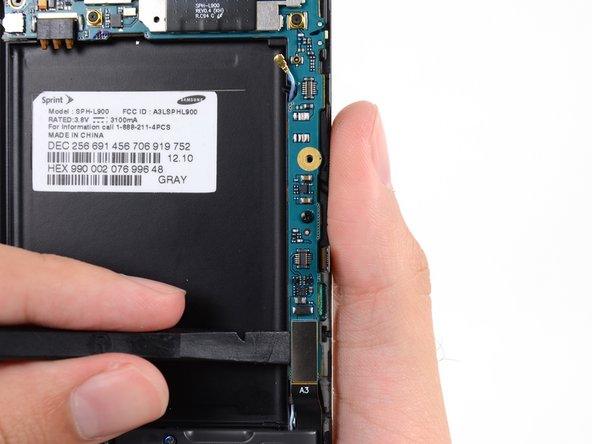
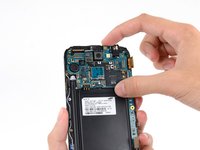
    • Use a spudger to disconnect the vibrator/power button assembly cable connector.

    • Disconnect the antenna cable connector.

    • Disconnect the display cable connector.

    FixBotに聞いてみる
  16. Samsung Galaxy Note II Display Assembly Replacement: 手順 16、 3の画像 1 Samsung Galaxy Note II Display Assembly Replacement: 手順 16、 3の画像 2 Samsung Galaxy Note II Display Assembly Replacement: 手順 16、 3の画像 3
    • Disconnect the front-facing camera cable connector.

    • Disconnect the headphone jack cable connector.

    • Disconnect the digitizer cable connector.

    FixBotに聞いてみる
  17. Samsung Galaxy Note II Display Assembly Replacement: 手順 17、 3の画像 1 Samsung Galaxy Note II Display Assembly Replacement: 手順 17、 3の画像 2 Samsung Galaxy Note II Display Assembly Replacement: 手順 17、 3の画像 3
    • Use the spudger to disconnect the antenna cable connector from the motherboard.

    • Disconnect the soft button cable connector.

    • Disconnect the USB board cable connector.

    FixBotに聞いてみる
  18. Samsung Galaxy Note II Display Assembly Replacement: 手順 18、 1の画像 1
    • Remove the 3 mm Phillips #00 screw securing the motherboard to the display assembly.

    FixBotに聞いてみる
  19. Samsung Galaxy Note II Display Assembly Replacement: 手順 19、 2の画像 1 Samsung Galaxy Note II Display Assembly Replacement: 手順 19、 2の画像 2
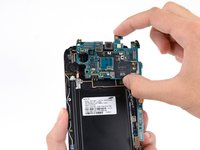
    • Gently remove the motherboard.

    • Hold the motherboard by its edges to prevent ESD damage. Be careful not to snag it on any cables as you extract it from the display assembly.

    FixBotに聞いてみる
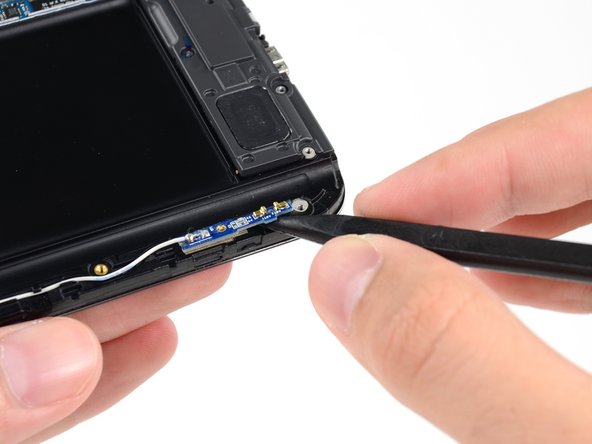
  20. Samsung Galaxy Note II Display Assembly Replacement, Headphone Jack/Earpiece Speaker Assembly: 手順 20、 1の画像 1
    • Remove the 3 mm Phillips #00 screw securing the headphone jack assembly to the display assembly.

    FixBotに聞いてみる
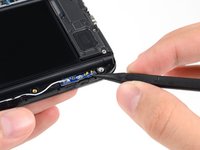
  21. Samsung Galaxy Note II Display Assembly Replacement: 手順 21、 2の画像 1 Samsung Galaxy Note II Display Assembly Replacement: 手順 21、 2の画像 2
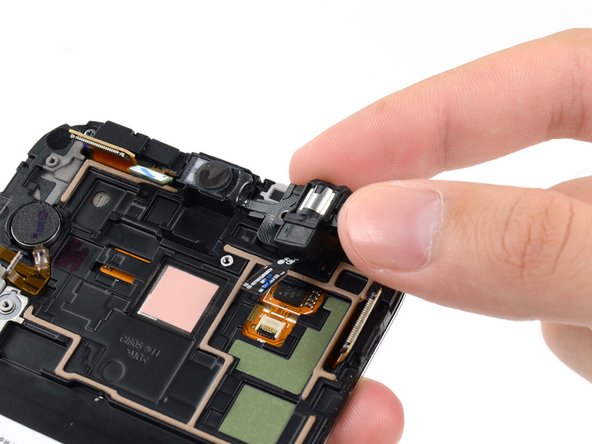
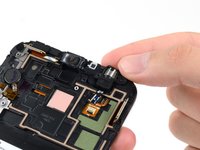
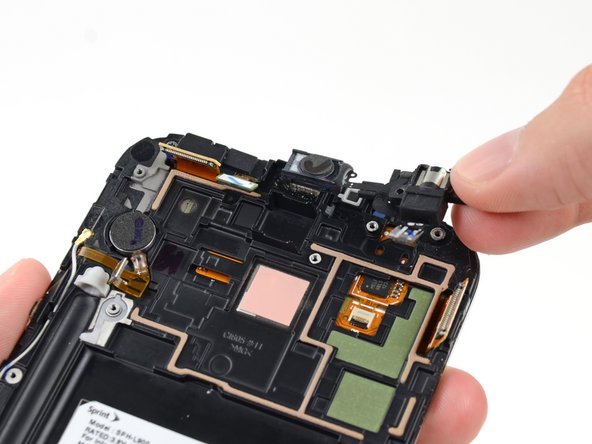
    • Grasp the headphone jack portion of the assembly and lift it out of its groove in the display assembly.

    FixBotに聞いてみる
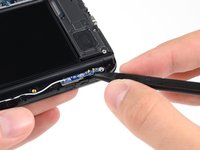
  22. Samsung Galaxy Note II Display Assembly Replacement: 手順 22、 2の画像 1 Samsung Galaxy Note II Display Assembly Replacement: 手順 22、 2の画像 2
    • Gently pull the headphone jack straight up without twisting the cable to remove the earpiece speaker portion from its recess.

    • Twisting or pulling unevenly could damage the cable. Be very careful as you extract the assembly.

    FixBotに聞いてみる
  23. Samsung Galaxy Note II Display Assembly Replacement, Display Assembly: 手順 23、 1の画像 1
    • Remove the 3mm Phillips #00 screw from the front-facing camera bracket.

    FixBotに聞いてみる
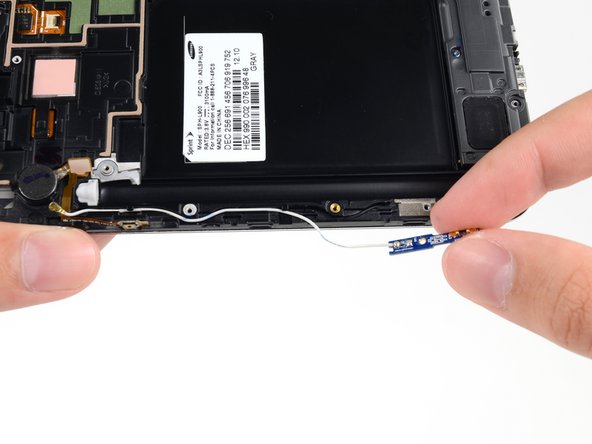
  24. Samsung Galaxy Note II Display Assembly Replacement: 手順 24、 1の画像 1
    • Remove the front-facing camera bracket.

    FixBotに聞いてみる
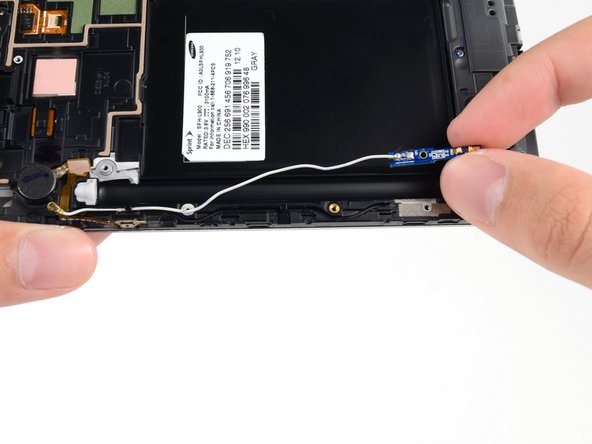
  25. Samsung Galaxy Note II Display Assembly Replacement: 手順 25、 1の画像 1
    • Remove the front-facing camera.

    FixBotに聞いてみる
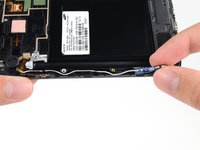
  26. Samsung Galaxy Note II Display Assembly Replacement: 手順 26、 1の画像 1
    • Remove the 3 mm Phillips #00 screw securing the antenna board to the display assembly.

    FixBotに聞いてみる
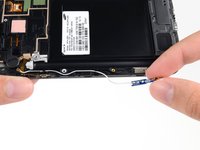
  27. Samsung Galaxy Note II Display Assembly Replacement: 手順 27、 2の画像 1 Samsung Galaxy Note II Display Assembly Replacement: 手順 27、 2の画像 2
    • Insert the tip of a spudger under the antenna board to free it from the adhesive holding it to the display assembly.

    FixBotに聞いてみる
  28. Samsung Galaxy Note II Display Assembly Replacement: 手順 28、 3の画像 1 Samsung Galaxy Note II Display Assembly Replacement: 手順 28、 3の画像 2 Samsung Galaxy Note II Display Assembly Replacement: 手順 28、 3の画像 3
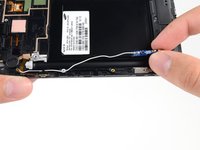
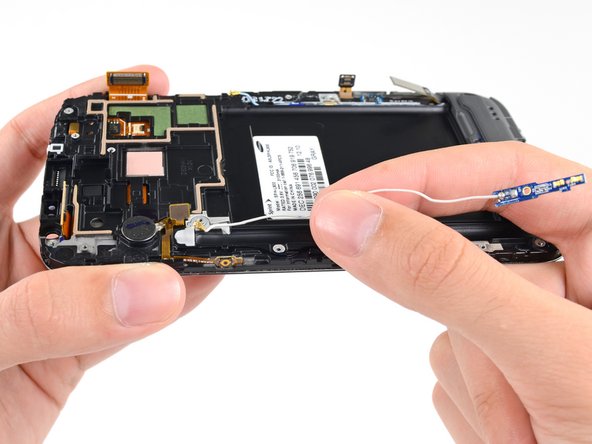
    • Gently de-route the antenna cable from its channel in the display assembly.

    FixBotに聞いてみる
  29. Samsung Galaxy Note II Display Assembly Replacement: 手順 29、 2の画像 1 Samsung Galaxy Note II Display Assembly Replacement: 手順 29、 2の画像 2
    • Remove the antenna cable from the display assembly.

    • When reassembling your device, install the USB board and attach the antenna connector before routing it into the channel. This will ensure the proper placement of the antenna cable connectors.

    FixBotに聞いてみる
  30. Samsung Galaxy Note II Display Assembly Replacement: 手順 30、 2の画像 1 Samsung Galaxy Note II Display Assembly Replacement: 手順 30、 2の画像 2
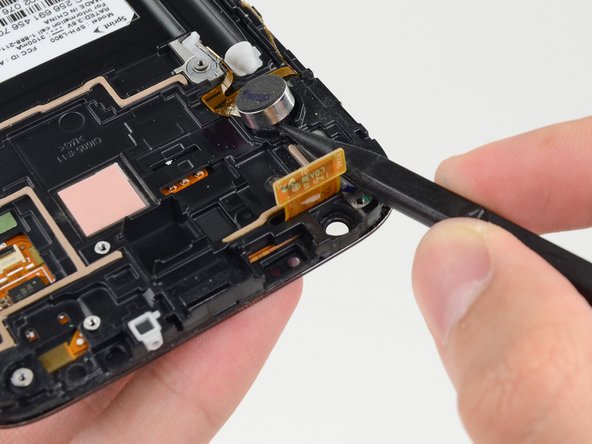
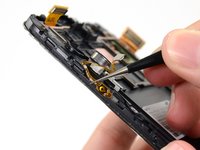
    • Insert the tip of a spudger under the vibrator to free it from the adhesive holding it to the display assembly.

    • Do not attempt to remove the vibrator entirely as it is still attached to the vibrator/power button assembly.

    FixBotに聞いてみる
  31. Samsung Galaxy Note II Display Assembly Replacement: 手順 31、 2の画像 1 Samsung Galaxy Note II Display Assembly Replacement: 手順 31、 2の画像 2
    この手順で使用する道具:
    Tweezers
    $4.99
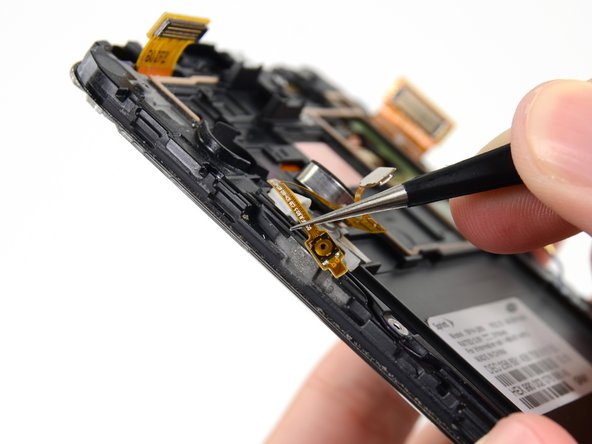
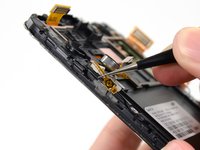
    • Use tweezers to detach the power button from the adhesive securing it to the display assembly.

    • Remove the vibrator/power button assembly from the display assembly.

    FixBotに聞いてみる
  32. Samsung Galaxy Note II Display Assembly Replacement: 手順 32、 1の画像 1
    • Remove the 3 mm Phillips #00 from the speaker enclosure.

    FixBotに聞いてみる
  33. Samsung Galaxy Note II Display Assembly Replacement: 手順 33、 1の画像 1
    • Remove the speaker enclosure.

    FixBotに聞いてみる
  34. Samsung Galaxy Note II Display Assembly Replacement: 手順 34、 1の画像 1
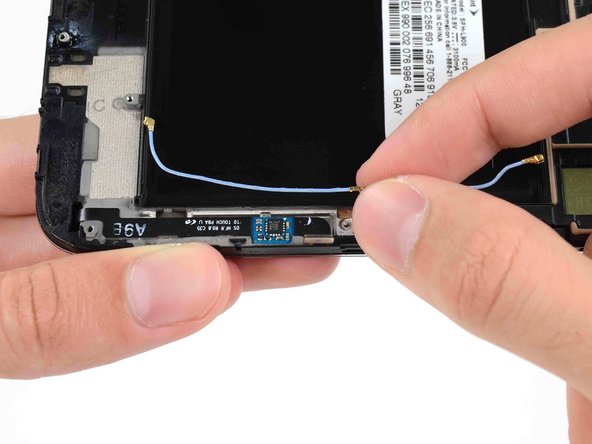
    • Use the flat end of a spudger to disconnect the antenna cable connector from the USB board.

    FixBotに聞いてみる
  35. Samsung Galaxy Note II Display Assembly Replacement: 手順 35、 3の画像 1 Samsung Galaxy Note II Display Assembly Replacement: 手順 35、 3の画像 2 Samsung Galaxy Note II Display Assembly Replacement: 手順 35、 3の画像 3
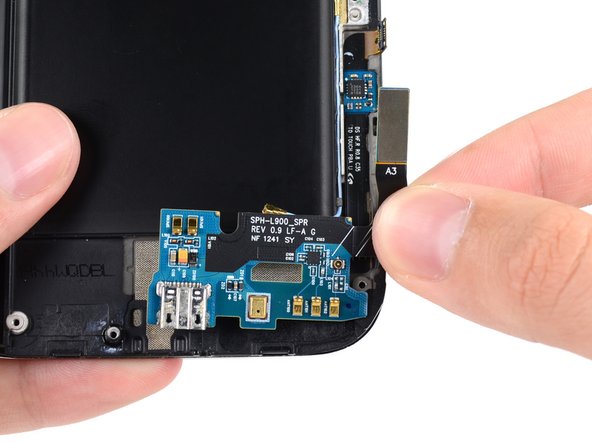
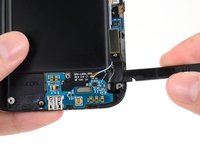
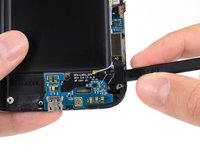
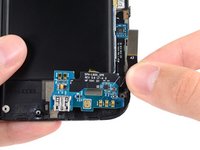
    • Push the flat end of a spudger under the USB board to separate it from the display assembly.

    • Insert the spudger at a shallow angle to avoid bending or damaging the USB board.

    • Remove the USB board from the display assembly.

    FixBotに聞いてみる
  36. Samsung Galaxy Note II Display Assembly Replacement: 手順 36、 3の画像 1 Samsung Galaxy Note II Display Assembly Replacement: 手順 36、 3の画像 2 Samsung Galaxy Note II Display Assembly Replacement: 手順 36、 3の画像 3
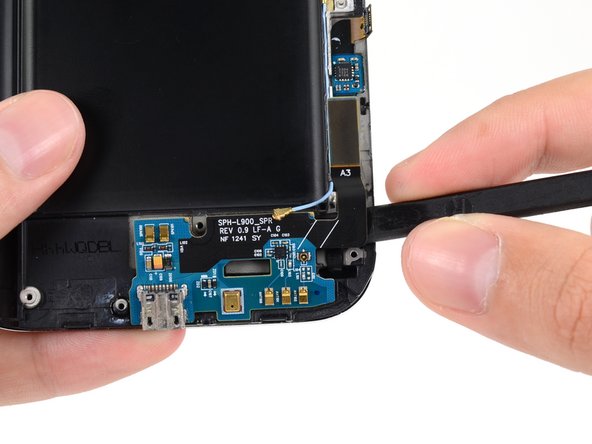
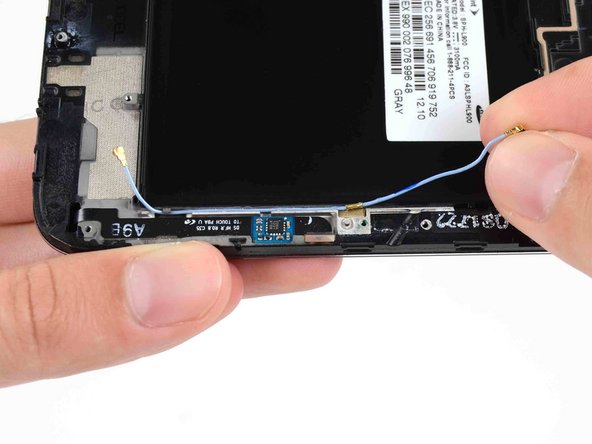
    • Gently deroute the antenna cable from its notch in the display assembly.

    • Remove the antenna cable.

    FixBotに聞いてみる
終わりに

To reassemble your device, follow these instructions in reverse order.

183 の人々がこのガイドを完成させました。

作成者

6人の作成者と共同で作成されました。

Sam Goldheart

メンバー登録日: 10/18/12

477,269 ポイント

538のガイドは作成済み

チーム

iFixit iFixit人のメンバー

Staff

123 メンバー

25,707のガイドは作成済み

12件のガイドコメント

This guide is awful. Not even the US phone model. mine and most on youtube does not have the antennae on both side, only a antena on one of the sides of the phone.

Also this does not cover how to remove most things that you HAVE to remove when you buy the digitizer+lcd from here... not to mention that it stops in the middle...

there is a video on youtube from https://www.youtube.com/user/LE55ONS that shows how to dismantle the note2 in much more detail than this... and he goes all the way and show how to remove every piece needed.

gcb - 返信 共有

thx for the video!

note i was repairing looked slightly different. no antenna on the left and powerbutton/vibrator where differnet parts, midframe is hold by 2 additional tabs inside battery compartment. video was a good addition to this guid, and helped alot ;)

Lego - 返信 共有

Thank you for the link to the videos, it helped particularly for the vibrator and power button.

anonymous 4780 - 返信 共有

This is the Sprint model, SPH-L900. It's not his fault that your phone is different.

Roger - 返信 共有

This guide showed me how to take mine apart in ten minutes every step was included in this guide...dont know what phone you have^^^^but this is a great guide

chad - 返信 共有

コメントを追加

統計データ:

過去 24時間: 5

過去 7 日: 31

過去 30 日: 135

今までの合計 311,416