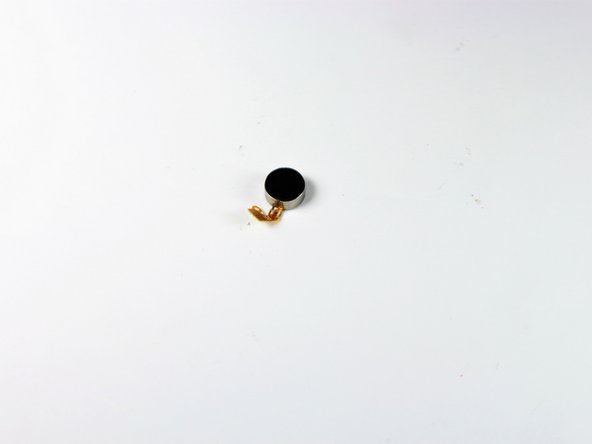
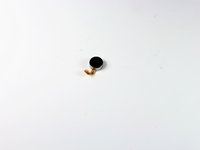
メインコンテンツにスキップ

Samsung Galaxy Note Edge Vibrator Replacement

必要な工具と部品

  1. Samsung Galaxy Note Edge Vibrator Replacement, Battery: 手順 1、 1の画像 1
    • Power down your device and make sure that it is turned off.

    • Place the phone with the screen facing down on a clean flat surface.

  2. Samsung Galaxy Note Edge Vibrator Replacement: 手順 2、 3の画像 1 Samsung Galaxy Note Edge Vibrator Replacement: 手順 2、 3の画像 2 Samsung Galaxy Note Edge Vibrator Replacement: 手順 2、 3の画像 3
    • Use your Supdger to remove the back cover of the phone using notch located in the top left corner of the phone.

    • Remove battery by using your Supdger on the notch located directly underneath battery location.

    • During the creation of this guide, we did not have access to a battery in our device.

  3. Samsung Galaxy Note Edge Vibrator Replacement, Motherboard: 手順 3、 1の画像 1
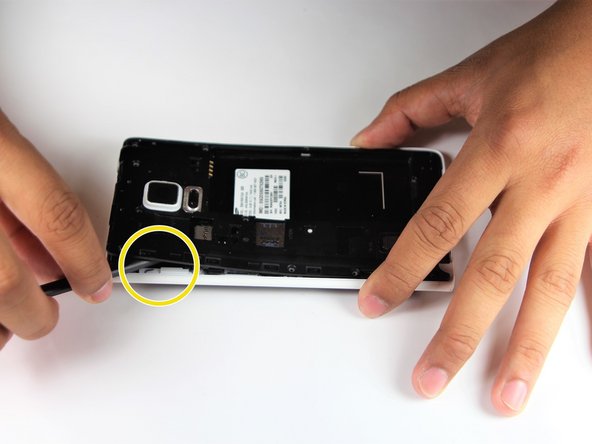
    • Remove the SIM Card from the SIM Card holder by gently sliding the SIM Card horizontally.

    • Remove the stylus from the stylus holder.

  4. Samsung Galaxy Note Edge Vibrator Replacement: 手順 4、 3の画像 1 Samsung Galaxy Note Edge Vibrator Replacement: 手順 4、 3の画像 2 Samsung Galaxy Note Edge Vibrator Replacement: 手順 4、 3の画像 3
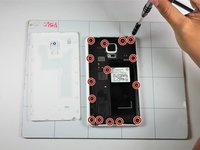
    • Using a Phillips #000 Screwdriver, remove the fifteen 4mm screws that secure the rear chassis.

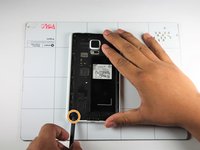
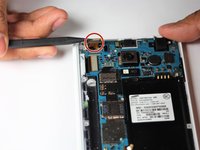
    • Insert your spudger into the stylus socket and pry the midframe from the phone.

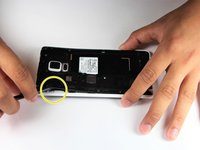
    • Move the spudger around edge of phone, carefully prying the midframe from the phone until midframe is entirely separated.

  5. Samsung Galaxy Note Edge Vibrator Replacement: 手順 5、 2の画像 1 Samsung Galaxy Note Edge Vibrator Replacement: 手順 5、 2の画像 2
    • With the pointed end of your spudger, disconnect the two wires (pink and white) located near the bottom of the phone.

    • Using pointed end of your dpudger, disconnect the finger print scanner cable- it is located directly above the pink and white cables.

  6. Samsung Galaxy Note Edge Vibrator Replacement: 手順 6、 3の画像 1 Samsung Galaxy Note Edge Vibrator Replacement: 手順 6、 3の画像 2 Samsung Galaxy Note Edge Vibrator Replacement: 手順 6、 3の画像 3
    • Using your Spudger's pointed end, pry off the following leads that connect these parts to the logic board in the top left hand corner:

    • Front Facing Camera

    • AMOLED Display Screen

    • AMOLED Capacitive Screen

  7. Samsung Galaxy Note Edge Vibrator Replacement: 手順 7、 3の画像 1 Samsung Galaxy Note Edge Vibrator Replacement: 手順 7、 3の画像 2 Samsung Galaxy Note Edge Vibrator Replacement: 手順 7、 3の画像 3
    • At the top end, gently insert pointed end of spudger underneath the motherboard.

    • Lift the motherboard up gently. Disconnect the cable connecting the daughter board. It is attached to the underside of the motherboard.

    • Remove the motherboard from the device.

  8. Samsung Galaxy Note Edge Vibrator Replacement, Vibrator: 手順 8、 1の画像 1
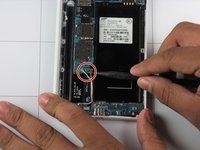
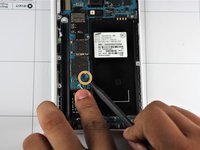
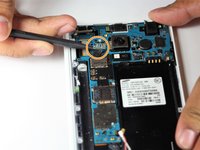
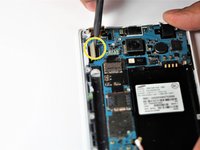
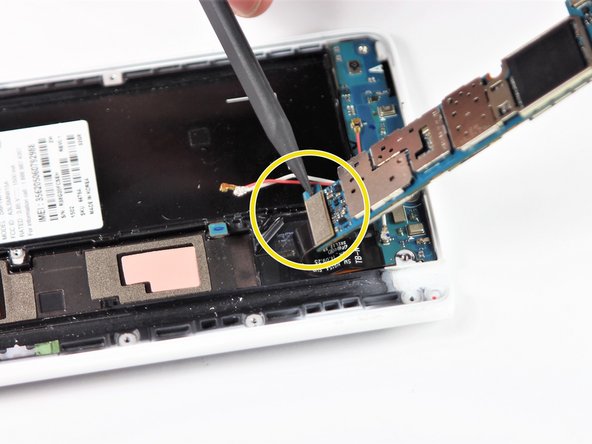
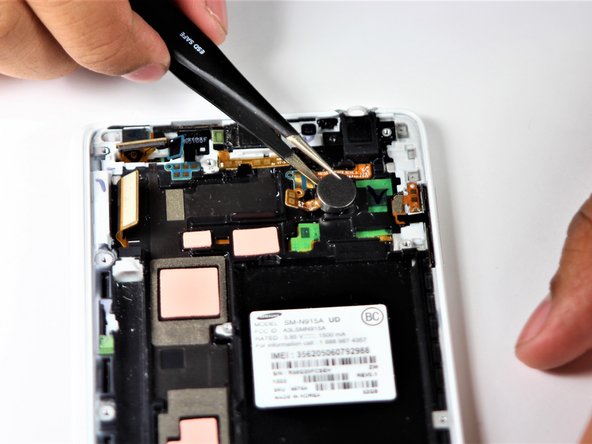
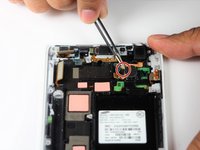
    • Insert the sharp end of the spudger underneath the golden cables connecting the vibration motor. Gently pry upwards to disconnect them.

  9. Samsung Galaxy Note Edge Vibrator Replacement: 手順 9、 3の画像 1 Samsung Galaxy Note Edge Vibrator Replacement: 手順 9、 3の画像 2 Samsung Galaxy Note Edge Vibrator Replacement: 手順 9、 3の画像 3
    • Insert one end of the Tweezers into said notch. Pry upwards and grab the round piece to remove the vibration motor.

    • Adhesive holds the motor in place, so force is required to break this bond.

終わりに

To reassemble your device, follow these instructions in reverse order.

ある他の人がこのガイドを完成しました。

作成者

4人の作成者と共同で作成されました。

Duc Huynh

メンバー登録日: 04/19/18

253 ポイント

2のガイドは作成済み

チーム

Cal Poly, Team S22-G6, Maness Spring 2018 Cal Poly, Team S22-G6, Maness Spring 2018人のメンバー

CPSU-MANESS-S18S22G6

4 メンバー

10のガイドは作成済み

0 件のコメント

コメントを追加

統計データ:

過去 24時間: 0

過去 7 日: 0

過去 30 日: 3

今までの合計 401