メインコンテンツにスキップ
リペアコミュニティに参加 - アカウントの作成

Samsung Galaxy Note Display Assembly Replacement

必要な工具と部品

  1. Samsung Galaxy Note Display Assembly Replacement, Stylus: 手順 1、 2の画像 1 Samsung Galaxy Note Display Assembly Replacement, Stylus: 手順 1、 2の画像 2
    • Grasp the cap of the stylus and remove it from its slot in the midframe.

    FixBotに聞いてみる

    コメントを追加

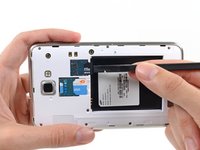
  2. Samsung Galaxy Note Display Assembly Replacement, Rear Case: 手順 2、 2の画像 1 Samsung Galaxy Note Display Assembly Replacement, Rear Case: 手順 2、 2の画像 2
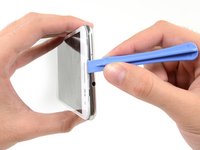
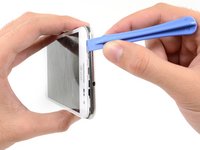
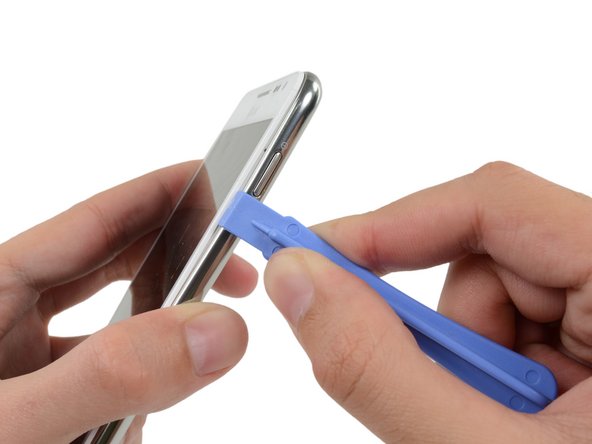
    • Pry with a plastic opening tool, or your fingernail, in the divot to the right of the rear-facing camera, near the volume rocker.

    FixBotに聞いてみる

    コメントを追加

  3. Samsung Galaxy Note Display Assembly Replacement: 手順 3、 2の画像 1 Samsung Galaxy Note Display Assembly Replacement: 手順 3、 2の画像 2
    • Lift and remove the rear case from the phone.

    FixBotに聞いてみる

    コメントを追加

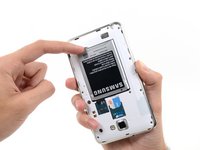
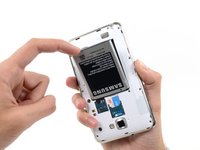
  4. Samsung Galaxy Note Display Assembly Replacement, Battery: 手順 4、 2の画像 1 Samsung Galaxy Note Display Assembly Replacement, Battery: 手順 4、 2の画像 2
    • Insert your finger in the notch of the battery compartment.

    • Press the battery toward the rear facing camera while pulling outward.

    FixBotに聞いてみる
    コメントを追加

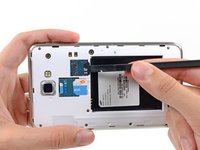
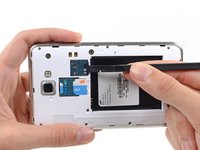
  5. Samsung Galaxy Note Display Assembly Replacement, MicroSD Card: 手順 5、 3の画像 1 Samsung Galaxy Note Display Assembly Replacement, MicroSD Card: 手順 5、 3の画像 2 Samsung Galaxy Note Display Assembly Replacement, MicroSD Card: 手順 5、 3の画像 3
    • Use the flat end of a spudger, or your fingernail, to press the microSD card slightly deeper into its slot until you hear a click.

    • After the click, release the card and it will pop out of its slot.

    • For reassembly, push the microSD card into the slot until it clicks in place.

    FixBotに聞いてみる
    コメントを追加

  6. Samsung Galaxy Note Display Assembly Replacement: 手順 6、 1の画像 1
    • Remove the microSD card from its slot in the midframe.

    FixBotに聞いてみる
    コメントを追加

  7. Samsung Galaxy Note Display Assembly Replacement, SIM Card: 手順 7、 2の画像 1 Samsung Galaxy Note Display Assembly Replacement, SIM Card: 手順 7、 2の画像 2
    • Use a plastic opening tool, or your fingernail, to push the SIM card out of its compartment.

    FixBotに聞いてみる

    コメントを追加

  8. Samsung Galaxy Note Display Assembly Replacement: 手順 8、 2の画像 1 Samsung Galaxy Note Display Assembly Replacement: 手順 8、 2の画像 2
    • Slide the SIM card out the rest of the way with your thumb and remove it from the device.

    FixBotに聞いてみる

    コメントを追加

  9. Samsung Galaxy Note Display Assembly Replacement, Midframe: 手順 9、 1の画像 1
    • Remove the nine 3.4 mm Phillips #00 screws securing the midframe to the display assembly.

    FixBotに聞いてみる

    コメントを追加

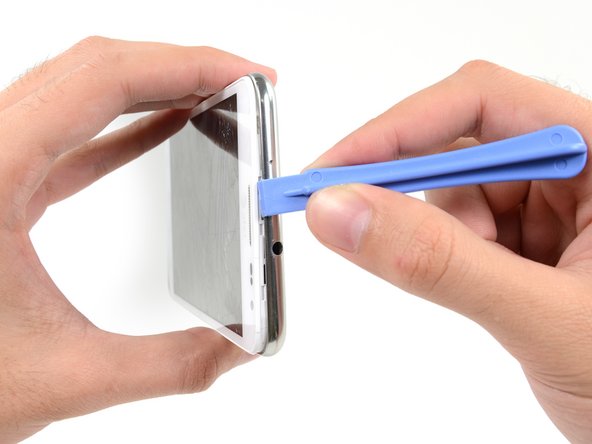
  10. Samsung Galaxy Note Display Assembly Replacement: 手順 10、 2の画像 1 Samsung Galaxy Note Display Assembly Replacement: 手順 10、 2の画像 2
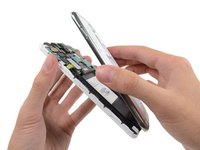
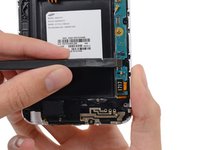
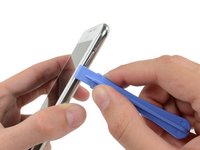
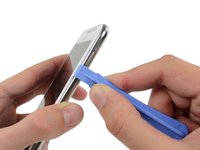
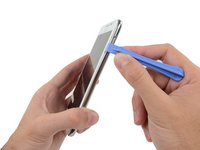
    • Insert your plastic opening tool to the left of the power button between the midframe and the front panel assembly and pry.

    FixBotに聞いてみる
    コメントを追加

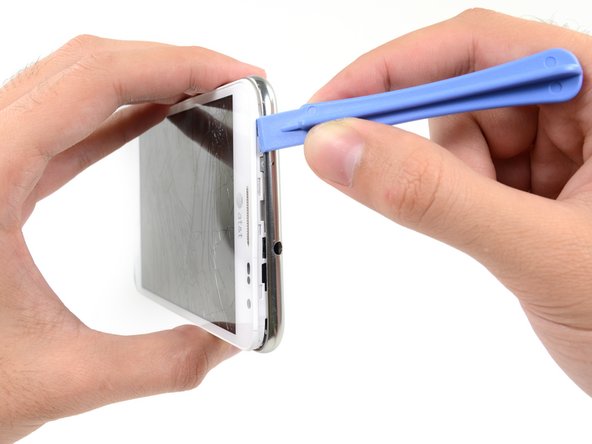
  11. Samsung Galaxy Note Display Assembly Replacement: 手順 11、 3の画像 1 Samsung Galaxy Note Display Assembly Replacement: 手順 11、 3の画像 2 Samsung Galaxy Note Display Assembly Replacement: 手順 11、 3の画像 3
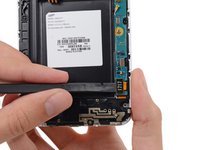
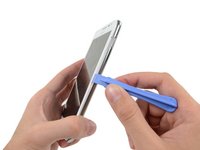
    • Slide the plastic opening tool down the seam.

    FixBotに聞いてみる
    コメントを追加

  12. Samsung Galaxy Note Display Assembly Replacement: 手順 12、 3の画像 1 Samsung Galaxy Note Display Assembly Replacement: 手順 12、 3の画像 2 Samsung Galaxy Note Display Assembly Replacement: 手順 12、 3の画像 3
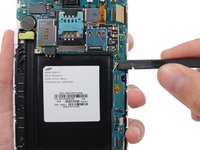
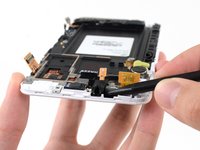
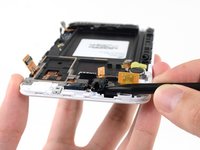
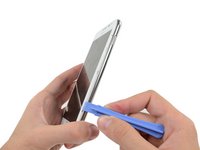
    • Insert your plastic opening tool to the left of the headphone jack between the midframe and the display assembly.

    • Slide the opening tool along the top edge of the phone.

    • Continue to run the plastic opening tool around the perimeter of the phone until the midframe is separated.

    FixBotに聞いてみる
    コメントを追加

  13. Samsung Galaxy Note Display Assembly Replacement: 手順 13、 2の画像 1 Samsung Galaxy Note Display Assembly Replacement: 手順 13、 2の画像 2
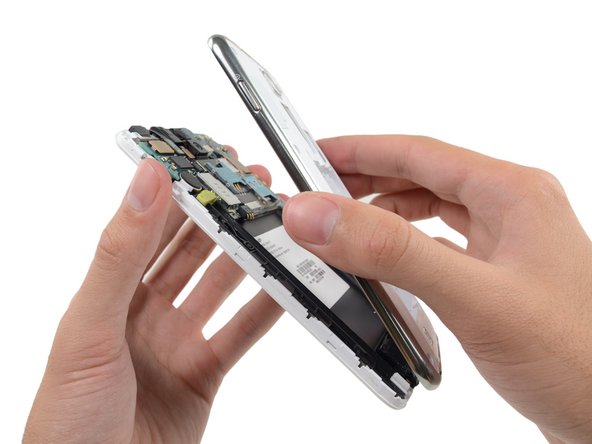
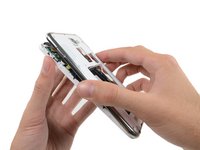
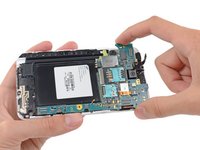
    • Remove the midframe from the display assembly.

    FixBotに聞いてみる

    コメントを追加

  14. Samsung Galaxy Note Display Assembly Replacement, Motherboard Assembly: 手順 14、 2の画像 1 Samsung Galaxy Note Display Assembly Replacement, Motherboard Assembly: 手順 14、 2の画像 2
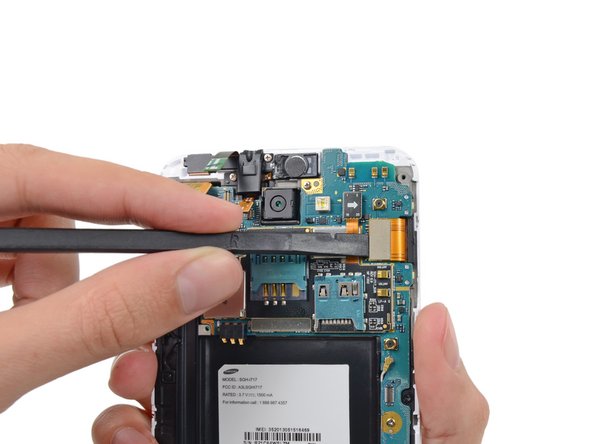
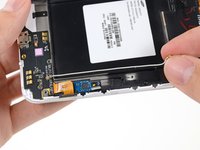
    • Use the flat end of a spudger to carefully disconnect the display cable connector.

    FixBotに聞いてみる
    コメントを追加

  15. Samsung Galaxy Note Display Assembly Replacement: 手順 15、 3の画像 1 Samsung Galaxy Note Display Assembly Replacement: 手順 15、 3の画像 2 Samsung Galaxy Note Display Assembly Replacement: 手順 15、 3の画像 3
    • Use a spudger to disconnect the front-facing camera assembly cable connector.

    • Disconnect the headphone jack/earpiece speaker assembly cable connector.

    • Disconnect the digitizer cable connector.

    FixBotに聞いてみる

    コメントを追加

  16. Samsung Galaxy Note Display Assembly Replacement: 手順 16、 3の画像 1 Samsung Galaxy Note Display Assembly Replacement: 手順 16、 3の画像 2 Samsung Galaxy Note Display Assembly Replacement: 手順 16、 3の画像 3
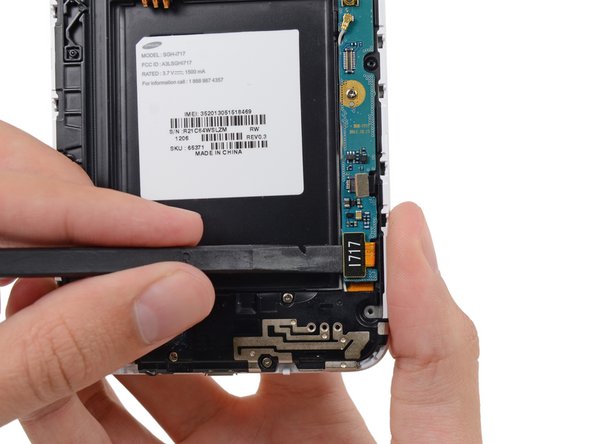
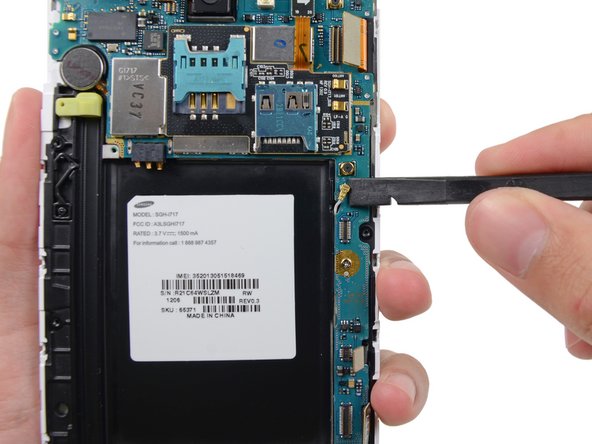
    • Disconnect the soft button cable connector with the flat end of a spudger.

    • Use a spudger to disconnect the USB board cable connector.

    • Disconnect the antenna cable connector.

    FixBotに聞いてみる

    コメントを追加

  17. Samsung Galaxy Note Display Assembly Replacement: 手順 17、 1の画像 1
    • Remove the two 3.4 mm Phillips #00 screws securing the motherboard to the display assembly.

    FixBotに聞いてみる

    コメントを追加

  18. Samsung Galaxy Note Display Assembly Replacement: 手順 18、 2の画像 1 Samsung Galaxy Note Display Assembly Replacement: 手順 18、 2の画像 2
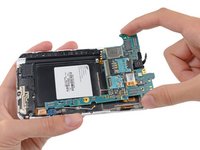
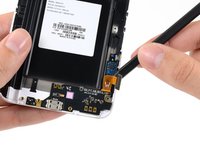
    • Remove the motherboard assembly from the display assembly.

    FixBotに聞いてみる
    コメントを追加

  19. Samsung Galaxy Note Display Assembly Replacement, Display Assembly: 手順 19、 1の画像 1
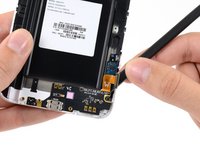
    • Remove the two 3 mm Phillips #00 screws securing the upper display assembly bracket.

    FixBotに聞いてみる
    コメントを追加

  20. Samsung Galaxy Note Display Assembly Replacement: 手順 20、 2の画像 1 Samsung Galaxy Note Display Assembly Replacement: 手順 20、 2の画像 2
    この手順で使用する道具:
    Tweezers
    $4.99
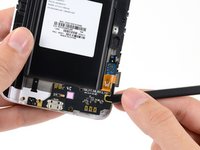
    • Use a pair of tweezers, or your fingers, to remove the upper display assembly bracket.

    FixBotに聞いてみる
    コメントを追加

  21. Samsung Galaxy Note Display Assembly Replacement: 手順 21、 1の画像 1
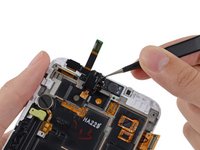
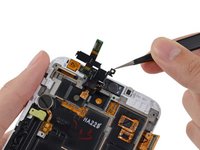
    • Using tweezers, or your fingers, remove the front-facing camera assembly.

    FixBotに聞いてみる

    コメントを追加

  22. Samsung Galaxy Note Display Assembly Replacement: 手順 22、 2の画像 1 Samsung Galaxy Note Display Assembly Replacement: 手順 22、 2の画像 2
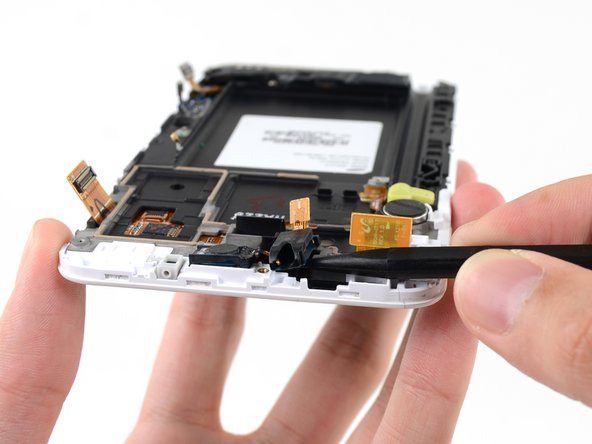
    • Use the tip of a spudger to pry the headphone jack/earpiece speaker assembly out of its recess in the display assembly.

    FixBotに聞いてみる

    コメントを追加

  23. Samsung Galaxy Note Display Assembly Replacement: 手順 23、 1の画像 1
    • Use tweezers, or your fingers, to remove the headphone jack/earpiece speaker assembly.

    FixBotに聞いてみる

    コメントを追加

  24. Samsung Galaxy Note Display Assembly Replacement: 手順 24、 1の画像 1
    • Remove the three 3 mm Phillips #00 screws securing the speaker enclosure to the front panel assembly.

    FixBotに聞いてみる

    コメントを追加

  25. Samsung Galaxy Note Display Assembly Replacement: 手順 25、 1の画像 1
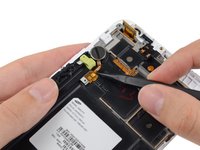
    • Lift the speaker enclosure from the display assembly.

    FixBotに聞いてみる
    コメントを追加

  26. Samsung Galaxy Note Display Assembly Replacement: 手順 26、 2の画像 1 Samsung Galaxy Note Display Assembly Replacement: 手順 26、 2の画像 2
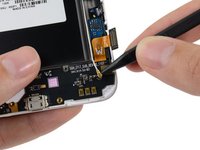
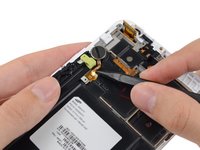
    • Use the tip of a spudger to disconnect the antenna cable connector from the USB board.

    • Remove the antenna cable.

    FixBotに聞いてみる
    コメントを追加

  27. Samsung Galaxy Note Display Assembly Replacement: 手順 27、 3の画像 1 Samsung Galaxy Note Display Assembly Replacement: 手順 27、 3の画像 2 Samsung Galaxy Note Display Assembly Replacement: 手順 27、 3の画像 3
    • Push the flat end of a spudger under the USB board to separate it from the display assembly.

    • Insert the spudger at a shallow angle to avoid bending or damaging the USB board.

    FixBotに聞いてみる

    コメントを追加

  28. Samsung Galaxy Note Display Assembly Replacement: 手順 28、 1の画像 1
    • Remove the USB board.

    FixBotに聞いてみる

    コメントを追加

  29. Samsung Galaxy Note Display Assembly Replacement: 手順 29、 3の画像 1 Samsung Galaxy Note Display Assembly Replacement: 手順 29、 3の画像 2 Samsung Galaxy Note Display Assembly Replacement: 手順 29、 3の画像 3
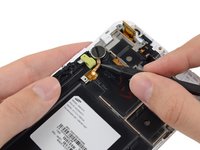
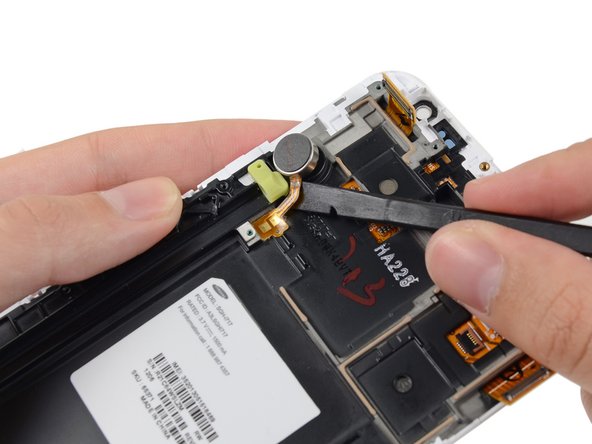
    • Insert the tip of a spudger under the vibrator connector cable near the contacts then slide toward the vibrator itself.

    FixBotに聞いてみる

    コメントを追加

  30. Samsung Galaxy Note Display Assembly Replacement: 手順 30、 2の画像 1 Samsung Galaxy Note Display Assembly Replacement: 手順 30、 2の画像 2
    • Insert the flat end of a spudger under the vibrator connector cable, and pry it up from the adhesive.

    FixBotに聞いてみる

    コメントを追加

  31. Samsung Galaxy Note Display Assembly Replacement: 手順 31、 1の画像 1
    • Remove the vibrator from the display assembly.

    FixBotに聞いてみる

    コメントを追加

終わりに

To reassemble your device, follow these instructions in reverse order.

キャンセル: このガイドを終了できませんでした。

43 の人々がこのガイドを完成させました。

作成者

4人の作成者と共同で作成されました。

Sam Goldheart

メンバー登録日: 10/18/12

477,696 ポイント

538のガイドは作成済み

チーム

iFixit iFixit人のメンバー

Staff

123 メンバー

28,236のガイドは作成済み

6件のガイドコメント

étape 31 ensuite ??

Fabrice - 返信 共有

Fantastic !!

omarkhurshid - 返信 共有

i have a galaxy not and its display is badly broken,at the top of the phone(front side),the display is broken so badly that i am able to a little circuit i.e. a brown color wire which is connected to the display.

so my ques. is that can the phone work after repairing or it has gone?

Abhishek Kumbhar - 返信 共有

Hello Abhishek Kumbhar, if the motherboard is not damaged it's all fine. All other parts are replaceable

Georg Fischer - 返信 共有

excellent photos

of samsung 717

murali maroju - 返信 共有

コメントを追加

統計データ:

過去 24時間: 0

過去 7 日: 12

過去 30 日: 72

今までの合計 45,207