はじめに
Are you not satisfied with your sound coming of your Galaxy Nexus?
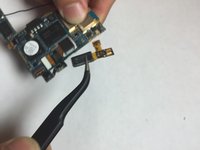
This guide will help you replace ear piece part of your phone.
必要な工具と部品
-
-
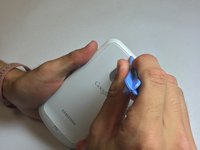
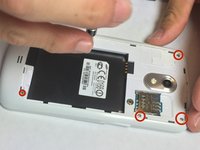
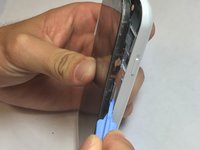
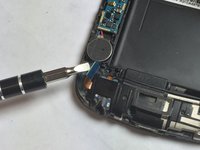
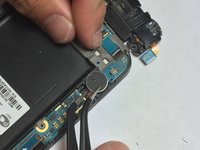
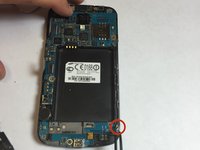
You must open the back of the phone to access the battery. To do this use the plastic opening tools or your fingernail and insert it into the divot.
-
-
-
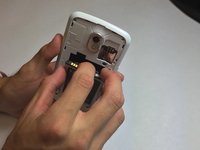
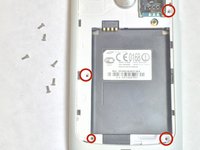
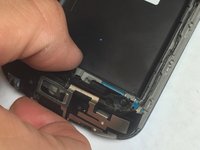
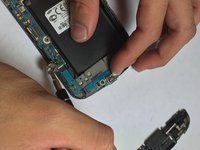
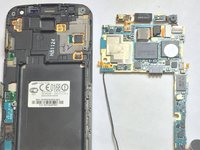
Remove the back cover of the phone by moving the prying tool or your fingernail away from the phone while it is still in the divot.
-
-
-
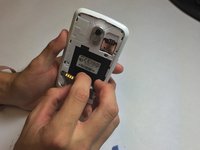
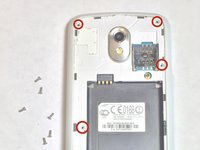
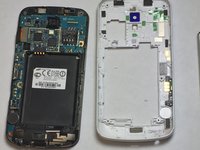
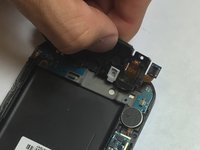
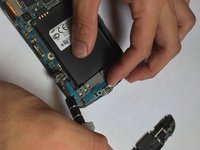
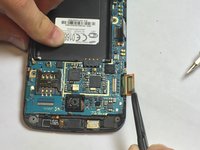
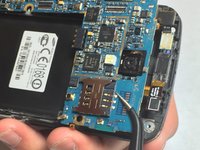
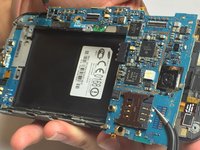
Insert your finger into the divot of the battery and pull the battery towards yourself to remove.
-
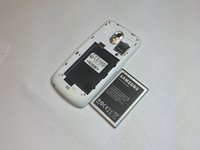
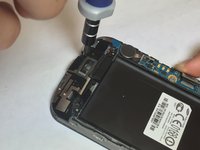
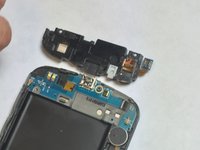
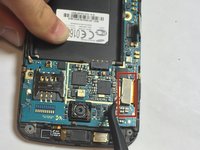
This is when a new battery will be inserted.
-
-


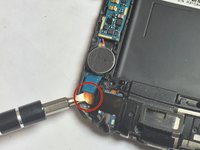


To reassemble your device, follow these instructions in reverse order.
To reassemble your device, follow these instructions in reverse order.
2 の人々がこのガイドを完成させました。
