メインコンテンツにスキップ

Samsung Galaxy J3V Back Camera Replacement

必要な工具と部品

  1. Samsung Galaxy J3V Back Camera Replacement, Front Camera: 手順 1、 3の画像 1 Samsung Galaxy J3V Back Camera Replacement, Front Camera: 手順 1、 3の画像 2 Samsung Galaxy J3V Back Camera Replacement, Front Camera: 手順 1、 3の画像 3
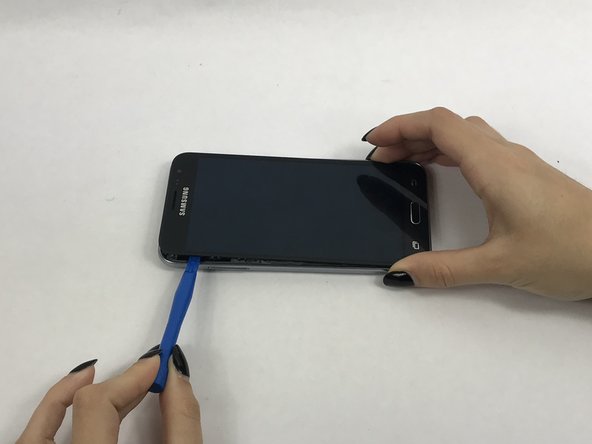
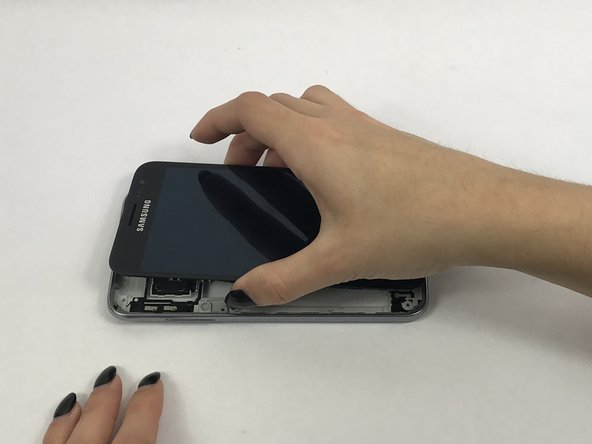
    • Place your thumb on the top left corner and pry the tab open and lift off the back cover.

  2. Samsung Galaxy J3V Back Camera Replacement: 手順 2、 3の画像 1 Samsung Galaxy J3V Back Camera Replacement: 手順 2、 3の画像 2 Samsung Galaxy J3V Back Camera Replacement: 手順 2、 3の画像 3
    • Remove the ten 2.0 mm screws with the Phillips #J000 screwdriver.

  3. Samsung Galaxy J3V Back Camera Replacement: 手順 3、 3の画像 1 Samsung Galaxy J3V Back Camera Replacement: 手順 3、 3の画像 2 Samsung Galaxy J3V Back Camera Replacement: 手順 3、 3の画像 3
    • Use a small suction cup to pull the screen up. Then slip a small plastic opening tool under the screen to pry it upwards.

    • If this is the first time the screen is being removed then there will be adhesive around the edges of the screen. It may be difficult to remove the screen because of this adhesive seal and it is going to take a few tries and some force to pry the entire screen off.

  4. Samsung Galaxy J3V Back Camera Replacement: 手順 4、 3の画像 1 Samsung Galaxy J3V Back Camera Replacement: 手順 4、 3の画像 2 Samsung Galaxy J3V Back Camera Replacement: 手順 4、 3の画像 3
    • Use tweezers to flip tab of the front camera to remove it.

  5. Samsung Galaxy J3V Back Camera Replacement, Motherboard: 手順 5、 3の画像 1 Samsung Galaxy J3V Back Camera Replacement, Motherboard: 手順 5、 3の画像 2 Samsung Galaxy J3V Back Camera Replacement, Motherboard: 手順 5、 3の画像 3
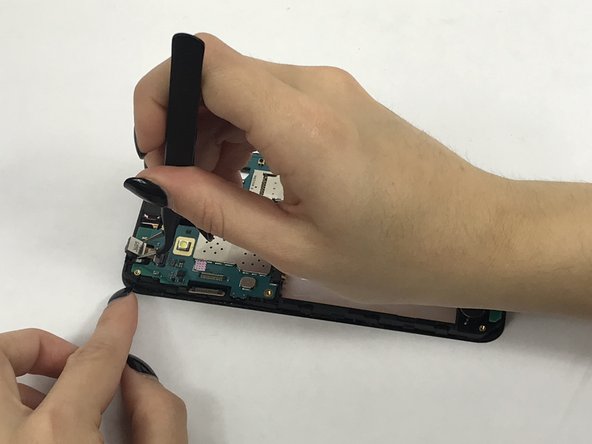
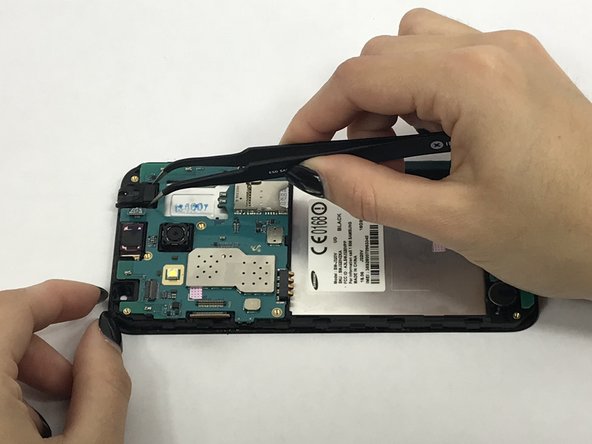
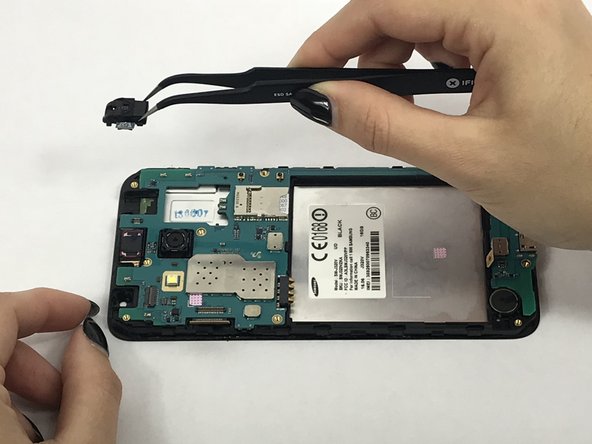
    • Remove connector tab with spudger then carefully remove headphone jack with tweezers.

  6. Samsung Galaxy J3V Back Camera Replacement: 手順 6、 2の画像 1 Samsung Galaxy J3V Back Camera Replacement: 手順 6、 2の画像 2
    • Remove these connectors from the motherboard with spudger.

  7. Samsung Galaxy J3V Back Camera Replacement: 手順 7、 2の画像 1 Samsung Galaxy J3V Back Camera Replacement: 手順 7、 2の画像 2
    • Carefully use the spudger to pry the motherboard out of the plastic tabs.

  8. Samsung Galaxy J3V Back Camera Replacement, Back Camera: 手順 8、 3の画像 1 Samsung Galaxy J3V Back Camera Replacement, Back Camera: 手順 8、 3の画像 2 Samsung Galaxy J3V Back Camera Replacement, Back Camera: 手順 8、 3の画像 3
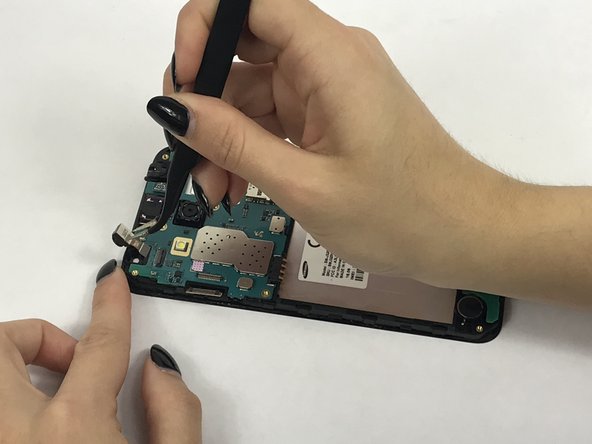
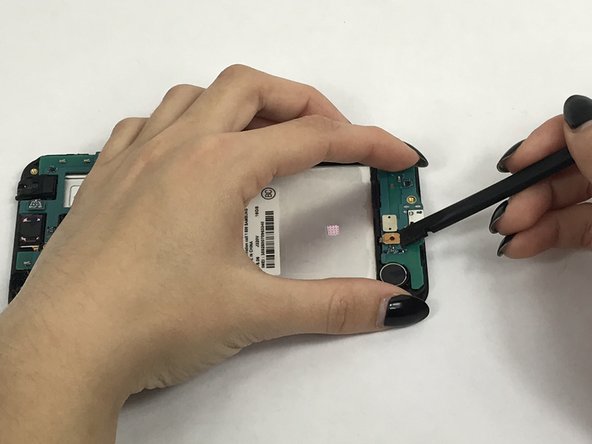
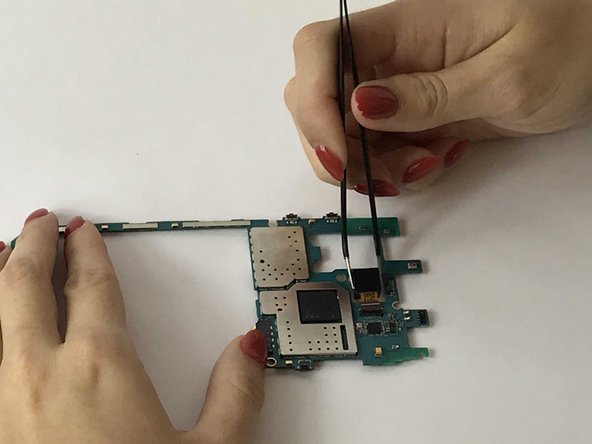
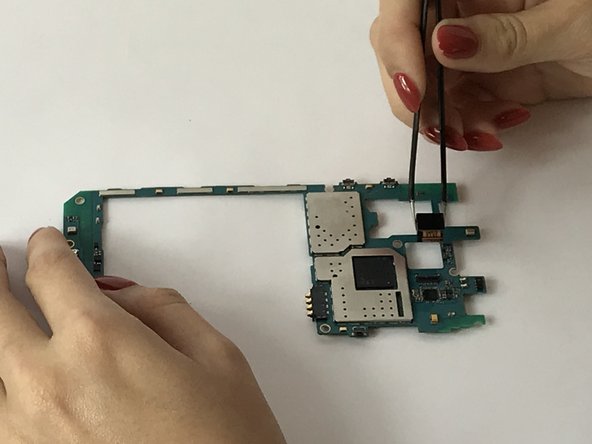
    • After removing the motherboard, locate and flip tab holding the rear camera's connector.

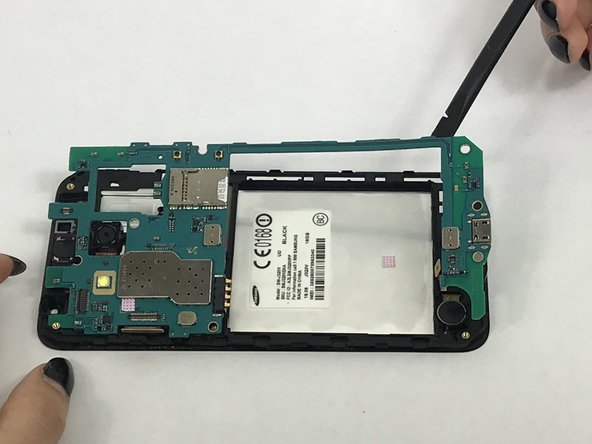
    • Carefully use the tweezer to remove the connector and the camera.

終わりに

To reassemble your device, follow these instructions in reverse order.

ある他の人がこのガイドを完成しました。

作成者

3人の作成者と共同で作成されました。

Carry Corrales

メンバー登録日: 09/28/17

738 ポイント

5のガイドは作成済み

チーム

USF Tampa, Team S3-G3, Nance Fall 2017 USF Tampa, Team S3-G3, Nance Fall 2017人のメンバー

USFT-NANCE-F17S3G3

4 メンバー

5のガイドは作成済み

コメント 1 件

Your &&^&^$^ trash and did not help me at all.

Harrington Kenneth - 返信

コメントを追加

統計データ:

過去 24時間: 0

過去 7 日: 0

過去 30 日: 0

今までの合計 1,514