このバージョンは誤った内容を含んでいる可能性があります。最新の承認済みスナップショットに切り替えてください。
必要な工具と部品
-
この手順は未翻訳です。 翻訳を手伝う。
-
The adhesive that holds the screen in place is easily meltable (Unlike a certain smartphone maker). If you don't have a heat gun, a hairdryer easily gets hot enough to make the adhesive melt.
-
While melting the adhesive, use something like a iFixit opening pick (or a guitar pick in a pinch). Make sure not to go very deep or you will damage the LCD inside.
-
-
この手順は未翻訳です。 翻訳を手伝う。
-
Carefully lift up from the bottom of the phone, and lean the screen over the top of the phone.
-
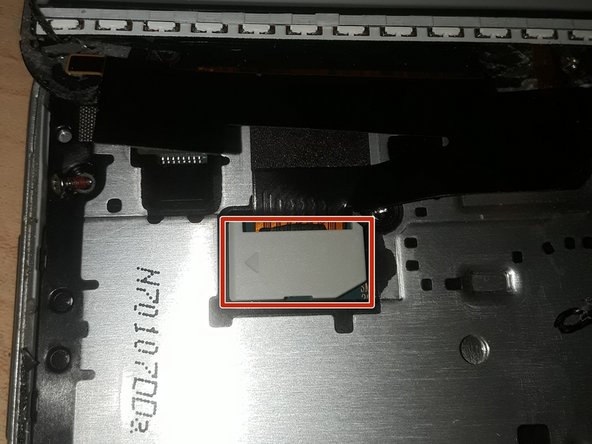
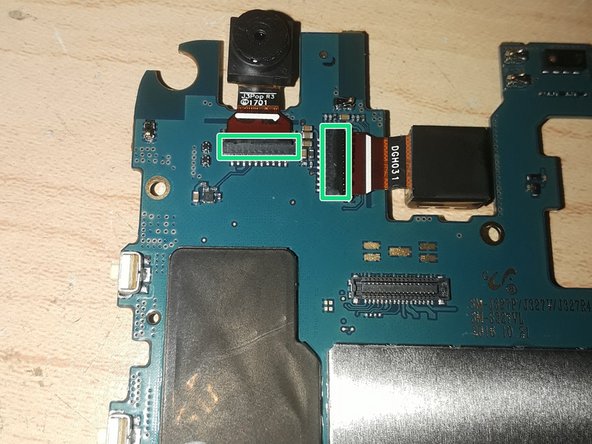
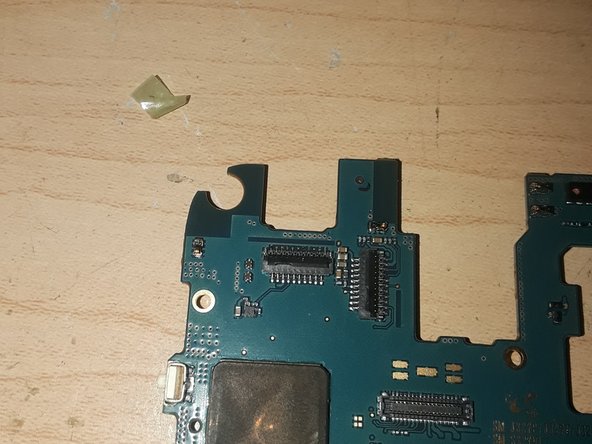
Pry the tab (noted by the red box in the pictures) up to expose the connector.
-
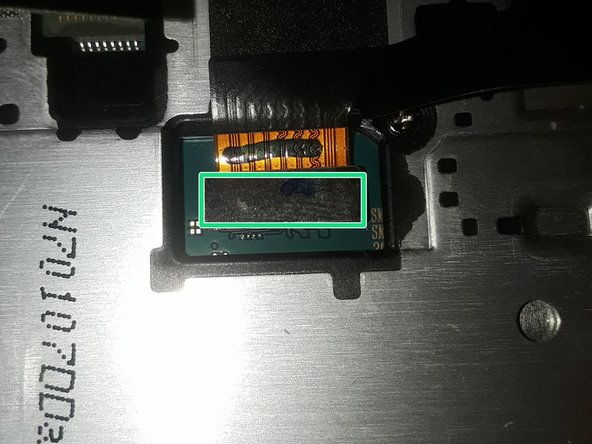
The connector is noted in the green box. Use a iFixit opening pick (or guitar pick) to gently pry it up off the motherboard
-
-
-
この手順は未翻訳です。 翻訳を手伝う。
-
After all the screws are out, apply light pressure to the back of the phone where the battery was until you hear clicking noises.
-
After you hear clicking noises, get your ifixit opening pick (or guitar pick) and turn the phone around to start prying around on the other side. Be gentle, as the pick with be in contact with the bare circuits.
-
-
この手順は未翻訳です。 翻訳を手伝う。
-
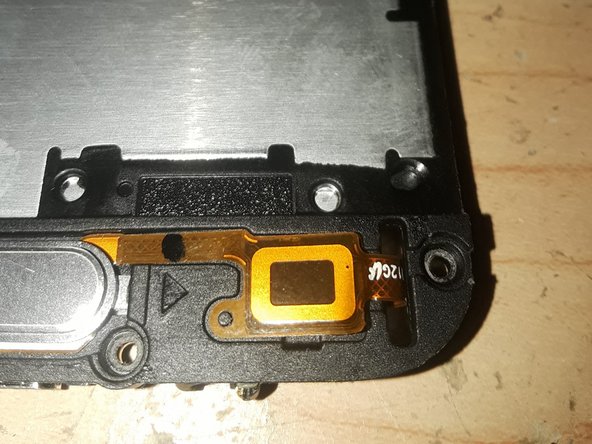
The headphone and home button are held in with a single connector. Use an iFixit opening pick (or guitar pick) to gently pry it off the motherboard
-
The headphone jack is connected to the home button and is inside the chassis of the phone. Do not attempt to remove the headphone jack by tearing it out.
-


5 の人々がこのガイドを完成させました。
