メインコンテンツにスキップ

Samsung Galaxy J3 (2018) Screen Replacement

必要な工具と部品

  1. Samsung Galaxy J3 (2018) Screen Replacement, Remove The Battery: 手順 1、 3の画像 1 Samsung Galaxy J3 (2018) Screen Replacement, Remove The Battery: 手順 1、 3の画像 2 Samsung Galaxy J3 (2018) Screen Replacement, Remove The Battery: 手順 1、 3の画像 3
    • First, let's open up the back panel and remove the battery to avoid shorting anything inside of the phone.

    • There's a little cutout on the lower right hand corner we can remove the back of the phone with. The battery also has one of these dimples on the bottom edge.

  2. Samsung Galaxy J3 (2018) Screen Replacement, Quick Notes:: 手順 2、 1の画像 1
    • Looking on the back of our new screen, we see the connector for the panel. Because it's right next to our panel, this repair need no screws! Yay!

    • Keep in mind the fact that this connector is on top when we cut out our old screen. If you want to keep the old one as a spare, steer clear of the top edge while slicing adhesive.

  3. Samsung Galaxy J3 (2018) Screen Replacement, Prepare the old screen for removal: 手順 3、 2の画像 1 Samsung Galaxy J3 (2018) Screen Replacement, Prepare the old screen for removal: 手順 3、 2の画像 2
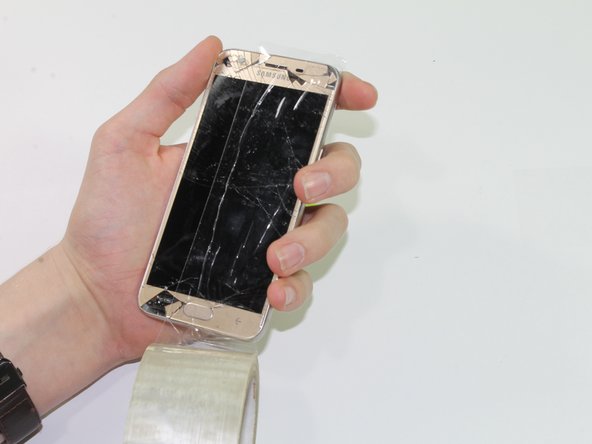
    • Remove any screen protectors from the device.

    • The screen on this device is badly cracked, and if that's the case with yours as well, it would be a great idea to grab some packing tape. This will provide a good area for our suction cup to grab on to as well as keeping any glass shards stuck to the old screen.

  4. Samsung Galaxy J3 (2018) Screen Replacement, Applying Heat: 手順 4、 3の画像 1 Samsung Galaxy J3 (2018) Screen Replacement, Applying Heat: 手順 4、 3の画像 2 Samsung Galaxy J3 (2018) Screen Replacement, Applying Heat: 手順 4、 3の画像 3
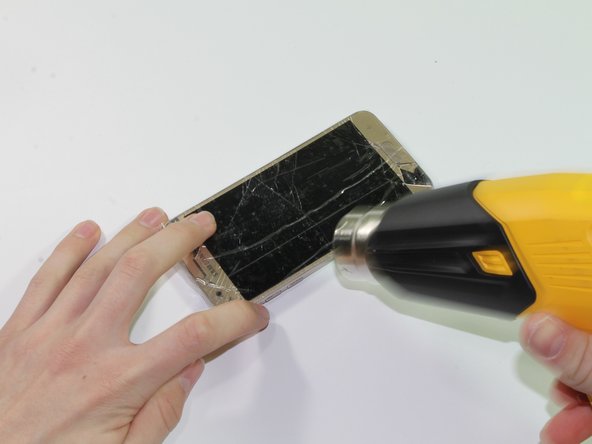
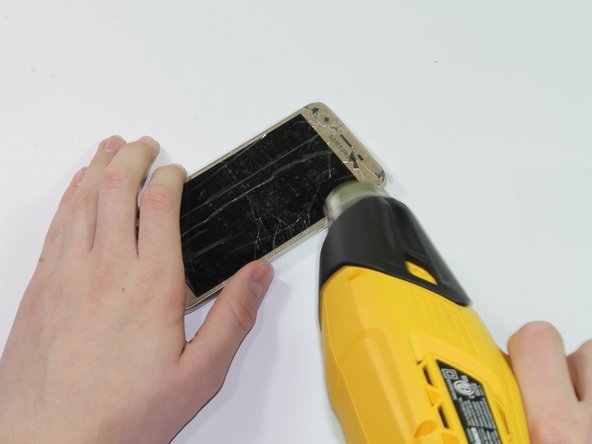
    • Using an iOpener, heatgun, or similar, evenly apply heat around the device until the device is warm to the touch.

    • Don't dwell on a single spot or heat for too long, we just want to warm up the adhesive in order to weaken it's bond.

  5. Samsung Galaxy J3 (2018) Screen Replacement, Working along the bottom: 手順 5、 3の画像 1 Samsung Galaxy J3 (2018) Screen Replacement, Working along the bottom: 手順 5、 3の画像 2 Samsung Galaxy J3 (2018) Screen Replacement, Working along the bottom: 手順 5、 3の画像 3
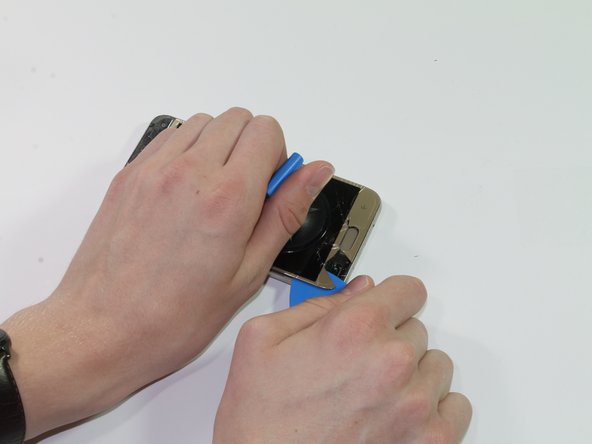
    • After the bottom reaches a good heat, use a suction cup to pry up near the bottom.

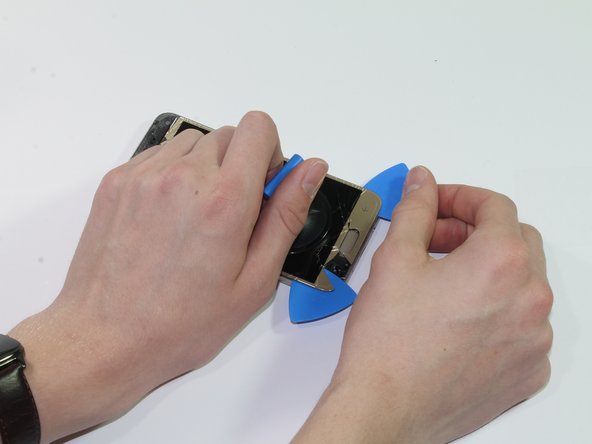
    • Once you have a good gap, stick an opening pick inside of the gap, being mindful of the home button sitting beneath.

    • Be careful not to go too deep into the phone near those capacitive back and recent buttons! Keep the pick as flat as possible.

    • Add another opening pick and position them on opposing corners to keep your device open.

  6. Samsung Galaxy J3 (2018) Screen Replacement, Working along the sides: 手順 6、 3の画像 1 Samsung Galaxy J3 (2018) Screen Replacement, Working along the sides: 手順 6、 3の画像 2 Samsung Galaxy J3 (2018) Screen Replacement, Working along the sides: 手順 6、 3の画像 3
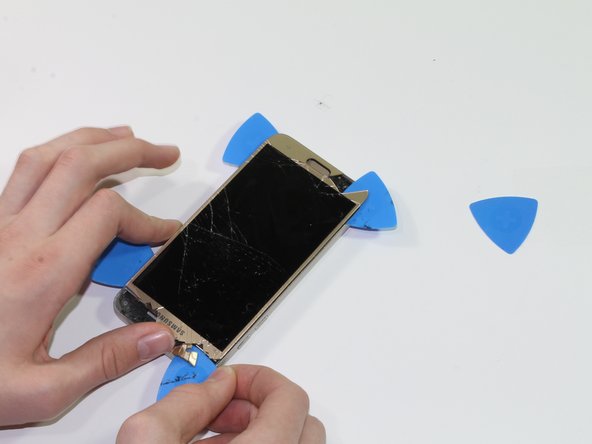
    • Next, work down both edges of the phone, being mindful of the cable on the top.

    • Make sure to go at a downward angle with your pick in order to get down below the screen. It's shielded behind the display, so don't worry about hitting any components behind it.

  7. Samsung Galaxy J3 (2018) Screen Replacement, Getting the top of the display: 手順 7、 3の画像 1 Samsung Galaxy J3 (2018) Screen Replacement, Getting the top of the display: 手順 7、 3の画像 2 Samsung Galaxy J3 (2018) Screen Replacement, Getting the top of the display: 手順 7、 3の画像 3
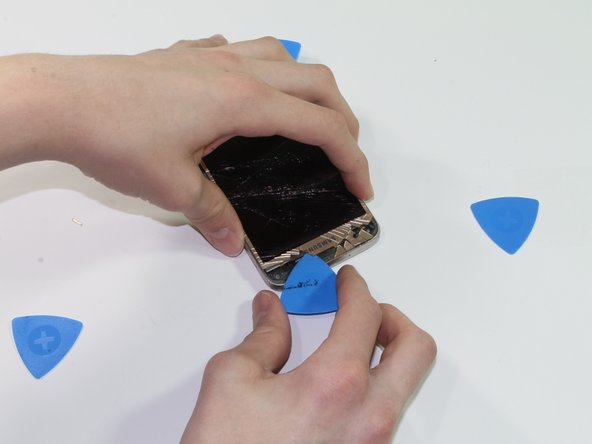
    • Going no deeper than 3mm, work a pick around to the top, going around the display cable. If you go any deeper, you may sever it. Disregard this if you don't plan on keeping the old screen.

    • After reheating if necessary, sever any remaining adhesive around the top bezel, going no deeper than 5mm.

  8. Samsung Galaxy J3 (2018) Screen Replacement, Remove the display: 手順 8、 3の画像 1 Samsung Galaxy J3 (2018) Screen Replacement, Remove the display: 手順 8、 3の画像 2 Samsung Galaxy J3 (2018) Screen Replacement, Remove the display: 手順 8、 3の画像 3
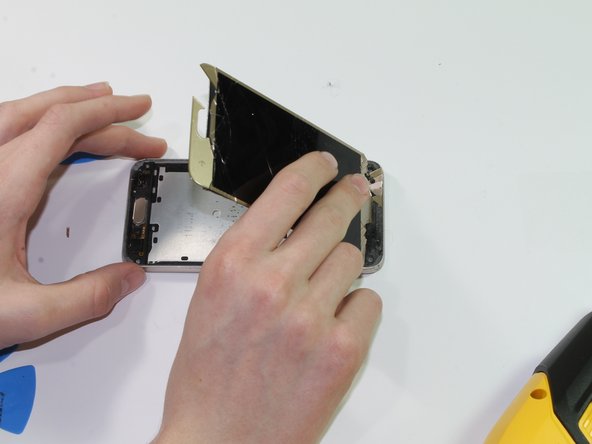
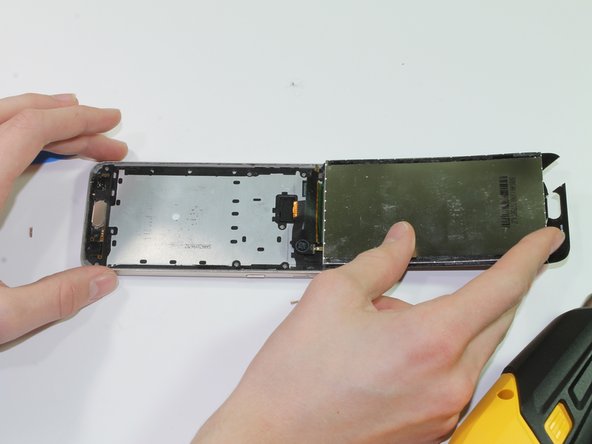
    • Heat the display once more near the top, then open the phone from the bottom to the top.

    • Note how the old screen's connector is too short to completely get it off the device. Just leave the top edge of the screen laying on the top of the phone in order to avoid damaging the cable.

  9. Samsung Galaxy J3 (2018) Screen Replacement, Removing the Connector: 手順 9、 3の画像 1 Samsung Galaxy J3 (2018) Screen Replacement, Removing the Connector: 手順 9、 3の画像 2 Samsung Galaxy J3 (2018) Screen Replacement, Removing the Connector: 手順 9、 3の画像 3
    • Down to just the press-fit connector, we can remove the shield covering it using our opening tool. After that, all that's left is to pop off our connector using a spudger!

終わりに

To reassemble your device, follow these instructions in reverse order. Don’t forget to reattach your display cable shield! Also, make sure to test that the screen works and has no deadzones before closing the device, as well as ensuring that the recent and back buttons still work.

4 の人々がこのガイドを完成させました。

作成者

1人の作成者と共同作成されました。

tinyturtleclan

メンバー登録日: 08/07/18

468 ポイント

1ガイドが承認済み

0 件のコメント

コメントを追加

統計データ:

過去 24時間: 4

過去 7 日: 9

過去 30 日: 45

今までの合計 1,587