メインコンテンツにスキップ

Samsung Galaxy Centura Lock and Volume Buttons Replacement

必要な工具と部品

  1. Samsung Galaxy Centura Lock and Volume Buttons Replacement, Battery: 手順 1、 2の画像 1 Samsung Galaxy Centura Lock and Volume Buttons Replacement, Battery: 手順 1、 2の画像 2
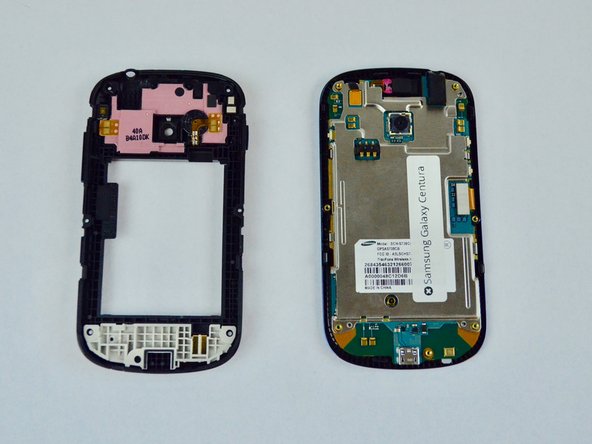
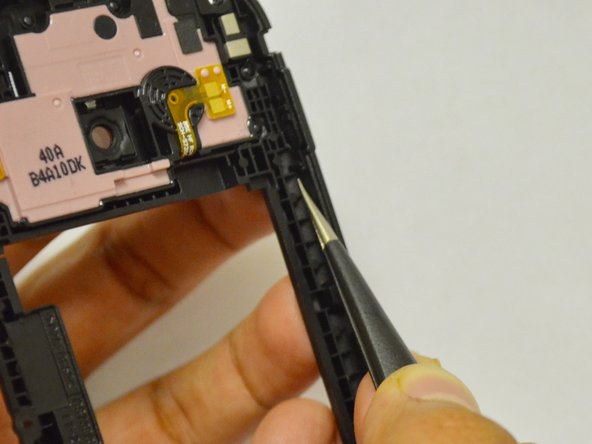
    • Locate the rectangular groove on the top side of the device.

    • Firmly press the tip of your index finger, or plastic opening tool into the groove, and pull back firmly. The device should pop open as shown.

  2. Samsung Galaxy Centura Lock and Volume Buttons Replacement: 手順 2、 3の画像 1 Samsung Galaxy Centura Lock and Volume Buttons Replacement: 手順 2、 3の画像 2 Samsung Galaxy Centura Lock and Volume Buttons Replacement: 手順 2、 3の画像 3
    • With the back casing removed, the phone should appear as shown, with a clear view of the battery.

    • Gently pull the battery up with your thumb and index finger. It should come out without resistance.

  3. Samsung Galaxy Centura Lock and Volume Buttons Replacement, Lock and Volume Buttons: 手順 3、 1の画像 1
    • Find the positions of the seven screws on the back of the device. Use the Phillips #00 screwdriver to remove these 5.0mm screws.

  4. Samsung Galaxy Centura Lock and Volume Buttons Replacement: 手順 4、 2の画像 1 Samsung Galaxy Centura Lock and Volume Buttons Replacement: 手順 4、 2の画像 2
    • Locate the indentation on the side of the device, and gently insert the plastic opening tool into it. With a firm prying motion, the plastic should begin to come apart.

  5. Samsung Galaxy Centura Lock and Volume Buttons Replacement: 手順 5、 1の画像 1
    • Locate the volume buttons on the plastic casing.

    • Gently pull the black tab up and out with the tweezers, then push or pull the button inward and out of the plastic casing. It should come free without resistance.

  6. Samsung Galaxy Centura Lock and Volume Buttons Replacement: 手順 6、 2の画像 1 Samsung Galaxy Centura Lock and Volume Buttons Replacement: 手順 6、 2の画像 2
    • Locate the lock button on the opposite side of the plastic casing.

    • Using the tweezers, pull the two horizontal tabs up and out of the plastic pegs that hold them in place.

    • Push the button inward and out of the plastic casing. This may require firm pressure to free it completely.

終わりに

To reassemble your device, follow these instructions in reverse order.

作成者

2人の作成者と共同で作成されました。

Austin Erickson

メンバー登録日: 02/28/17

354 ポイント

3のガイドは作成済み

チーム

USF Tampa, Team S2-G5, Nance Spring 2017 USF Tampa, Team S2-G5, Nance Spring 2017人のメンバー

USFT-NANCE-S17S2G5

3 メンバー

6のガイドは作成済み

0 件のコメント

コメントを追加

統計データ:

過去 24時間: 0

過去 7 日: 1

過去 30 日: 2

今までの合計 233