はじめに
This guide details how to replace the rear camera on a Samsung Galaxy Alpha. The rear camera would need replaced if the camera gets cracked, or is not functioning correctly. The phone is very fragile so be cautious when removing the screen and the phone back. These parts are easily bent and broken. By following these instructions and using great care, one can save time and money by replacing one component rather than buying a new phone entirely.
必要な工具と部品
-
-
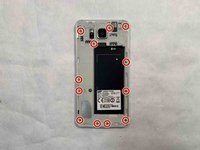
On the back of the phone, find the slot on the side. When looking at the phone upright and from the back, it should be to the left of the camera.
-
Use a tool such as an iFixit opening pick to slide into this gap and create vertical separation between the back panel and the body of the phone. This may also be done by hand if no tool is available.
-
-
-
この手順で使用する道具:Halberd Spudger$2.99
-
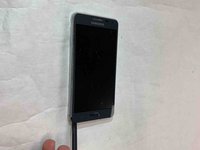
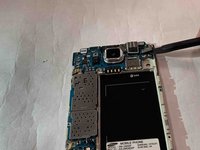
Flip the phone so that the screen is facing upward.
-
Use the flat blade end of the halberd spudger to create separation between the front screen and the body of the phone.
-
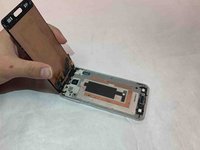
Lift upward and outward to remove the screen.
-
-
-
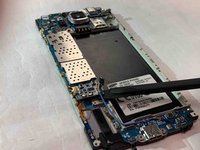
Flip the phone so that the back case is facing upward.
-
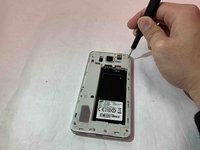
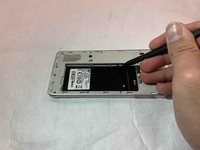
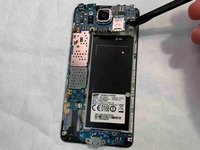
Insert the hook of the halberd spudger into the gaps on the side of the battery housing. Pry upward until there is separation between the back case and the main phone body.
-
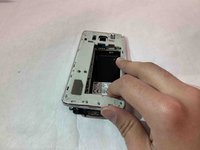
Use your fingers or a prying tool to completely separate and remove the back case.
-
-
-
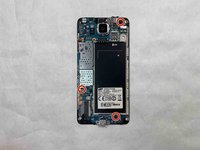
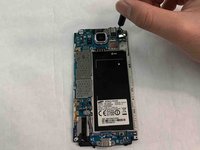
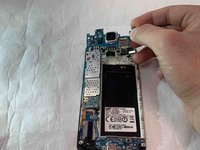
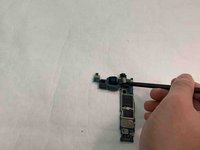
Once the motherboard is removed, use the spudger to disconnect the rear camera from the motherboard.
-


To reassemble your device, follow these instructions in reverse order.
To reassemble your device, follow these instructions in reverse order.
2 の人々がこのガイドを完成させました。

チーム

IUPUI, Team S1-G1, Wilson Fall 2019 IUPUI, Team S1-G1, Wilson Fall 2019人のメンバー
IUPUI-WILSON-F19S1G1
4 メンバー
2のガイドは作成済み