メインコンテンツにスキップ

Samsung Galaxy A50 Display Assembly with Frame Replacement

必要な工具と部品

ビデオの概要

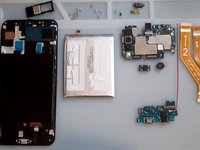
  1. Samsung Galaxy A50 Display Assembly with Frame Replacement, LCD Display Assembly replacement: 手順 1、 3の画像 1 Samsung Galaxy A50 Display Assembly with Frame Replacement, LCD Display Assembly replacement: 手順 1、 3の画像 2 Samsung Galaxy A50 Display Assembly with Frame Replacement, LCD Display Assembly replacement: 手順 1、 3の画像 3
    • Display Touch Screen Digitizer Assembly with Frame for Samsung Galaxy A50

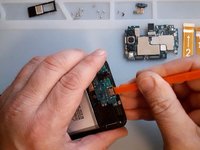
  2. Samsung Galaxy A50 Display Assembly with Frame Replacement, Battery cover removal: 手順 2、 3の画像 1 Samsung Galaxy A50 Display Assembly with Frame Replacement, Battery cover removal: 手順 2、 3の画像 2 Samsung Galaxy A50 Display Assembly with Frame Replacement, Battery cover removal: 手順 2、 3の画像 3
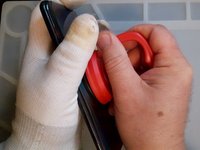
    • Heat up the back cover to loosen the adhesive.

    • To separate the back cover use a Suction Cup and plastic tools.

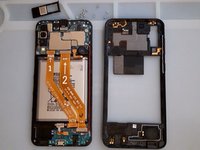
  3. Samsung Galaxy A50 Display Assembly with Frame Replacement, Middle frame removal: 手順 3、 3の画像 1 Samsung Galaxy A50 Display Assembly with Frame Replacement, Middle frame removal: 手順 3、 3の画像 2 Samsung Galaxy A50 Display Assembly with Frame Replacement, Middle frame removal: 手順 3、 3の画像 3
    • Remove the SIM tray.

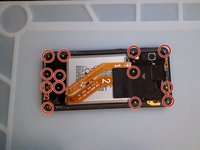
    • Remove the Philips Screws.

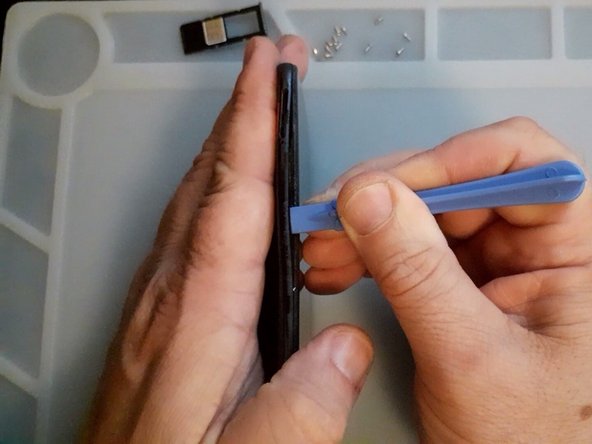
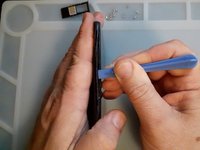
    • Again use plastic tools to separate the middle frame.

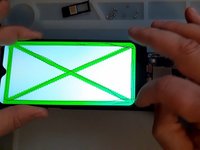
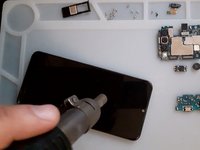
  4. Samsung Galaxy A50 Display Assembly with Frame Replacement, Test the new spare part: 手順 4、 3の画像 1 Samsung Galaxy A50 Display Assembly with Frame Replacement, Test the new spare part: 手順 4、 3の画像 2 Samsung Galaxy A50 Display Assembly with Frame Replacement, Test the new spare part: 手順 4、 3の画像 3
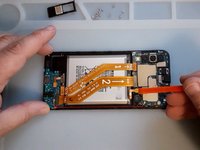
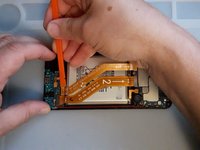
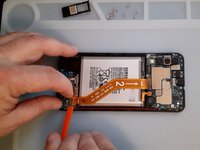
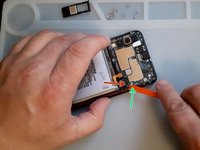
    • First disconnect the Battery.

    • Test the new spare part before the installation.

  5. Samsung Galaxy A50 Display Assembly with Frame Replacement, Logic board removal: 手順 5、 3の画像 1 Samsung Galaxy A50 Display Assembly with Frame Replacement, Logic board removal: 手順 5、 3の画像 2 Samsung Galaxy A50 Display Assembly with Frame Replacement, Logic board removal: 手順 5、 3の画像 3
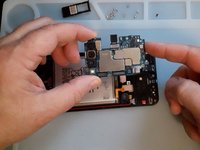
    • Disconnect and remove the Main Flex Cable.

    • Remove the black Philips screw, it's shorter then the middle frame screws.

    • Disconnect the coaxial antenna cable.

    • Now you can remove the logic board.

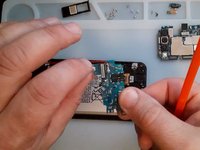
  6. Samsung Galaxy A50 Display Assembly with Frame Replacement, Sub board removal: 手順 6、 3の画像 1 Samsung Galaxy A50 Display Assembly with Frame Replacement, Sub board removal: 手順 6、 3の画像 2 Samsung Galaxy A50 Display Assembly with Frame Replacement, Sub board removal: 手順 6、 3の画像 3
    • First remove the Fingerprint sensor.

    • The screws for the Fingerprint are shorter.

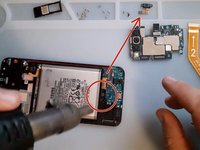
    • It's better to use hot air before to disassemble the sub-board.

    • Reminder - only plastic tools :)
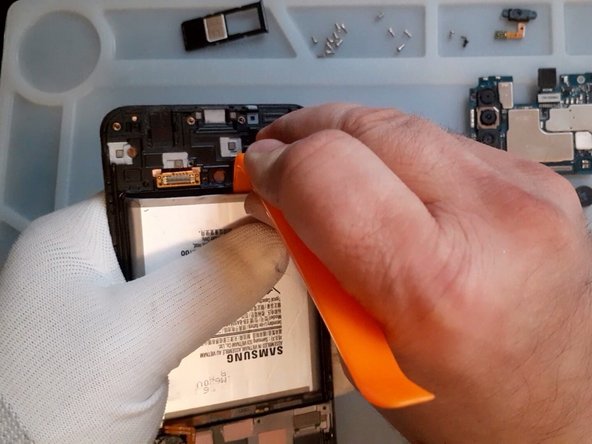
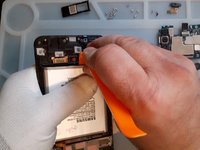
  7. Samsung Galaxy A50 Display Assembly with Frame Replacement, Battery removal: 手順 7、 3の画像 1 Samsung Galaxy A50 Display Assembly with Frame Replacement, Battery removal: 手順 7、 3の画像 2 Samsung Galaxy A50 Display Assembly with Frame Replacement, Battery removal: 手順 7、 3の画像 3
    • Again, hot air, plastic tools and very slowly remove the battery.

  8. Samsung Galaxy A50 Display Assembly with Frame Replacement: 手順 8、 1の画像 1
    • All's Well That Ends Well

終わりに

To reassemble your device, follow these instructions in reverse order.

4 の人々がこのガイドを完成させました。

作成者

1人の作成者と共同作成されました。

ZFix

メンバー登録日: 12/09/13

191,055 ポイント

330のガイドは作成済み

チーム

Master Techs Master Techs人のメンバー

Community

322 メンバー

2,506のガイドは作成済み

コメント 1 件

The frame I bought doesn't have the place for earspeaker surrounded by little "walls", so it's very loose and doesn't have contact with the board. Anyone experienced this?

knezi - 返信

コメントを追加

統計データ:

過去 24時間: 5

過去 7 日: 68

過去 30 日: 267

今までの合計 13,144