メインコンテンツにスキップ

この修理ガイドは変更されています。最新の未承認バージョンに切り替えます。

Samsung Fascinate Speaker Replacement

必要な工具と部品

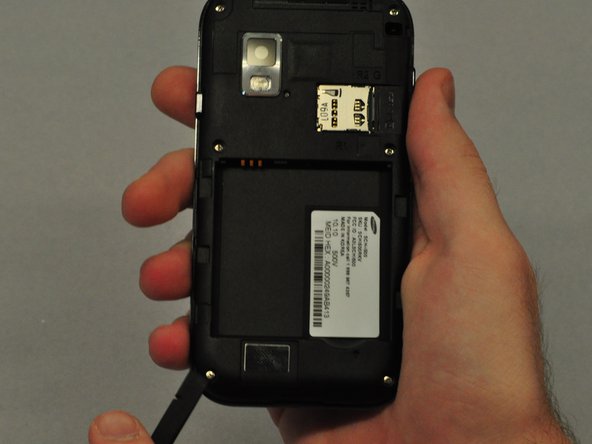
  1. Samsung Fascinate Speaker Replacement, Back Case: 手順 1、 3の画像 1 Samsung Fascinate Speaker Replacement, Back Case: 手順 1、 3の画像 2 Samsung Fascinate Speaker Replacement, Back Case: 手順 1、 3の画像 3
    • To remove the back case of the Samsung Galaxy S, you may need a spudger.

    • Identify the slit which is at the bottom edge of the phone.

  2. Samsung Fascinate Speaker Replacement: 手順 2、 2の画像 1 Samsung Fascinate Speaker Replacement: 手順 2、 2の画像 2
    • Insert the edge of the spudger into the slit and use it to pry the back case off of the phone.

  3. Samsung Fascinate Speaker Replacement, Battery: 手順 3、 2の画像 1 Samsung Fascinate Speaker Replacement, Battery: 手順 3、 2の画像 2
    • Insert the spudger into the space between the battery and the phone and pry the battery out as you slide it along the underside the battery.

  4. Samsung Fascinate Speaker Replacement, Speaker: 手順 4、 3の画像 1 Samsung Fascinate Speaker Replacement, Speaker: 手順 4、 3の画像 2 Samsung Fascinate Speaker Replacement, Speaker: 手順 4、 3の画像 3
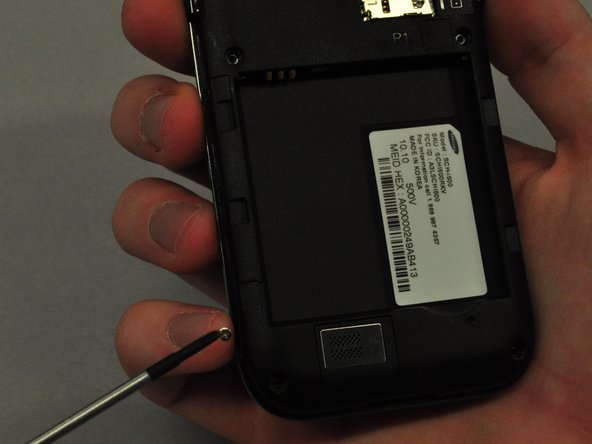
    • Use the screwdriver to unscrew each of the 6 silver screws holding the main case to the LCD touchscreen.

    • If the screws are stuck, use the spudger to pry them out.

  5. Samsung Fascinate Speaker Replacement: 手順 5、 3の画像 1 Samsung Fascinate Speaker Replacement: 手順 5、 3の画像 2 Samsung Fascinate Speaker Replacement: 手順 5、 3の画像 3
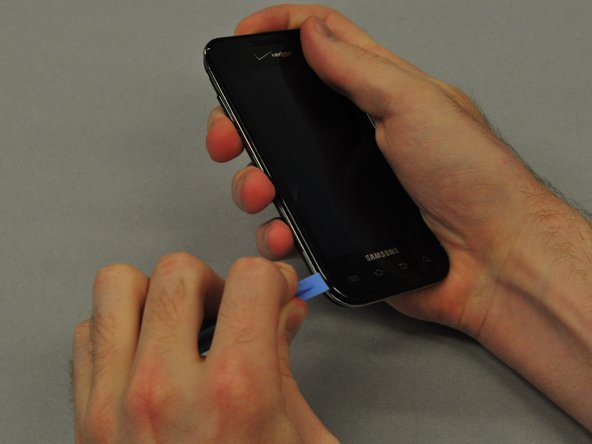
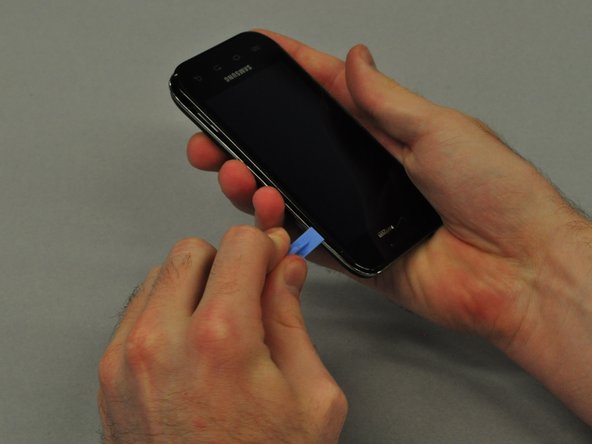
    • Use the plastic opening tool to pry the main case from the LCD touchscreen.

    • Insert the thin edge of the plastic opening tool into the groove between the silver edge and black edge.

    • Run the tool all the way around the edge of the phone until you hear each of the clips detach.

  6. Samsung Fascinate Speaker Replacement: 手順 6、 3の画像 1 Samsung Fascinate Speaker Replacement: 手順 6、 3の画像 2 Samsung Fascinate Speaker Replacement: 手順 6、 3の画像 3
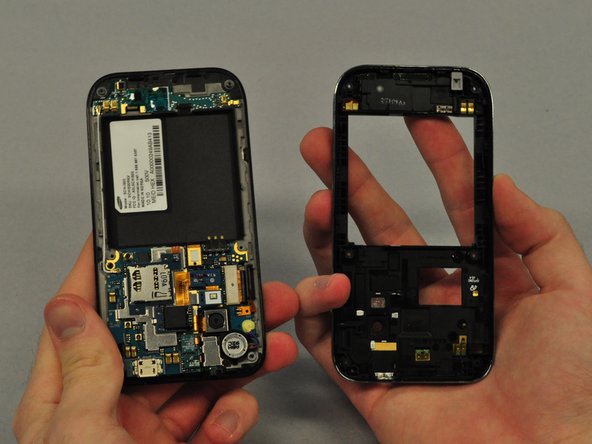
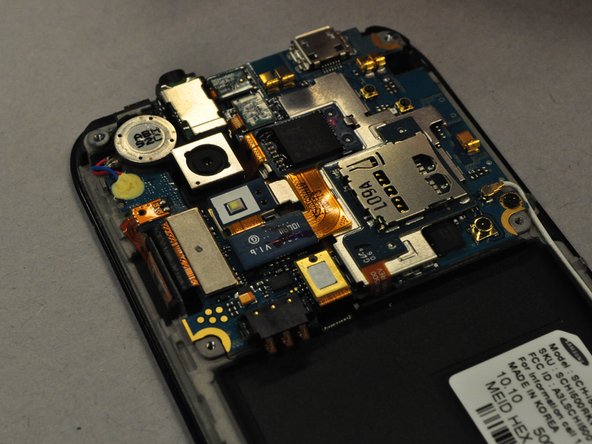
    • Once the clips are detached, separate the main case from the LCD touchscreen.

  7. Samsung Fascinate Speaker Replacement: 手順 7、 3の画像 1 Samsung Fascinate Speaker Replacement: 手順 7、 3の画像 2 Samsung Fascinate Speaker Replacement: 手順 7、 3の画像 3
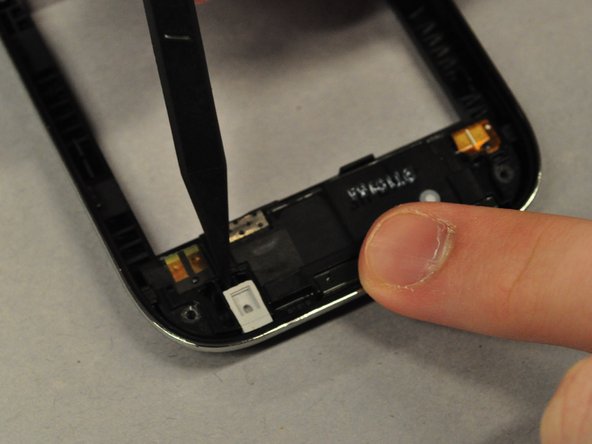
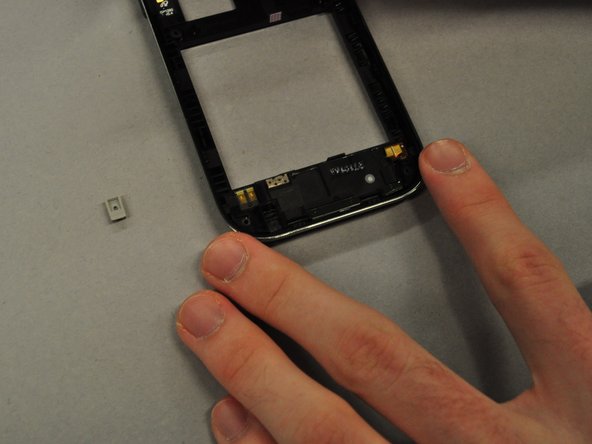
    • Use the spudger to pry out the grey rubber rectangular component from the main case.

  8. Samsung Fascinate Speaker Replacement: 手順 8、 3の画像 1 Samsung Fascinate Speaker Replacement: 手順 8、 3の画像 2 Samsung Fascinate Speaker Replacement: 手順 8、 3の画像 3
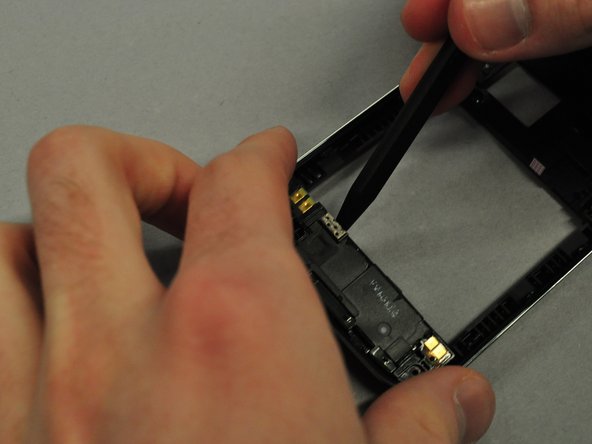
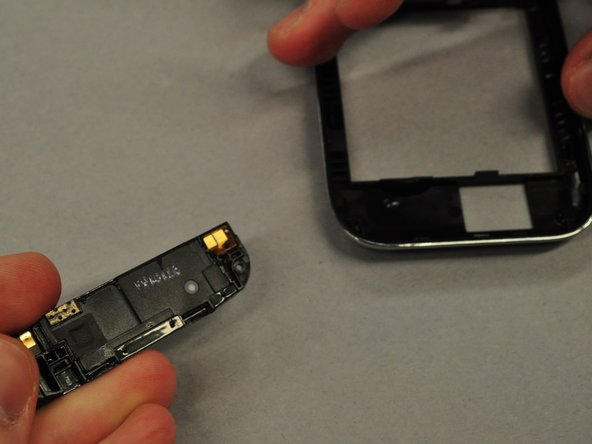
    • Use the spudger to pry along the groove between the speaker and the main case.

    • Once the speaker is unclipped it should pop out easily.

終わりに

To reassemble your device, follow these instructions in reverse order.

2 の人々がこのガイドを完成させました。

作成者

5人の作成者と共同で作成されました。

Kevin Carlson

メンバー登録日: 04/22/11

236 ポイント

6のガイドは作成済み

チーム

Cal Poly, Team 25-25, Garner Spring 2011 Cal Poly, Team 25-25, Garner Spring 2011人のメンバー

CPSU-GARNER-S11S25G25

4 メンバー

6のガイドは作成済み

0 件のコメント

コメントを追加

統計データ:

過去 24時間: 0

過去 7 日: 0

過去 30 日: 1

今までの合計 5,467