はじめに
The sound system of a phone is integral to its functionality; if the audio playing through your Samsung Epix (also known as the Samsung Mirage or Samsung SGH-i907) is distorted or cannot be heard at all, your speaker is likely damaged and needs replacement.
Some ways to determine if the speakers are the problem instead of another factor include:
1. Hearing crackling, buzzing, scratching, or distorted sound when playing audio
2. Volume irregularities (ex: sounding lower than usual)
3. Testing your volume within the setting systems of the phone with no avail (make sure your ringer in on when you try this)
Ensure your phone is disconnected from any external power source and completely powered down before you begin.
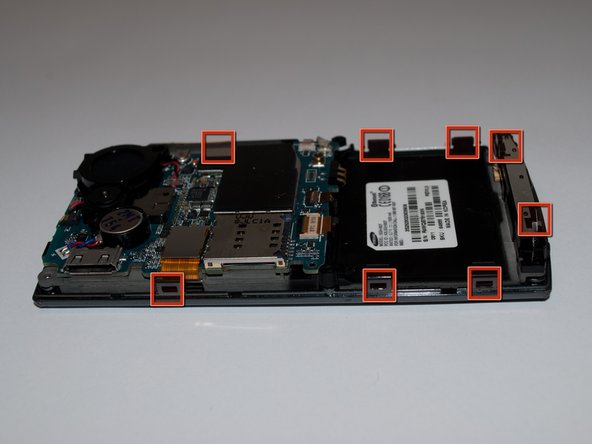
必要な工具と部品
-
-
Press button on back of phone below camera.
-
While button is depressed, remove the back panel of the phone by it sliding off (not shown in picture).
-
-
-
Using an iPod opening tool, remove the screw cover in the top left corner by lifting it up.
-
-


To reassemble your device, follow these instructions in reverse order.
To reassemble your device, follow these instructions in reverse order.
ある他の人がこのガイドを完成しました。
チーム

Cal Poly, Team 15-15, Regan Spring 2011 Cal Poly, Team 15-15, Regan Spring 2011人のメンバー
CPSU-REGAN-S11S15G15
5 メンバー
5のガイドは作成済み