メインコンテンツにスキップ

Samsung Chromebook XE500C21-A03US RAM Replacement

必要な工具と部品

  1. Samsung Chromebook XE500C21-A03US RAM Replacement, Back Cover: 手順 1、 3の画像 1 Samsung Chromebook XE500C21-A03US RAM Replacement, Back Cover: 手順 1、 3の画像 2 Samsung Chromebook XE500C21-A03US RAM Replacement, Back Cover: 手順 1、 3の画像 3
    • Turn the power off before beginning this step.

    • Most Chromebooks contain rubber circle pads on each of the four corners to cover the screws. In order to remove the rubber pads, simply use any opening tool.

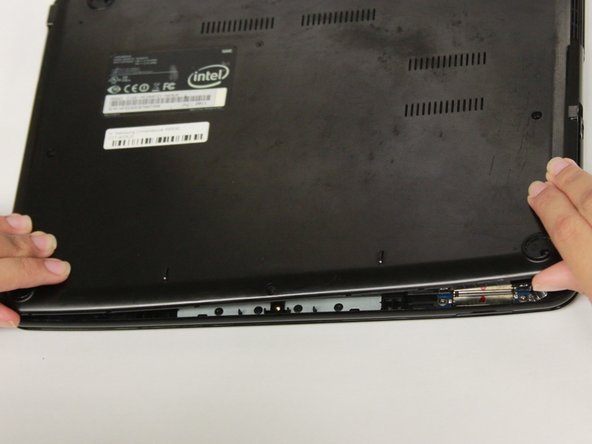
    • Lay the Chromebook down so that the bottom cover is facing upward.

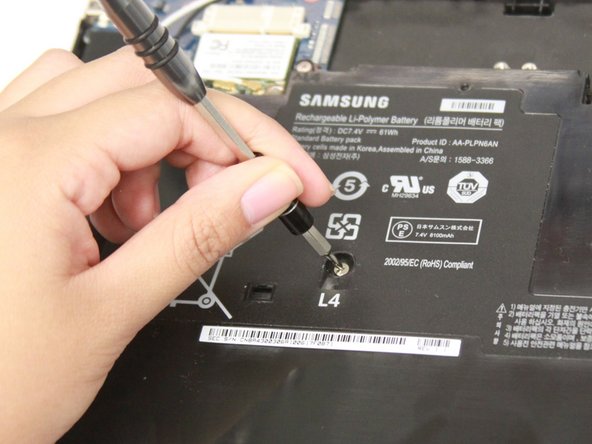
    • Using a Phillips #00 screwdriver, remove all seven 5.5 mm screws from the back cover.

  2. Samsung Chromebook XE500C21-A03US RAM Replacement: 手順 2、 3の画像 1 Samsung Chromebook XE500C21-A03US RAM Replacement: 手順 2、 3の画像 2 Samsung Chromebook XE500C21-A03US RAM Replacement: 手順 2、 3の画像 3
    • Place the opening tool in the divot between the spine of the Chromebook and the back cover.

    • Slowly glide and push down the end of the opening tool along all sides of the Chromebook to detach the brackets. You will hear the brackets detach.

  3. Samsung Chromebook XE500C21-A03US RAM Replacement: 手順 3、 2の画像 1 Samsung Chromebook XE500C21-A03US RAM Replacement: 手順 3、 2の画像 2
    • Using the opening tool, pry off the back cover of the Chromebook

    • Be gentle while prying to avoid breaking the back cover.

  4. Samsung Chromebook XE500C21-A03US RAM Replacement, Battery: 手順 4、 2の画像 1 Samsung Chromebook XE500C21-A03US RAM Replacement, Battery: 手順 4、 2の画像 2
    • Remove the four 3 mm screws using a Phillips #000 screwdriver.

  5. Samsung Chromebook XE500C21-A03US RAM Replacement: 手順 5、 2の画像 1 Samsung Chromebook XE500C21-A03US RAM Replacement: 手順 5、 2の画像 2
    • Carefully lift the top of the battery then pull it away from you to remove it.

    • Some batteries may be attached via a battery connector. Disconnect the battery connector by simply pulling straight up at its base.

  6. Samsung Chromebook XE500C21-A03US RAM Replacement, RAM: 手順 6、 2の画像 1 Samsung Chromebook XE500C21-A03US RAM Replacement, RAM: 手順 6、 2の画像 2
    • Use a blunt precision tweezer to remove the speaker cord from the RAM

  7. Samsung Chromebook XE500C21-A03US RAM Replacement: 手順 7、 2の画像 1 Samsung Chromebook XE500C21-A03US RAM Replacement: 手順 7、 2の画像 2
    • Using a Phillips #00 screwdriver, remove all six 2.5 mm screws .

    • Start removing the screws from the wifi card.

  8. Samsung Chromebook XE500C21-A03US RAM Replacement: 手順 8、 2の画像 1 Samsung Chromebook XE500C21-A03US RAM Replacement: 手順 8、 2の画像 2
    • Gently lift the bottom of the wifi card then pull it towards you to disconnect it from the socket.

    • Our Chromebook does not have a circuit board. Remove all units connected to the circuit board if necessary.

  9. Samsung Chromebook XE500C21-A03US RAM Replacement: 手順 9、 3の画像 1 Samsung Chromebook XE500C21-A03US RAM Replacement: 手順 9、 3の画像 2 Samsung Chromebook XE500C21-A03US RAM Replacement: 手順 9、 3の画像 3
    • Gently lift the top left corner of the RAM and pull upward to remove it from the Chromebook.

終わりに

To reassemble your device, follow these instructions in reverse order.

2 の人々がこのガイドを完成させました。

作成者

2人の作成者と共同で作成されました。

huy

メンバー登録日: 09/11/17

337 ポイント

3のガイドは作成済み

チーム

CSU Fullerton, Team S2-G5, Bruce Fall 2017 CSU Fullerton, Team S2-G5, Bruce Fall 2017人のメンバー

CSUF-BRUCE-F17S2G5

4 メンバー

12のガイドは作成済み

0 件のコメント

コメントを追加

統計データ:

過去 24時間: 1

過去 7 日: 6

過去 30 日: 15

今までの合計 898