メインコンテンツにスキップ

このバージョンは誤った内容を含んでいる可能性があります。最新の承認済みスナップショットに切り替えてください。

必要な工具と部品

  1. この手順は未翻訳です。 翻訳を手伝う。

    : 手順 1、 1の画像 1
    • Remove the back cover by pressing on the bottom section of the phone and sliding the bottom piece downward.

    • Lift up the back cover.

  2. この手順は未翻訳です。 翻訳を手伝う。

    : 手順 2、 1の画像 1
    • Place your finger on the bottom of the battery and lift to remove.

  3. この手順は未翻訳です。 翻訳を手伝う。

    : 手順 3、 1の画像 1
    • Replace the old battery with the new one.

  4. この手順は未翻訳です。 翻訳を手伝う。

    : 手順 4、 1の画像 1
    • Insert the spudger underneath the bottom section of the phone.

    • Gently lift and push the spudger to slide the bottom section down to reveal two hidden screws.

  5. この手順は未翻訳です。 翻訳を手伝う。

    : 手順 5、 1の画像 1
    • Remove the six 4.5mm #000 Phillips screws.

  6. この手順は未翻訳です。 翻訳を手伝う。

    : 手順 6、 3の画像 1 : 手順 6、 3の画像 2 : 手順 6、 3の画像 3
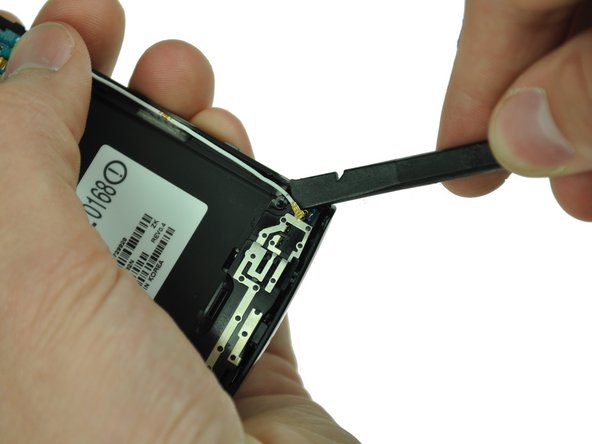
    • Starting at a bottom corner, use the spudger to separate the rear case from the front display.

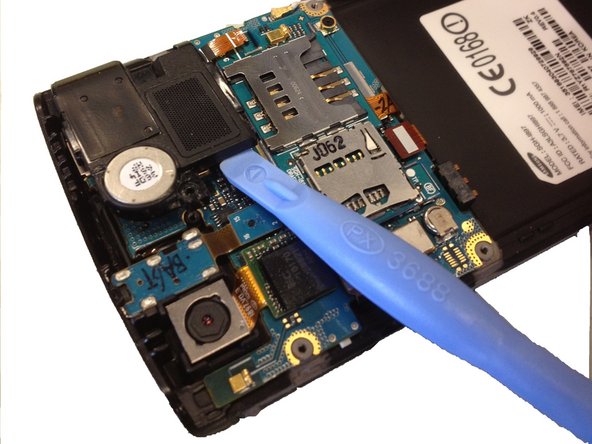
    • Move the spudger towards the top on both sides. The plastic opening tool is easier to use for this step.

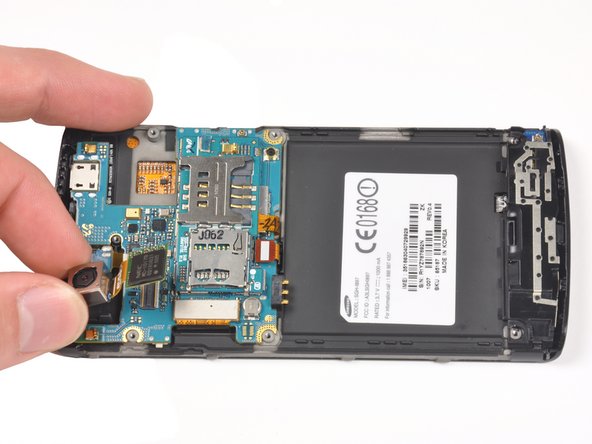
    • Be careful when detaching the top. Free each side, stopping short of the center of the cover. Apply backward pressure on both corners with a finger applying pressure on the center, and slide the whole back cover toward the bottom of the device. Note: forcing the cover can result in cracked plastic.

  7. この手順は未翻訳です。 翻訳を手伝う。

    : 手順 7、 1の画像 1
    • Separate the rear case from the phone.

  8. この手順は未翻訳です。 翻訳を手伝う。

    : 手順 8、 2の画像 1 : 手順 8、 2の画像 2
    • Use a spudger tool to pry up the antenna cable from the connector on the motherboard.

    • Pry up the other end of the cable from the connector on the antenna array.

  9. この手順は未翻訳です。 翻訳を手伝う。

    : 手順 9、 1の画像 1
    • Use the Phillips 00 screwdriver to remove the single screw holding the speaker assembly to the LCD.

  10. この手順は未翻訳です。 翻訳を手伝う。

    : 手順 10、 2の画像 1 : 手順 10、 2の画像 2
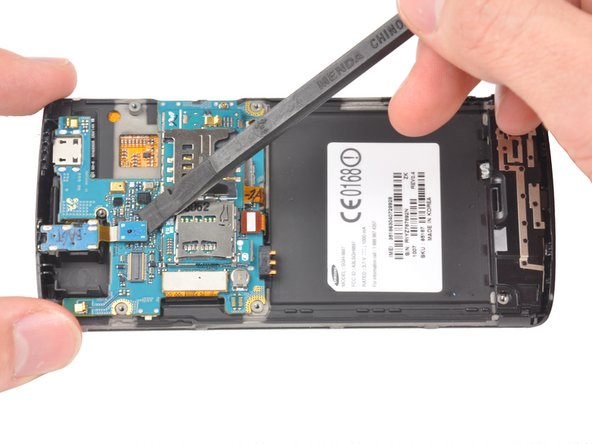
    • Use the plastic opening tool to lift the bottom tab of the plastic ribbon cable connector. Be careful not to use excessive force, you are only releasing the tab that holds the cable in.

    • Pull out the ribbon cable.

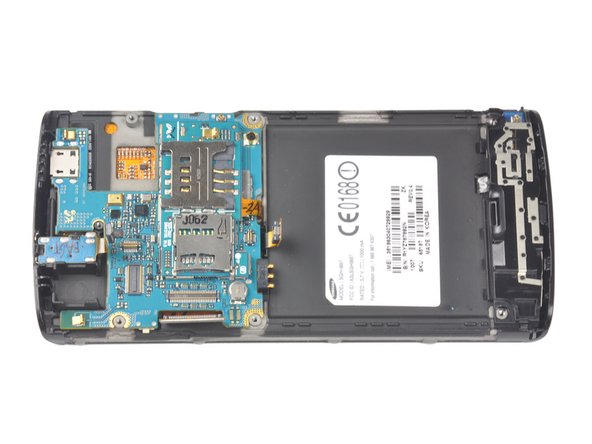
    • Use a spudger or plastic opening tool to lift up the speaker, and use your hands to remove it.

  11. この手順は未翻訳です。 翻訳を手伝う。

    : 手順 11、 2の画像 1 : 手順 11、 2の画像 2
    • Lift up the black NEC chip with attached ribbon cable using either a spudger or plastic opening tool.

    • Gently lift the camera assembly out of the plastic housing.

  12. この手順は未翻訳です。 翻訳を手伝う。

    : 手順 12、 3の画像 1 : 手順 12、 3の画像 2 : 手順 12、 3の画像 3
    • Using the spudger slide the tool under the three highlighted connectors to begin disconnection

    • Excluding the motherboard socket, pry straight from up under the connectors, Therefore ending disconnection.

    • Be careful to not pry against the connector. Prying against could further damage to the device.

  13. この手順は未翻訳です。 翻訳を手伝う。

    : 手順 13、 1の画像 1
    • Use your fingers to carefully lift up the Samsung Capivate's Motherboard from the assembly.

ゴール

14 の人々がこのガイドを完成させました。

作成者

10人の作成者と共同で作成されました。

Christopher

メンバー登録日: 10/06/11

643 ポイント

4のガイドは作成済み

チーム

Cal Poly, Team 20-25, Maness Fall 2011 Cal Poly, Team 20-25, Maness Fall 2011人のメンバー

CPSU-MANESS-F11S20G25

3 メンバー

9のガイドは作成済み

コメント 1 件

hi, I have the captivate and I cannot get it to charge, i have had the charging port connection repaired in the past, but now I cannot get it to charge again

Mary B Chalfant - 返信

コメントを追加

統計データ:

過去 24時間: 0

過去 7 日: 8

過去 30 日: 16

今までの合計 13,602