はじめに
Change of the LCD tablecloth
-
-
How to replace the LCD ribbon cable on a Samsung SMX 30F. This ribbon connects the LCD to the motherboard of the camera. For a change of LCD only the process is much simpler and only takes about ten minutes.
 FixBotに聞いてみる
-
-
-
Step 1: Remove the front block.
-
Remove all the screws on the front of the camera
-
-
-
Then gently pull on the block, be careful it is connected to the camera by rather short cables.
-
-
-
-
Remove all screws by walking around the unit. Be careful some are hidden under the handle, behind the hatches ....
-
-
-
To finish, remove the two screws connecting the screen to the body of the camera.
-
Now you can remove the shell of the camera, it must come easily if you feel resistance is that you left a screw somewhere.
-
-
-
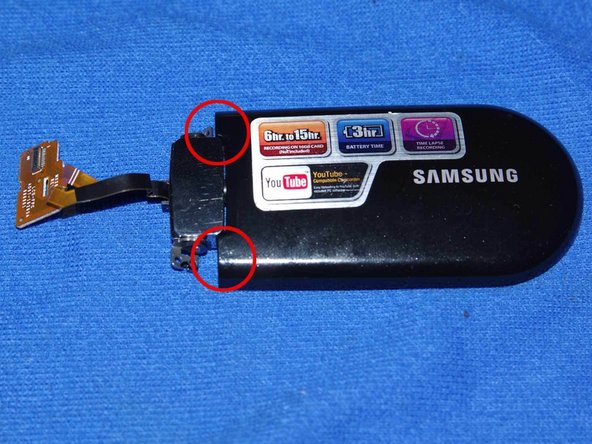
Remove the case carefully, the cable disconnects easily from the very fragile connector.
-
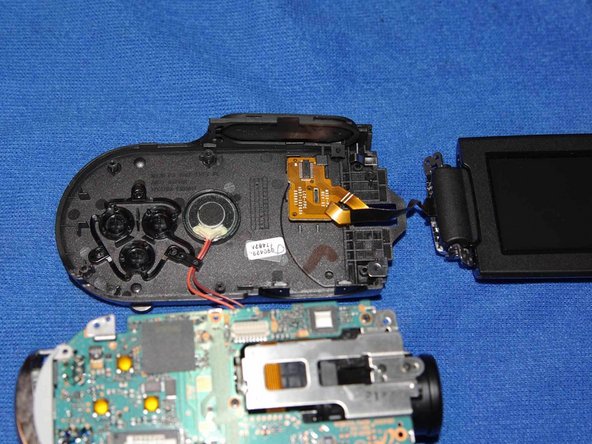
You can now remove the screws securing the motherboard to the frame.
-
Then carefully remove the motherboard to gain access to the LCD cable.
-
-
-
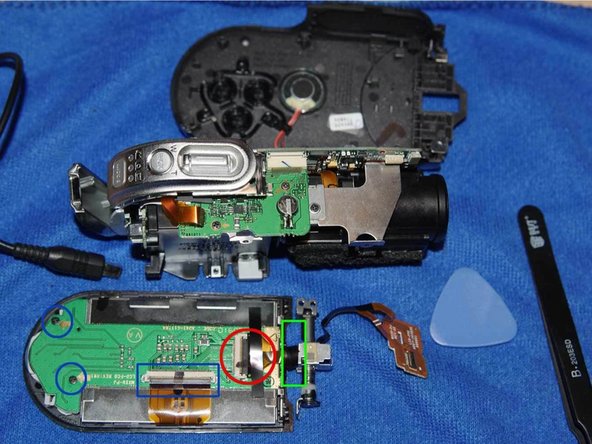
Remove the cable from the frame.
-
Unscrew the 4 screen screws. and open it delicately using a pick.
-
Now, you can change the cable . The cable wraps around the metal axis, so make sure you count the number of rounds on disassembly to facilitate reassembly.
-
-
-
When reassembling, first position the metal clip and the small magnet in the black housing, before putting it back on the metal shaft.
-


TO REASSEMBLE YOUR DEVICE FOLOW THESE INSTRUCTIONS IN REVERSE ORDER.
2 の人々がこのガイドを完成させました。
以下の翻訳者の皆さんにお礼を申し上げます:
100%


これらの翻訳者の方々は世界を修理する私たちのサポートをしてくれています。 あなたも貢献してみませんか?
翻訳を始める ›