メインコンテンツにスキップ

このバージョンは誤った内容を含んでいる可能性があります。最新の承認済みスナップショットに切り替えてください。

必要な工具と部品

  1. この手順は未翻訳です。 翻訳を手伝う。

    : 手順 1、 3の画像 1 : 手順 1、 3の画像 2 : 手順 1、 3の画像 3
    • Here is the Samsung SCH-U380 Brightside

    • Turn it over to gain access to the battery.

    • Remove the backcover by simply pulling it off the phone from the top down

  2. この手順は未翻訳です。 翻訳を手伝う。

    : 手順 2、 3の画像 1 : 手順 2、 3の画像 2 : 手順 2、 3の画像 3
    • Remove the battery

    • Remove the six Phillips screws from the back frame

    • All six screws are identical M1.5X3

  3. この手順は未翻訳です。 翻訳を手伝う。

    : 手順 3、 3の画像 1 : 手順 3、 3の画像 2 : 手順 3、 3の画像 3
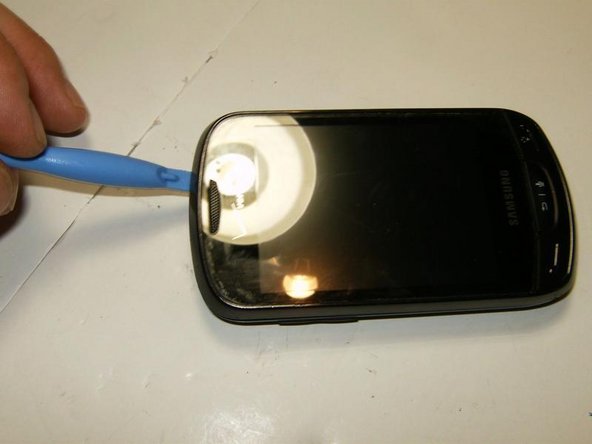
    • Use a plastic opening tool or similar tool to separate the top from the bottom frame. Applying slight pressure in a downwards direction will disengage the plastic clips

    • Continue to slide the tool along the slot until you feel the plastic locks disengage

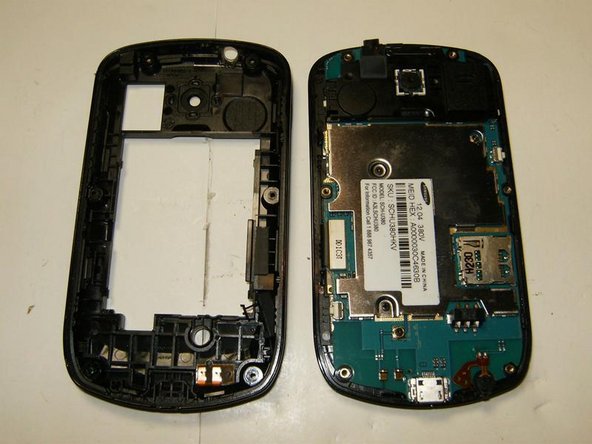
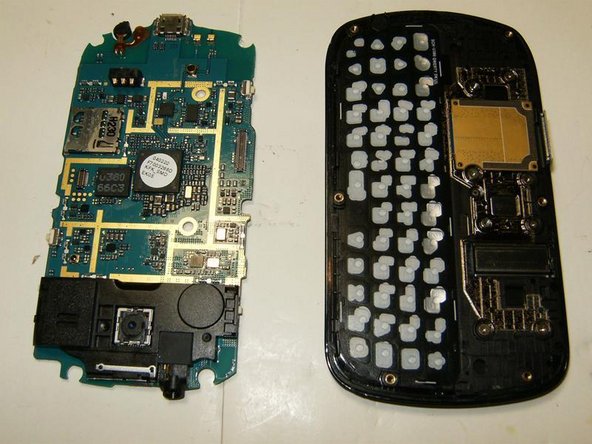
    • Once all locks have released, the bottom frame can simply be removed.

  4. この手順は未翻訳です。 翻訳を手伝う。

    : 手順 4、 3の画像 1 : 手順 4、 3の画像 2 : 手順 4、 3の画像 3
    • Remove the two Phillips screws from the EMI shield.

    • Both screws are identical M1.5X2

    • Remove the EMI shield

  5. この手順は未翻訳です。 翻訳を手伝う。

    : 手順 5、 2の画像 1 : 手順 5、 2の画像 2
    • Detach the LCD connector.

    • Remove the logic board

ゴール

ある他の人がこのガイドを完成しました。

oldturkey03

メンバー登録日: 09/29/10

783,752 ポイント

119のガイドは作成済み

チーム

Global Fixers Global Fixers人のメンバー

Community

33 メンバー

550のガイドは作成済み

0 件のコメント

コメントを追加

統計データ:

過去 24時間: 2

過去 7 日: 13

過去 30 日: 20

今までの合計 1,531