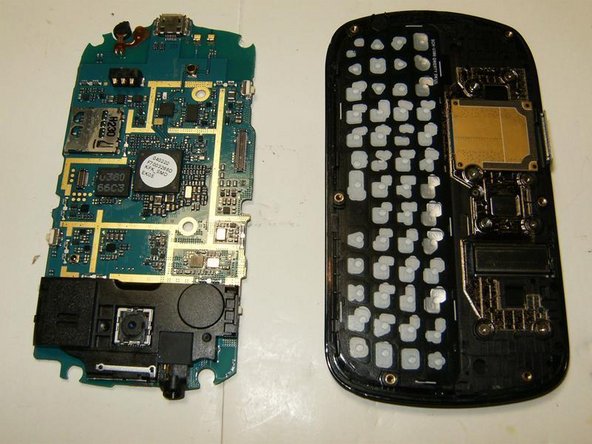
メインコンテンツにスキップ

Samsung Brightside LCD Replacement

必要な工具と部品

  1. Samsung Brightside LCD Replacement, LCD: 手順 1、 3の画像 1 Samsung Brightside LCD Replacement, LCD: 手順 1、 3の画像 2 Samsung Brightside LCD Replacement, LCD: 手順 1、 3の画像 3
    • Here is the Samsung SCH-U380 Brightside.

    • Turn it over to gain access to the battery.

    • Remove the backcover by simply pulling it off the phone from the top down

  2. Samsung Brightside LCD Replacement: 手順 2、 3の画像 1 Samsung Brightside LCD Replacement: 手順 2、 3の画像 2 Samsung Brightside LCD Replacement: 手順 2、 3の画像 3
    • Remove the battery

    • Remove the six Phillips screws from the back frame

    • All six screws are identical M1.5X3

  3. Samsung Brightside LCD Replacement: 手順 3、 3の画像 1 Samsung Brightside LCD Replacement: 手順 3、 3の画像 2 Samsung Brightside LCD Replacement: 手順 3、 3の画像 3
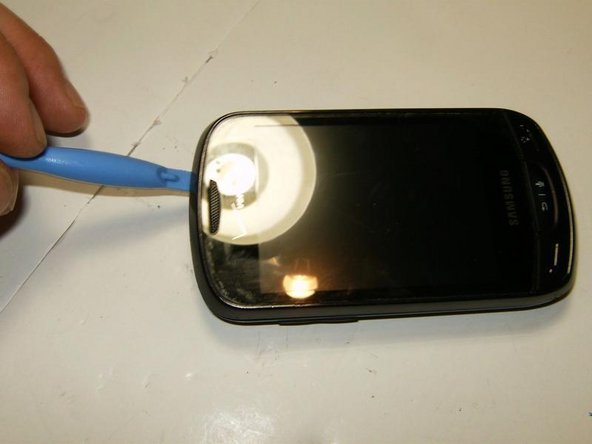
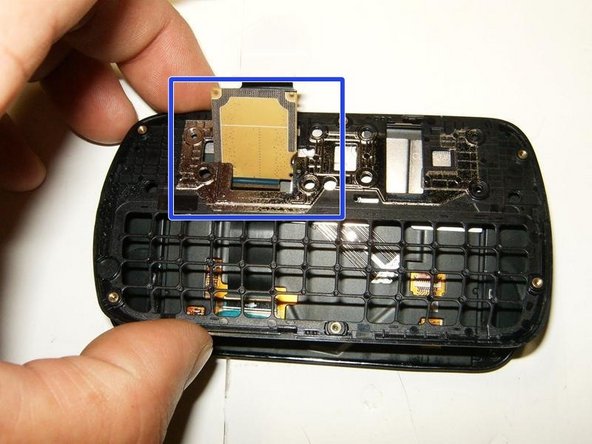
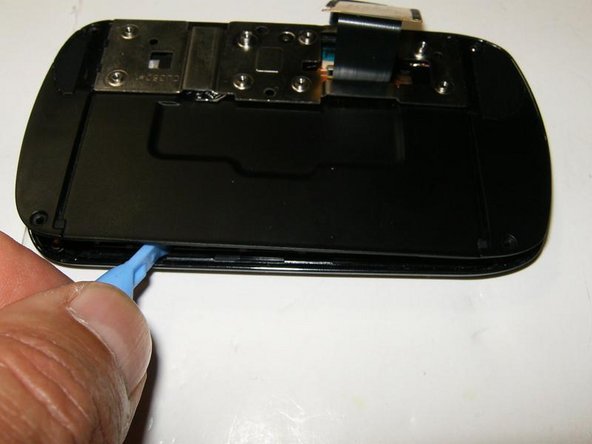
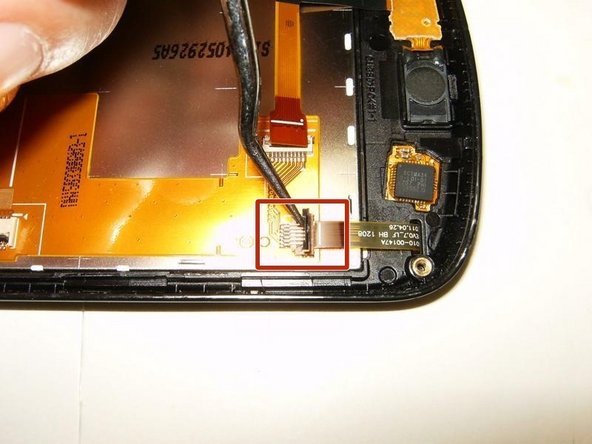
    • Use a plastic opening tool or similar tool to separate the top from the bottom frame. Applying slight pressure in a downwards direction will disengage the plastic clips

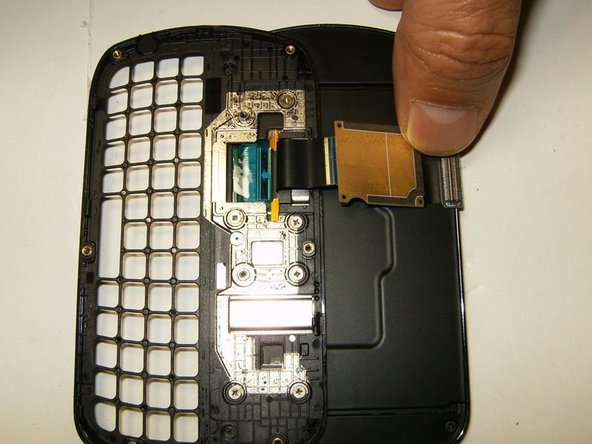
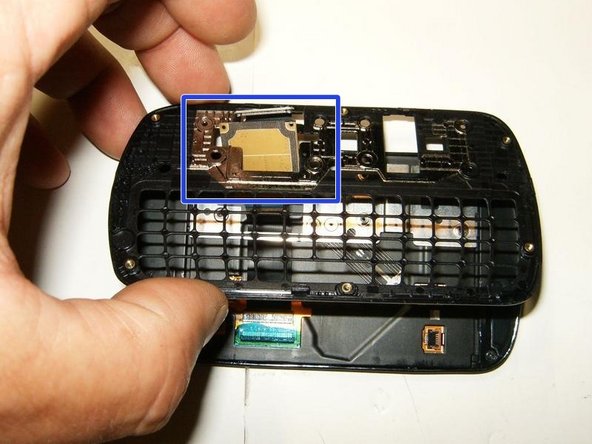
    • Continue to slide the tool along the slot until you feel the plastic locks disengage

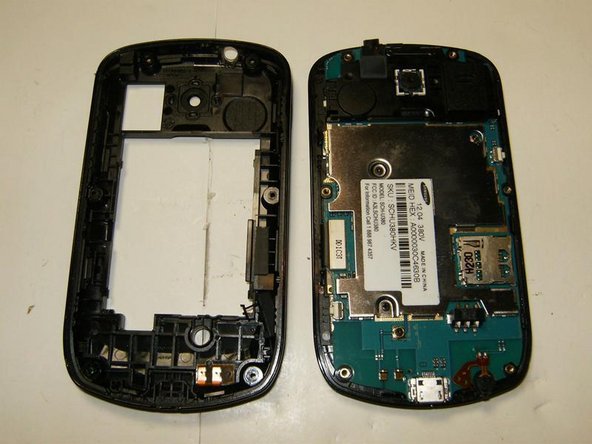
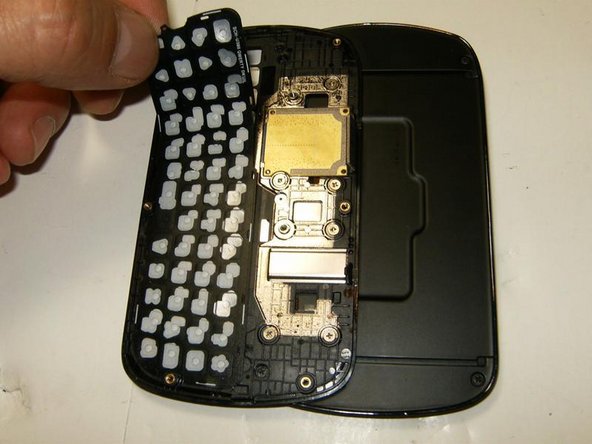
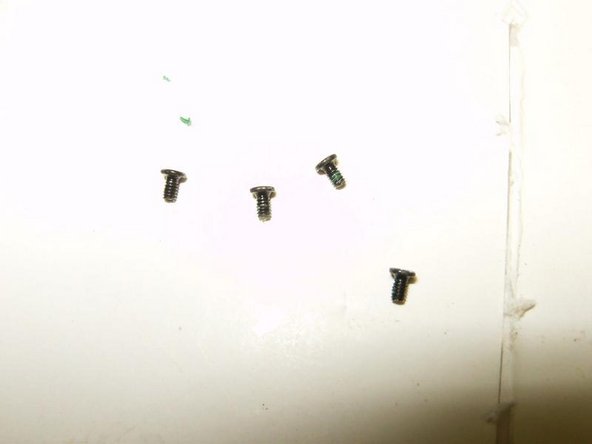
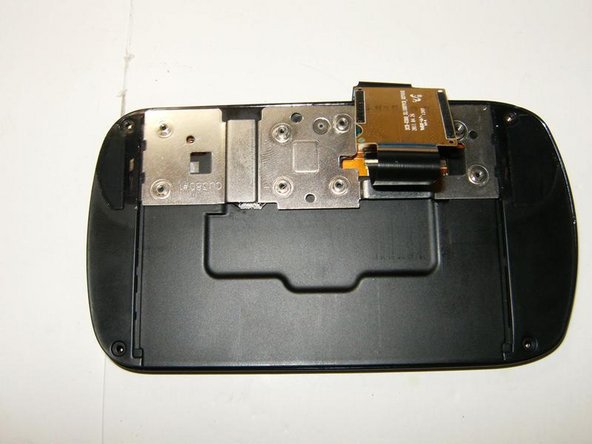
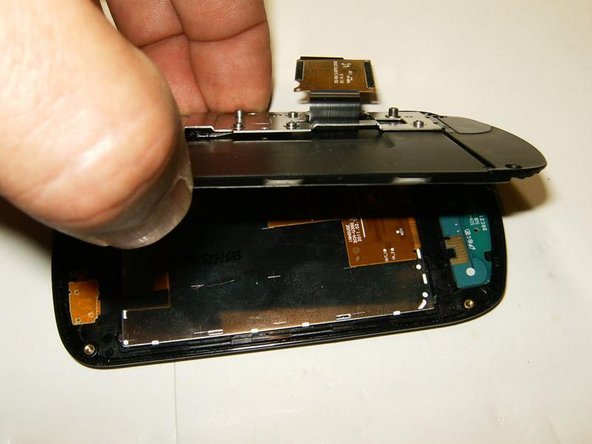
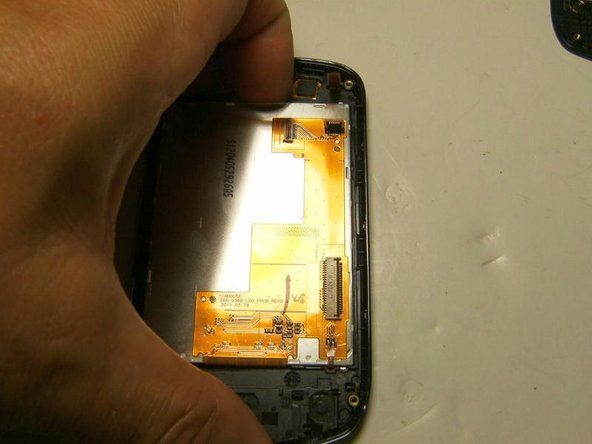
    • Once all locks have released, the bottom frame can simply be removed.

  4. Samsung Brightside LCD Replacement: 手順 4、 3の画像 1 Samsung Brightside LCD Replacement: 手順 4、 3の画像 2 Samsung Brightside LCD Replacement: 手順 4、 3の画像 3
    • Remove the two Phillips screws from the EMI shield.

    • Both screws are identical M1.5X2

    • Remove the EMI shield

  5. Samsung Brightside LCD Replacement: 手順 5、 3の画像 1 Samsung Brightside LCD Replacement: 手順 5、 3の画像 2 Samsung Brightside LCD Replacement: 手順 5、 3の画像 3
    • Detach the LCD connector.

    • Remove the logic board

    • Slide the front case assembly to the side, remove the keyboard membrane simply by lifting it out.

  6. Samsung Brightside LCD Replacement: 手順 6、 3の画像 1 Samsung Brightside LCD Replacement: 手順 6、 3の画像 2 Samsung Brightside LCD Replacement: 手順 6、 3の画像 3
    • Remove the flex cable from the assembly. It is adhered with some rubber cement and may require a bit of pull

    • move the flex to the side

    • Remove the six Phillips screws from the assembly

  7. Samsung Brightside LCD Replacement: 手順 7、 3の画像 1 Samsung Brightside LCD Replacement: 手順 7、 3の画像 2 Samsung Brightside LCD Replacement: 手順 7、 3の画像 3
    • All six screws are M1x1

    • The assembly is now loose and can be gently lifted up.

    • Carefully guide the flex cable through the assembly. It only fits one way.

  8. Samsung Brightside LCD Replacement: 手順 8、 3の画像 1 Samsung Brightside LCD Replacement: 手順 8、 3の画像 2 Samsung Brightside LCD Replacement: 手順 8、 3の画像 3
    • Remove the four Phillips screws from the slider case

    • All four screws are identical M1x2

    • Here are all screws removed.

  9. Samsung Brightside LCD Replacement: 手順 9、 3の画像 1 Samsung Brightside LCD Replacement: 手順 9、 3の画像 2 Samsung Brightside LCD Replacement: 手順 9、 3の画像 3
    • Insert a plastic opening tool, or similar, to separate the sliding assembly from the case

    • Guide the opening tool all the way around the slider. This will release the clips that hold it in place.

    • With the clips released, the sliding mechanism can be lifted up, careful to not rip the flex

  10. Samsung Brightside LCD Replacement: 手順 10、 3の画像 1 Samsung Brightside LCD Replacement: 手順 10、 3の画像 2 Samsung Brightside LCD Replacement: 手順 10、 3の画像 3
    • Guide the flex through the sliding mechanism while lifting it up

    • Remove the Kapton tape

    • Release the connector for the flex by simply opening it upward.

    • This is an L-shaped flex and requires two connectors to be released.

  11. Samsung Brightside LCD Replacement: 手順 11、 3の画像 1 Samsung Brightside LCD Replacement: 手順 11、 3の画像 2 Samsung Brightside LCD Replacement: 手順 11、 3の画像 3
    • Release the L-shaped flex from the button bar as well

    • Remove the flex cable

    • Removing the button bar is not necessary, but it will be loose and will fall out anyway.

  12. Samsung Brightside LCD Replacement: 手順 12、 3の画像 1 Samsung Brightside LCD Replacement: 手順 12、 3の画像 2 Samsung Brightside LCD Replacement: 手順 12、 3の画像 3
    • Remove the proximity sensor/front speaker flex

    • Remove the digitizer flex

    • The LCD is glued to the front case. Use a pick or similar to release the LCD.

  13. Samsung Brightside LCD Replacement: 手順 13、 3の画像 1 Samsung Brightside LCD Replacement: 手順 13、 3の画像 2 Samsung Brightside LCD Replacement: 手順 13、 3の画像 3
    • Move the pick, or similar all the way around the LCD to release the adhesive. A gentle prying may be necessary.

    • Once the adhesive is loosened, use your fingernails, or similar, to remove the LCD from the case.

    • Fold the LCD to the bottom of the frame.

  14. Samsung Brightside LCD Replacement: 手順 14、 1の画像 1
    • Here is the LCD removed. LCD and Digitizer are separate piece which makes the a economical feasible repair.

終わりに

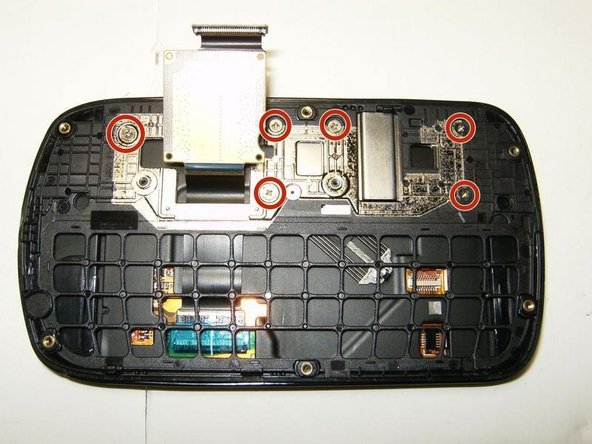
To reassemble your device, follow these instructions in reverse order.

6 の人々がこのガイドを完成させました。

oldturkey03

メンバー登録日: 09/29/10

781,380 ポイント

119のガイドは作成済み

チーム

Global Fixers Global Fixers人のメンバー

Community

32 メンバー

530のガイドは作成済み

3 件のコメント

Thanks for the guide, it helped me replace my daughters screen.

jcramos - 返信

Works great. It is worth mentioning that there is a slight difference in the disassembly between the black and blue models, as it is easier to leave the flex cable in place with the later. However, the the remainder of the information is directly transferable. Thanks for your contribution!

jensungtan - 返信

I think my problem might be with a flex cable flaw, so I'm replacing it. In step 6, what should I use for the "rubber cement" or possibly double-sided tape? The flex cable I purchased didn't include any adhesive. Thanks.

Andrew - 返信

コメントを追加

統計データ:

過去 24時間: 2

過去 7 日: 5

過去 30 日: 10

今までの合計 6,066