はじめに
Nothing is more frustrating that the useless whir of a disk drive that will not read your disk. In this guide, we will show you how to replace your disk drive!
必要な工具と部品
-
-
Remove the two 10mm Phillips #1 screws.
-
Remove the one 8 mm Phillips #1 screw.
-
Carefully lift up the cover and lay back, to ensure that you do not damage the attached cable.
-
-
-
-
Remove both wire bundles from motherboard.
-
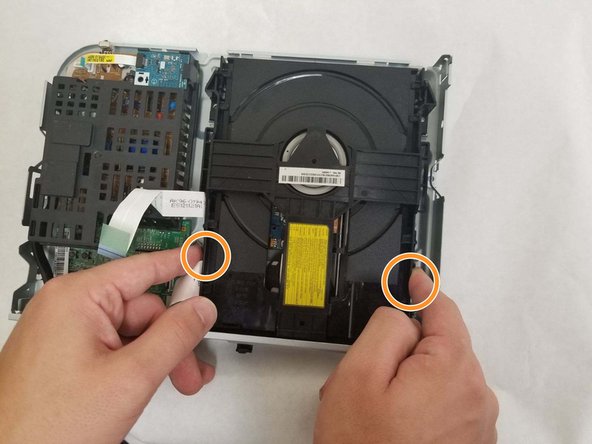
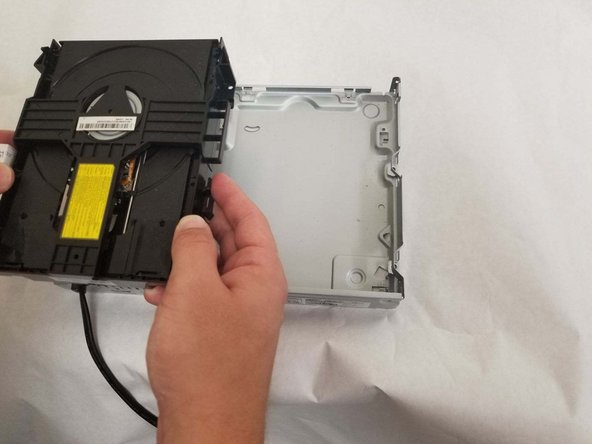
Depress tabs located on each side of disk drive as shown.
-


To reassemble your device, follow these instructions in reverse order.
To reassemble your device, follow these instructions in reverse order.
ある他の人がこのガイドを完成しました。
チーム

IUPUI, Team S1-G3, Arle Fall 2018 IUPUI, Team S1-G3, Arle Fall 2018人のメンバー
IUPUI-ARLE-F18S1G3
3 メンバー
4のガイドは作成済み