メインコンテンツにスキップ
リペアコミュニティに参加 - アカウントの作成

Samsung Ace Display Screen Replacement

必要な工具と部品

  1. Samsung Ace Display Screen Replacement, Battery: 手順 1、 3の画像 1 Samsung Ace Display Screen Replacement, Battery: 手順 1、 3の画像 2 Samsung Ace Display Screen Replacement, Battery: 手順 1、 3の画像 3
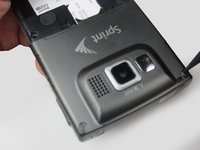
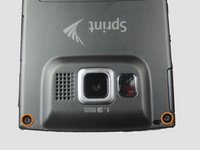
    • To remove the back casing, firmly press down and push towards the bottom of the phone.

    FixBotに聞いてみる
  2. Samsung Ace Display Screen Replacement: 手順 2、 1の画像 1
    • With the casing removed, lift the battery from the indicated indentation.

    FixBotに聞いてみる
  3. Samsung Ace Display Screen Replacement: 手順 3、 1の画像 1
    • From here, you can now access the SIM card and model/serial numbers.

    FixBotに聞いてみる
  4. Samsung Ace Display Screen Replacement, Casing: 手順 4、 1の画像 1
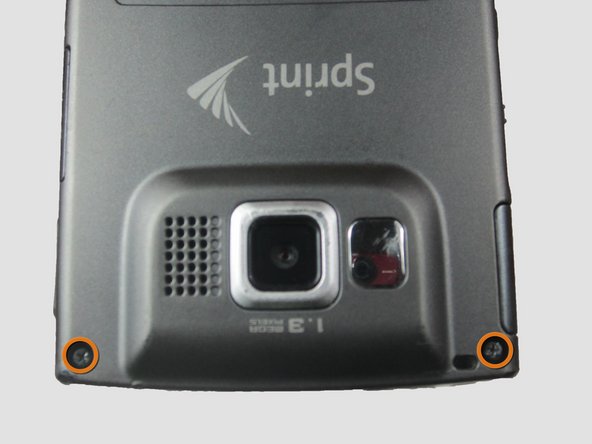
    • Using the Phillips #00 screwdriver, remove the four indicated screws (4.5 mm).

    FixBotに聞いてみる
  5. Samsung Ace Display Screen Replacement: 手順 5、 2の画像 1 Samsung Ace Display Screen Replacement: 手順 5、 2の画像 2
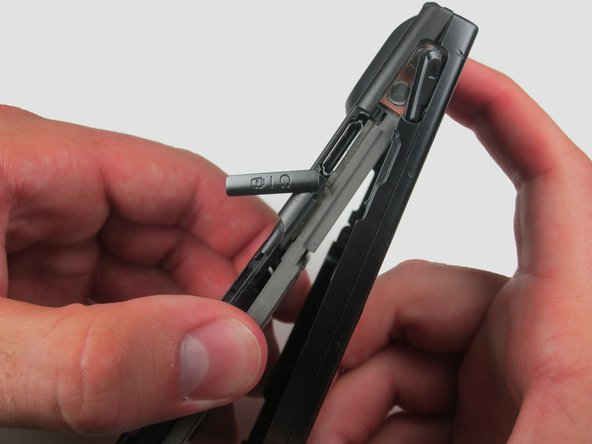
    • Press the pointed edge of the spudger into the side of the two rubber plugs in order to lift and remove them from the top of the phone.

    • Then, using the Phillips #00 screwdriver, remove the two indicated Phillip screws (6.5 mm).

    FixBotに聞いてみる
  6. Samsung Ace Display Screen Replacement: 手順 6、 1の画像 1
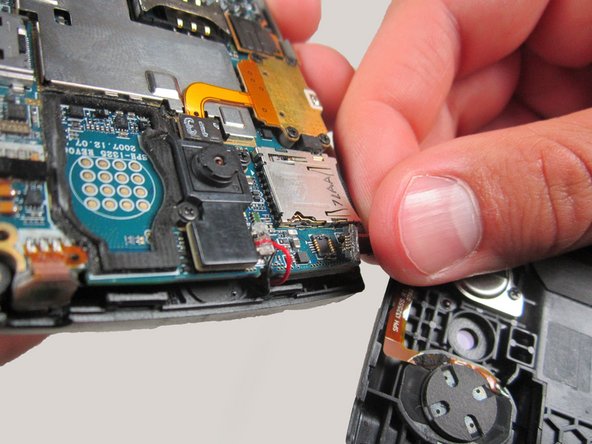
    • To remove the SIM card, start by pressing the top of the card and push down and away towards the bottom of the phone. Then, as indicated, pull the SIM card out.

    FixBotに聞いてみる
  7. Samsung Ace Display Screen Replacement: 手順 7、 2の画像 1 Samsung Ace Display Screen Replacement: 手順 7、 2の画像 2
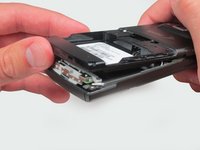
    • Begin to slowly lift the back casing of the phone. You should hear a snap when the casing is released.

    • The power, volume, and camera buttons may fall out when separating the front and back casing.

    FixBotに聞いてみる
  8. Samsung Ace Display Screen Replacement: 手順 8、 1の画像 1
    • Your casing should be separated and the three loose buttons put to the side.

    • Be aware of the wiring on the top of the phone. Make sure not to pull it apart when separating the case.

    FixBotに聞いてみる
  9. Samsung Ace Display Screen Replacement: 手順 9、 2の画像 1 Samsung Ace Display Screen Replacement: 手順 9、 2の画像 2
    • Slowly remove the back casing by gently pulling the ribbon connection.

    FixBotに聞いてみる
  10. Samsung Ace Display Screen Replacement: 手順 10、 2の画像 1 Samsung Ace Display Screen Replacement: 手順 10、 2の画像 2
    • Gently pull on the wires to remove the front casing.

    FixBotに聞いてみる
  11. Samsung Ace Display Screen Replacement: 手順 11、 1の画像 1
    • Your front casing and front speaker are now released.

    FixBotに聞いてみる
  12. Samsung Ace Display Screen Replacement, Display Screen: 手順 12、 2の画像 1 Samsung Ace Display Screen Replacement, Display Screen: 手順 12、 2の画像 2
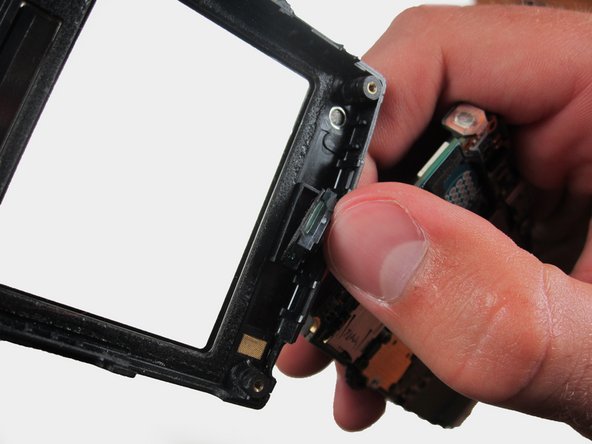
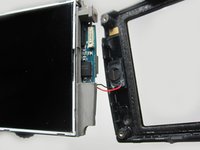
    • Locate the display screen.

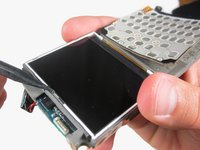
    • Carefully squeeze part of the flat or pointed edge of the spudger into the spacing under the glass display to pry and lift the display up.

    • It may help to insert the pointed edge of the spudger into the small indentation shown on the right in the second image.

    FixBotに聞いてみる
  13. Samsung Ace Display Screen Replacement: 手順 13、 3の画像 1 Samsung Ace Display Screen Replacement: 手順 13、 3の画像 2 Samsung Ace Display Screen Replacement: 手順 13、 3の画像 3
    • Slide the spudger across the bottom of the display and slowly push up.

    FixBotに聞いてみる
  14. Samsung Ace Display Screen Replacement: 手順 14、 1の画像 1
    • Slowly pry the spudger up to remove the display.

    FixBotに聞いてみる
  15. Samsung Ace Display Screen Replacement: 手順 15、 1の画像 1
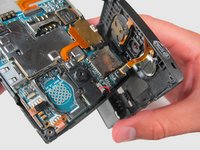
    • To remove the casing as a whole, slowly lift up and towards the right side of the phone.

    • Be aware of the wiring on the right side of the phone connecting the display.

    FixBotに聞いてみる
終わりに

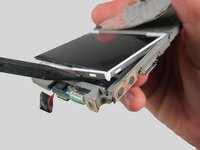
To reassemble your device, follow these instructions in reverse order.

作成者

5人の作成者と共同で作成されました。

Breanne

メンバー登録日: 04/12/12

187 ポイント

5のガイドは作成済み

チーム

Cal Poly, Team 6-24, Amido Spring 2012 Cal Poly, Team 6-24, Amido Spring 2012人のメンバー

CPSU-AMIDO-S12S6G24

3 メンバー

17のガイドは作成済み

0件のガイドコメント

コメントを追加

統計データ:

過去 24時間: 1

過去 7 日: 8

過去 30 日: 54

今までの合計 1,810