メインコンテンツにスキップ

Ryobi RS290G Motor Replacement

必要な工具と部品

  1. Ryobi RS290G Motor Replacement, Top Cap: 手順 1、 1の画像 1
    • Remove two 20mm and one 16mm Phillips #2 screws from the housing assembly and exhaust port.

  2. Ryobi RS290G Motor Replacement: 手順 2、 1の画像 1
    • Remove the three 16mm Phillips #2 screws from the top cap/upper grip.

  3. Ryobi RS290G Motor Replacement: 手順 3、 1の画像 1
    • Remove the top cap.

  4. Ryobi RS290G Motor Replacement, Switch Trigger: 手順 4、 1の画像 1
    • Remove the switch trigger.

  5. Ryobi RS290G Motor Replacement, Motor: 手順 5、 1の画像 1
    • Remove the two 16mm Phillips #2 screws from the inner housing assembly.

  6. Ryobi RS290G Motor Replacement: 手順 6、 1の画像 1
    • Remove the two 14mm Phillips #2 screws from the cord clamp.

  7. Ryobi RS290G Motor Replacement: 手順 7、 2の画像 1 Ryobi RS290G Motor Replacement: 手順 7、 2の画像 2
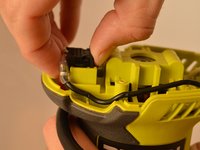
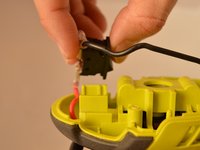
    • Slide the power switch out of the housing assembly.

  8. Ryobi RS290G Motor Replacement: 手順 8、 1の画像 1
    • Carefully slide the housing assembly apart, avoiding damage or pulling on wires.

  9. Ryobi RS290G Motor Replacement: 手順 9、 2の画像 1 Ryobi RS290G Motor Replacement: 手順 9、 2の画像 2
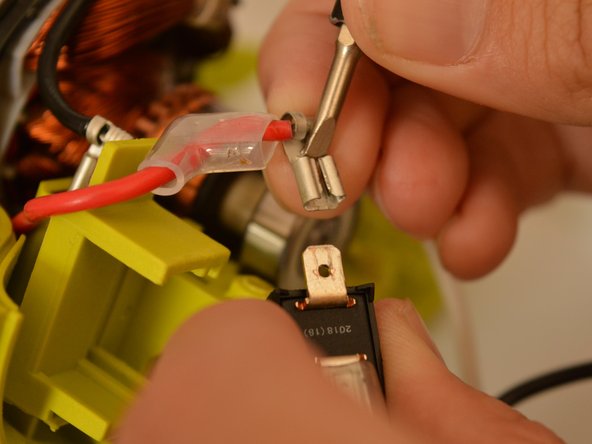
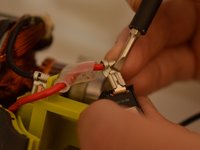
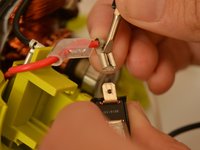
    • Slide off the disconnect terminal for the switch (red lead) from the power switch using the flat end of a spudger.

  10. Ryobi RS290G Motor Replacement: 手順 10、 2の画像 1 Ryobi RS290G Motor Replacement: 手順 10、 2の画像 2
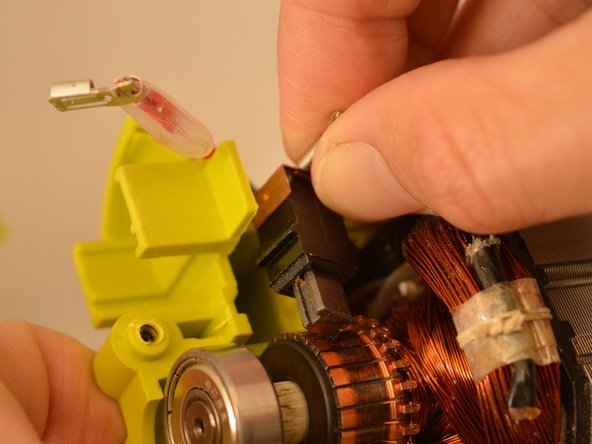
    • Slide out the brush assembly with the black lead from the inner housing assembly.

  11. Ryobi RS290G Motor Replacement: 手順 11、 1の画像 1
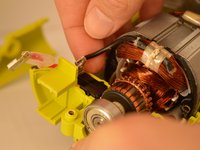
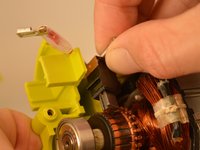
    • Slide off the disconnect terminal for the brush assembly (black lead) from the brush assembly.

    • You may need an ESD-safe flat edge tool, such as a spudger, to help slide off the disconnect terminal. Be careful not to damage the pieces or yourself.

  12. Ryobi RS290G Motor Replacement: 手順 12、 1の画像 1
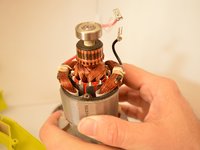
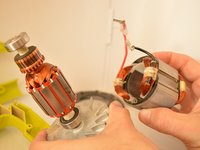
    • Remove the armature assembly, with the motor, out of the inner housing assembly.

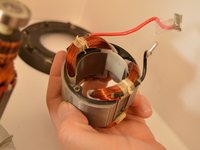
  13. Ryobi RS290G Motor Replacement: 手順 13、 3の画像 1 Ryobi RS290G Motor Replacement: 手順 13、 3の画像 2 Ryobi RS290G Motor Replacement: 手順 13、 3の画像 3
    • Replace the motor (also known as field assembly).

終わりに

To reassemble your device, follow these instructions in reverse order.

作成者

4人の作成者と共同で作成されました。

Daniel

メンバー登録日: 09/17/19

639 ポイント

4のガイドは作成済み

チーム

0 件のコメント

コメントを追加

統計データ:

過去 24時間: 1

過去 7 日: 7

過去 30 日: 18

今までの合計 919