この修理ガイドは変更されています。最新の未承認バージョンに切り替えます。
はじめに
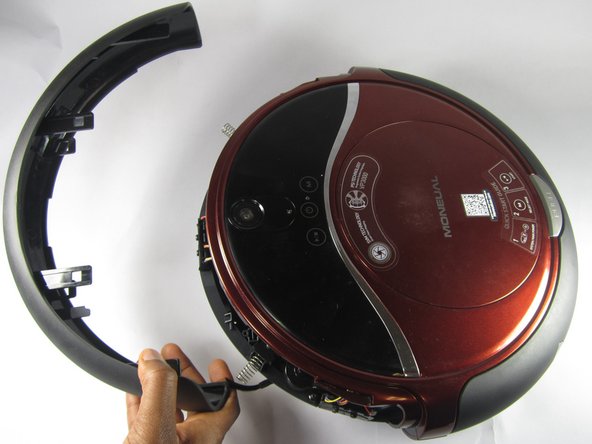
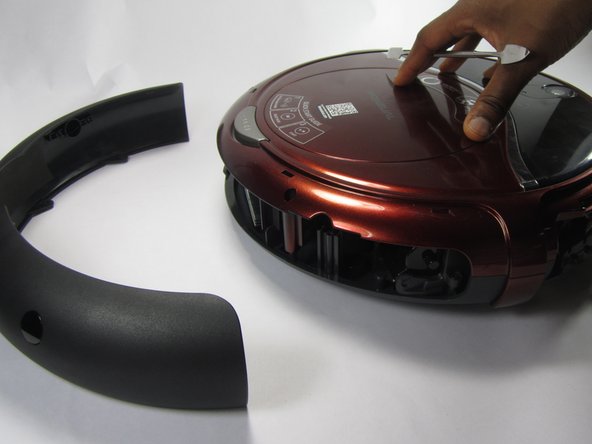
Is your vacuum bumping into everything? Replacing the bumpers may solve the problem.
必要な工具と部品
-
-
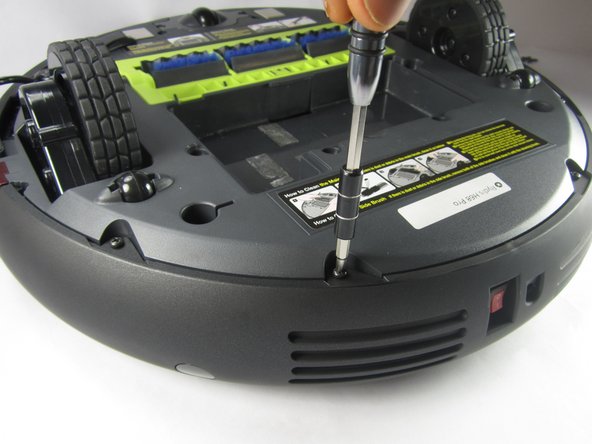
Flip the vacuum over so that the wheels are facing you.
-
Use a Phillips #1 screwdriver to remove the four 10 mm screws that surround the battery cover.
-
-


もう少しです!
To reassemble your device, follow these instructions in reverse order.
終わりに
To reassemble your device, follow these instructions in reverse order.
チーム
