メインコンテンツにスキップ

このバージョンは誤った内容を含んでいる可能性があります。最新の承認済みスナップショットに切り替えてください。

必要な工具と部品

  1. この手順は未翻訳です。 翻訳を手伝う。

    : 手順 1、 2の画像 1 : 手順 1、 2の画像 2
    • Flip the remote so that the buttons lay face down and then remove the back cover.

  2. この手順は未翻訳です。 翻訳を手伝う。

    : 手順 2、 1の画像 1
    • Remove the batteries by compressing the spring.

    • This will expose the screw shown in red.

  3. この手順は未翻訳です。 翻訳を手伝う。

    : 手順 3、 1の画像 1
    • Remove the screw using a Phillips #00 screwdriver.

  4. この手順は未翻訳です。 翻訳を手伝う。

    : 手順 4、 2の画像 1 : 手順 4、 2の画像 2
    • Remove the face of the remote with the plastic opening tool.

  5. この手順は未翻訳です。 翻訳を手伝う。

    : 手順 5、 2の画像 1 : 手順 5、 2の画像 2
    • Using tweezers, remove the motherboard from the remote.

  6. この手順は未翻訳です。 翻訳を手伝う。

    : 手順 6、 1の画像 1
    • The contacts should be present with one set being in the bottom of the remote casing and the other set being on the underside of the motherboard for the remote.

  7. この手順は未翻訳です。 翻訳を手伝う。

    : 手順 7、 2の画像 1 : 手順 7、 2の画像 2
    • This step will require a soldering iron.

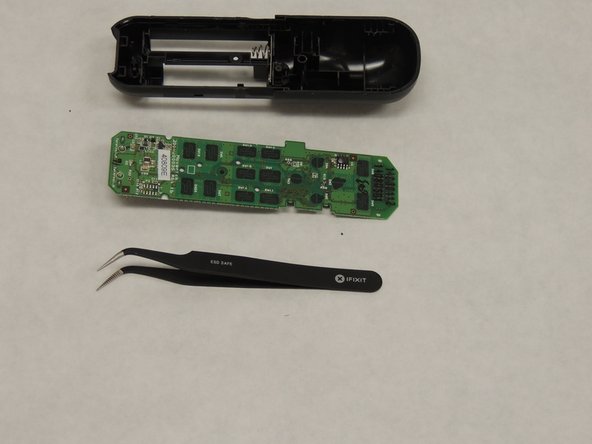
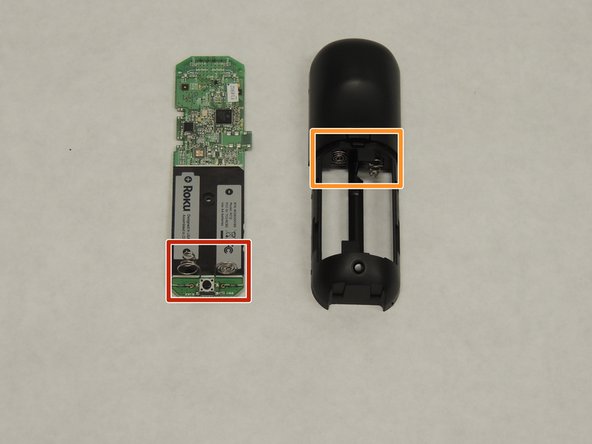
    • Now you will have to remove the existing contacts by way of clipping the line of at an appropriate length away from the contacts.

    • Now solder on your new connections on the board.

    • For the connections to the casing, you should be able to remove them with a little force. If you feel like you are using too much force, feel free to use a heat gun to eliminate some adhesive on the casing side of the contact.

    • Finally, adhere the new contacts to the casing with a "super glue" like Krazy glue.

ゴール

作成者

2人の作成者と共同で作成されました。

Thomas Kennedy

メンバー登録日: 04/07/18

231 ポイント

1ガイドが承認済み

チーム

IUPUI, Team S2-G2, Wilson Spring 2018 IUPUI, Team S2-G2, Wilson Spring 2018人のメンバー

IUPUI-WILSON-S18S2G2

4 メンバー

3のガイドは作成済み

0 件のコメント

コメントを追加

統計データ:

過去 24時間: 0

過去 7 日: 1

過去 30 日: 10

今までの合計 1,752