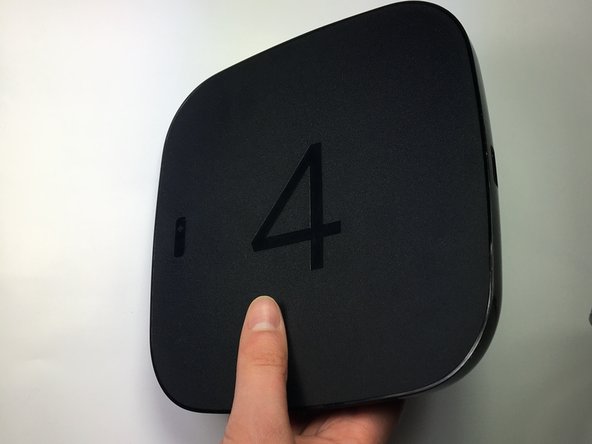
Starting at one corner of the device, pull the rubber sticker back toward the opposite corner of the device carefully to reveal the underlying screws.
Completely remove the rubber sticker to reveal the underlying screws on the device.
Place the rubber sticker facing up on the table to preserve its adhesiveness. It will be needed to reassemble the device.
Turn the Phillips PH1 screwdriver counterclockwise to unscrew all 4 of the 12.0 mm screws.
Store the screws in a safe place, such as on a magnetic project mat, so they do not get lost before reassembly.
Wedge a plastic opening tool into the seam between the top cover and bottom casing of the device and create a gap.
Prying open the device is quite difficult and requires a large amount of force. Use caution to avoid breaking the device or hurting yourself.
After you have created a gap large enough to fit your fingers between, gently lift up the top cover to open the device and reveal the motherboard.
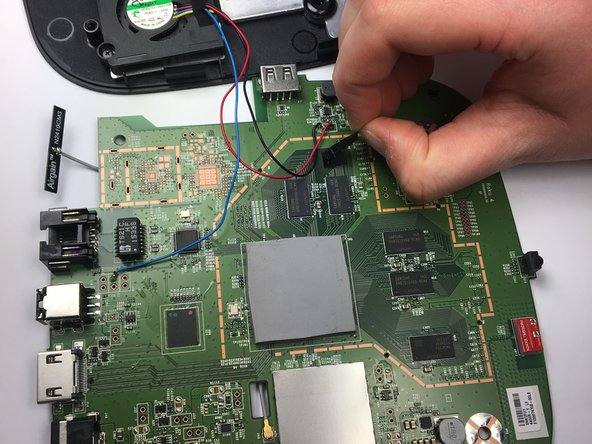
The motherboard should still be attached to the underside of the top cover by a red wire, a blue wire, and a black wire.
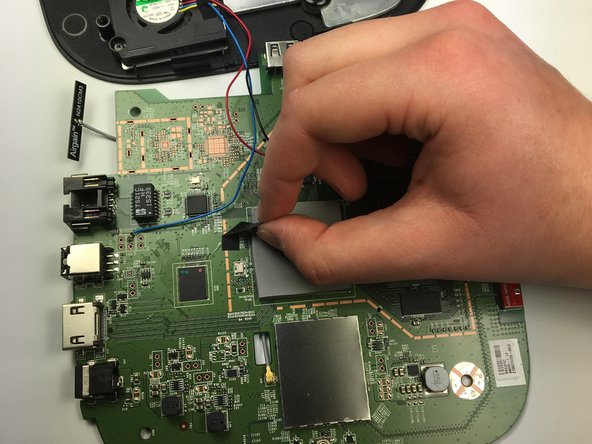
To begin removing the motherboard from the plastic casing, pinch the black plastic clip and gently pull upward.
Once you feel the motherboard begin to loosen from the plastic casing, pull it upward to remove it completely.
The motherboard should still be attached to the underside of the top cover by a red wire, a blue wire, and a black wire.
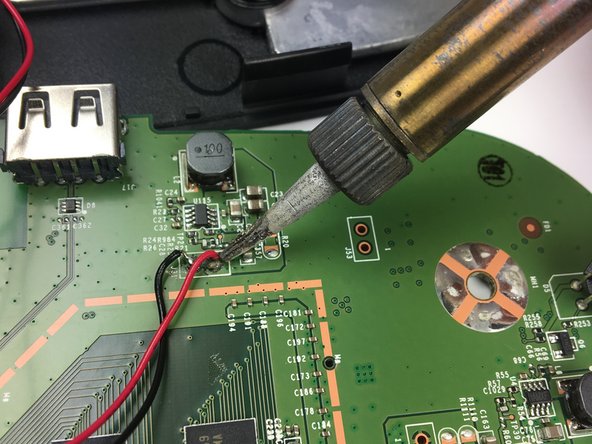
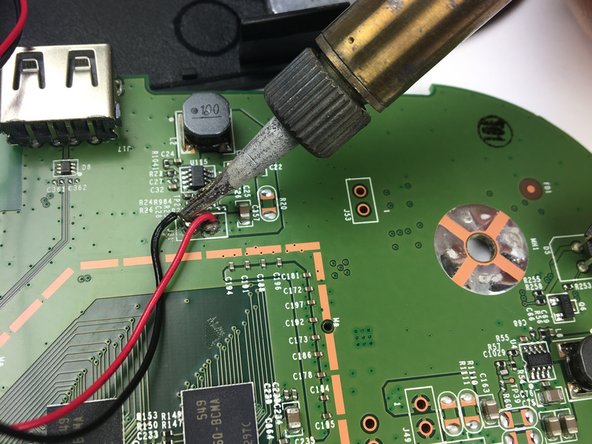
Using a soldering iron, desolder the blue, red, and black wires from the motherboard.
Consult iFixit's Soldering Skills guide to safely use the soldering iron.
The motherboard should now be completely disconnected from the top cover of the device.
このガイドを埋め込む
サイズを選択し、以下のコードをコピーして、このガイドを小さなウィジェットとしてサイト/フォーラムに埋め込みます。
1つの手順
全ガイド
小サイズ - 600px
中サイズ - 800px
大サイズ - 1200px
プレビュー