メインコンテンツにスキップ

Ring Video Doorbell Pro Housing Repalcement

必要な工具と部品

  1. Ring Video Doorbell Pro Housing Repalcement, Housing: 手順 1、 1の画像 1
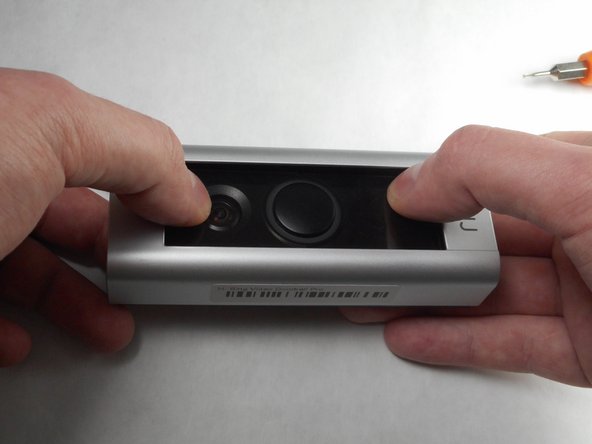
    • Start by using the star-shaped end of the included Ring screwdriver to take out the 5 mm screw on the bottom of the device.

  2. Ring Video Doorbell Pro Housing Repalcement: 手順 2、 3の画像 1 Ring Video Doorbell Pro Housing Repalcement: 手順 2、 3の画像 2 Ring Video Doorbell Pro Housing Repalcement: 手順 2、 3の画像 3
    • Use your thumbs to apply downward pressure on the glass part of the device while pulling the faceplate up and off of the device.

  3. Ring Video Doorbell Pro Housing Repalcement: 手順 3、 1の画像 1
    • Using a PH-000 screwdriver, unscrew and set aside all four of these 5.25 mm screws.

  4. Ring Video Doorbell Pro Housing Repalcement: 手順 4、 2の画像 1 Ring Video Doorbell Pro Housing Repalcement: 手順 4、 2の画像 2
    • Using a plastic pry tool, go along the edge of the device prying the device apart. While doing this, focus on the four clips, two of which are on either side of the device.

  5. Ring Video Doorbell Pro Housing Repalcement: 手順 5、 1の画像 1
    • Remove the front of the device from the back plate.

終わりに

To reassemble your device, attach the new housing and follow these instructions in reverse order.

4 の人々がこのガイドを完成させました。

作成者

5人の作成者と共同で作成されました。

Jake Dixon

メンバー登録日: 11/09/17

835 ポイント

4のガイドは作成済み

チーム

IUPUI, Team S7-G4, Baechle Fall 2017 IUPUI, Team S7-G4, Baechle Fall 2017人のメンバー

IUPUI-BAECHLE-F17S7G4

3 メンバー

5のガイドは作成済み

0 件のコメント

コメントを追加

統計データ:

過去 24時間: 1

過去 7 日: 25

過去 30 日: 87

今までの合計 22,887