はじめに
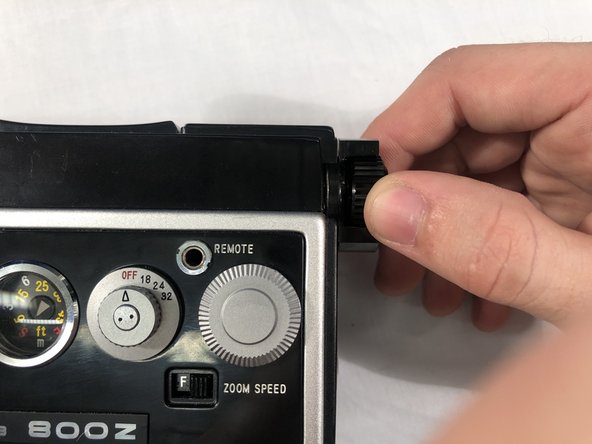
Many Super 8 cameras feature an eyepiece adjuster or “diopter.” The purpose of this adjuster is too adjust the view through the camera to suit each individual user’s vision. Because many people’s eyes focus at different depth’s, what one person may see as a clear image, another may see as fuzzy. The adjuster corrects this problem.
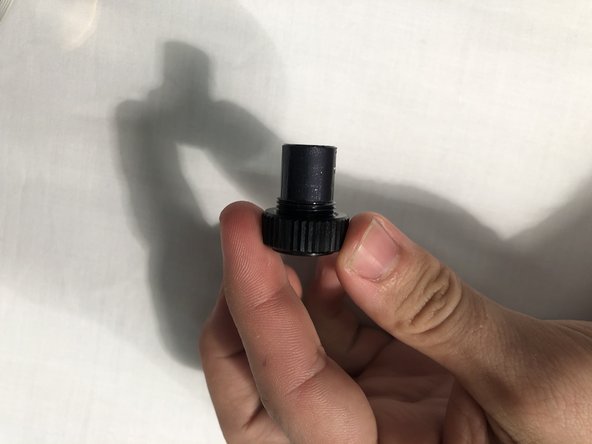
The eyepiece on the Ricoh Super 8 features an eyepiece adjuster. If your eyepiece ever becomes cracked or the focus is no longer working, you may just want to replace it.
必要な工具と部品
-
-
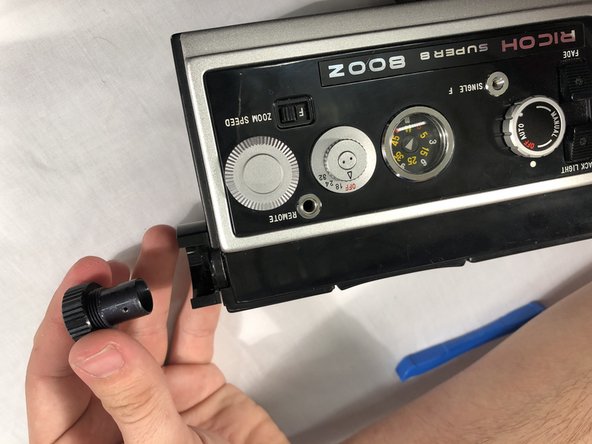
Remove the rubber covering from the eyepiece by slowly pulling down on the cover from any direction.
-
-


To reassemble your device, follow these instructions in reverse order.
To reassemble your device, follow these instructions in reverse order.
チーム

Embry-Riddle Aeronautical University, Team S17-G10, Lamothe Spring 2020 Embry-Riddle Aeronautical University, Team S17-G10, Lamothe Spring 2020人のメンバー
ERAU-LAMOTHE-S20S17G10
4 メンバー
10のガイドは作成済み