はじめに
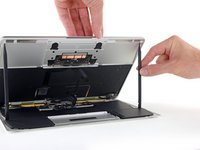
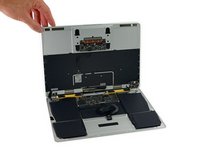
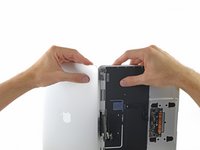
このガイドを使用して、Retina MacBook2015の完全なRetinaディスプレイアセンブリを交換してください。
'ロジックボードの損傷を避けるために' 、MacBookの修理が完了したら、 電源を入れる前に 、[ガイド| 107711 |低電圧電源に接続|new_window=true] 5ワットのiPhone充電器と USB-C-USB-Aケーブル。 これらのアクセサリはMacBookに含まれていないため、始める前に準備が整っていることを確認してください。
必要な工具と部品
ビデオの概要
-
この手順で使用する道具:Magnetic Project Mat$16.96
-
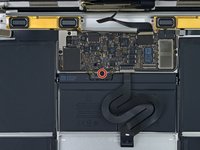
下部ケースを固定している次の8本のネジを取り外します:
-
2本の1.8 mm P5ペンタローブネジ
-
4本の2.9 mm P5ペンタローブネジ
-
2本の6.1 mm P5ペンタローブネジ
-
-
-
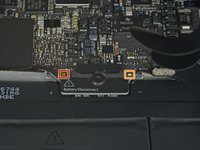
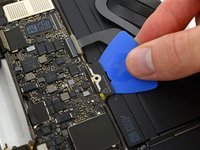
この手順で使用する道具:Battery Blocker$3.99
-
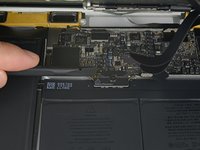
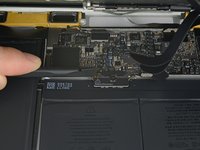
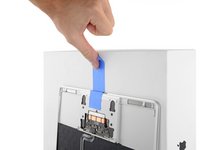
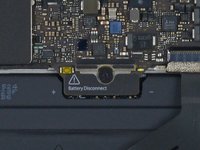
追加の予防策として、ロジックボードとバッテリーコネクタの間にバッテリー絶縁ピックを挿入して、バッテリーを物理的に外すことができます。
-
-
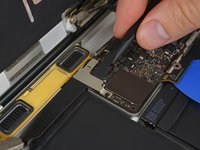
この手順で使用する道具:Tweezers$4.99
-
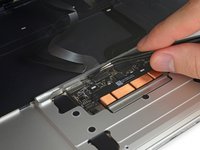
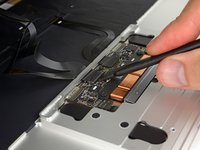
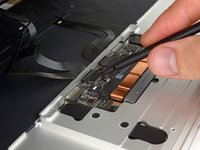
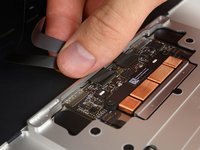
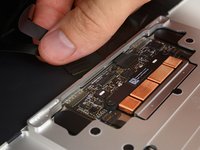
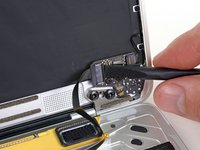
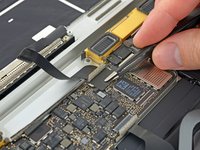
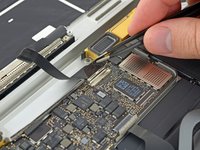
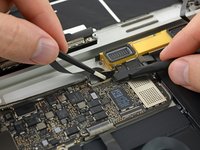
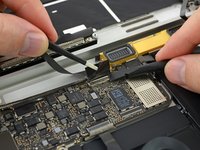
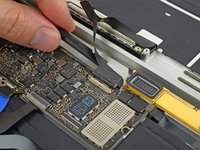
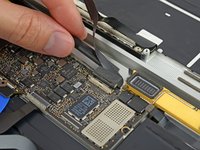
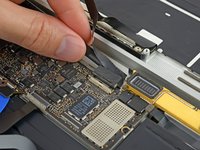
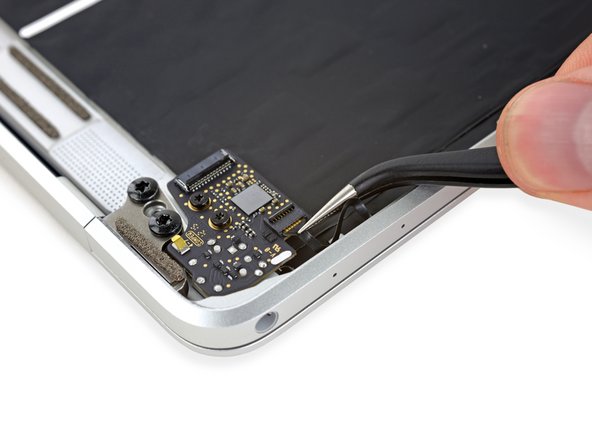
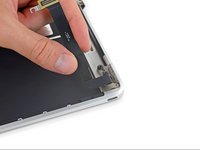
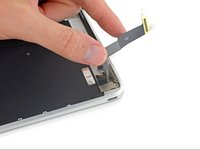
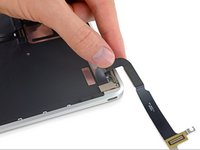
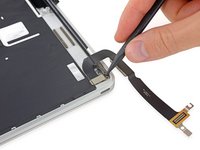
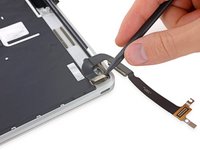
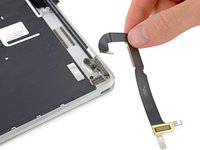
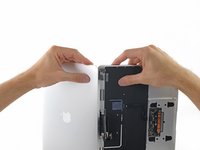
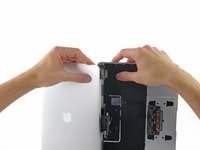
ピンセットを使って、ディスプレイケーブルコネクタを覆っているテープを剥がします。
-


デバイスを再組み立てするには、次の手順を逆の順序で実行します。 ロジックボードの損傷を防ぐために、MacBookの修理が完了したら、「電源を入れる前に」、5ワットのiPhone充電器とUSB-C-USB-Aケーブルを使用して[ガイド| 107711 |低電圧電源に接続|new_window=true]してください。
49 の人々がこのガイドを完成させました。
以下の翻訳者の皆さんにお礼を申し上げます:
100%

これらの翻訳者の方々は世界を修理する私たちのサポートをしてくれています。 あなたも貢献してみませんか?
翻訳を始める ›

22件のガイドコメント
thank you: very good and clear guiding through
Is there a guide to replace the LCD without replacing the entire shell with housing? Replacements for the LCD only are alt cheaper than buying the entire thing.
MrNewbhero - 返信
MrNewbhero - You probably can replace it without a full clamshell, however, be advised that the front glass acts as a part of the LCD and the layers underneath are just backlight pieces and so on. It's a very difficult job for a DIY
This repair is so nervewreaking. I suggest everyone to take your time and really make sure you're not rushing it, or you may break the connectors, as there's tape on everything almost breaking the connector when you remove the flex cable.
My screen bezel is tearing apart in pieces and got no damage, drop or else, since day 1 I use a UrbanArmor cover, how can I change it, I bought a replacement in eBay.