メインコンテンツにスキップ

ResMed VPAP Auto 25 Circuit Board Replacement

必要な工具と部品

  1. ResMed VPAP Auto 25 Circuit Board Replacement, Circuit Board: 手順 1、 3の画像 1 ResMed VPAP Auto 25 Circuit Board Replacement, Circuit Board: 手順 1、 3の画像 2 ResMed VPAP Auto 25 Circuit Board Replacement, Circuit Board: 手順 1、 3の画像 3
    • Remove the four 26.7 mm T3 Torx screws from the bottom side of the ResMed VPAP Auto 25.

  2. ResMed VPAP Auto 25 Circuit Board Replacement: 手順 2、 3の画像 1 ResMed VPAP Auto 25 Circuit Board Replacement: 手順 2、 3の画像 2 ResMed VPAP Auto 25 Circuit Board Replacement: 手順 2、 3の画像 3
    • Flip the device over.

    • Pry the outermost plastic cover off with the metal spudger until the cover is loose and able to be removed.

  3. ResMed VPAP Auto 25 Circuit Board Replacement: 手順 3、 2の画像 1 ResMed VPAP Auto 25 Circuit Board Replacement: 手順 3、 2の画像 2
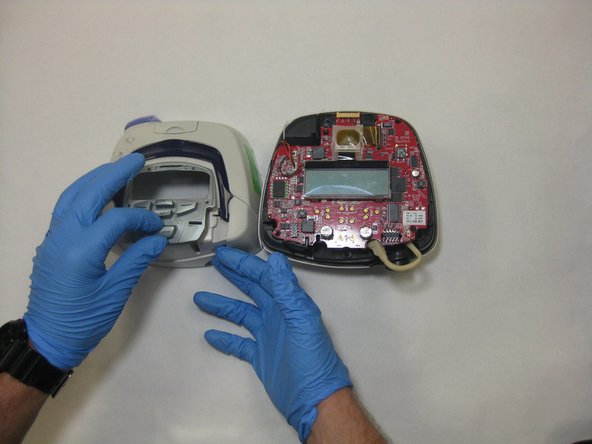
    • Pull off the front cover to reveal the internal components.

  4. ResMed VPAP Auto 25 Circuit Board Replacement: 手順 4、 3の画像 1 ResMed VPAP Auto 25 Circuit Board Replacement: 手順 4、 3の画像 2 ResMed VPAP Auto 25 Circuit Board Replacement: 手順 4、 3の画像 3
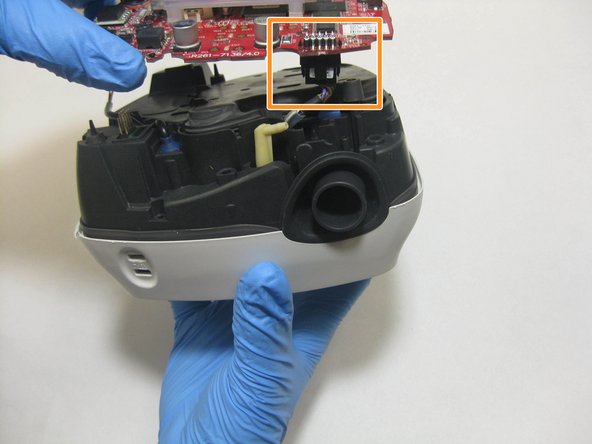
    • Loosen the motherboard from the rubber dowels holding it in place and unplug the screen components.

  5. ResMed VPAP Auto 25 Circuit Board Replacement: 手順 5、 3の画像 1 ResMed VPAP Auto 25 Circuit Board Replacement: 手順 5、 3の画像 2 ResMed VPAP Auto 25 Circuit Board Replacement: 手順 5、 3の画像 3
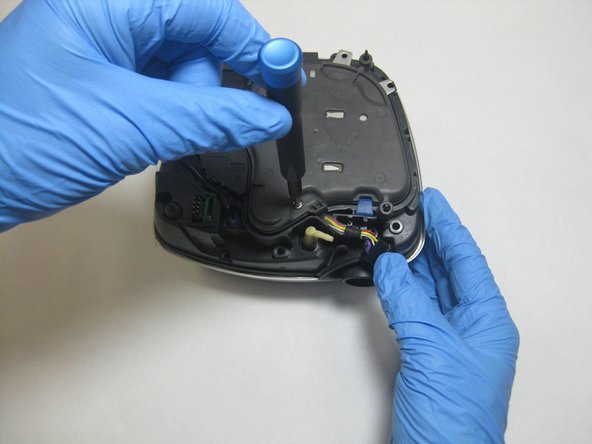
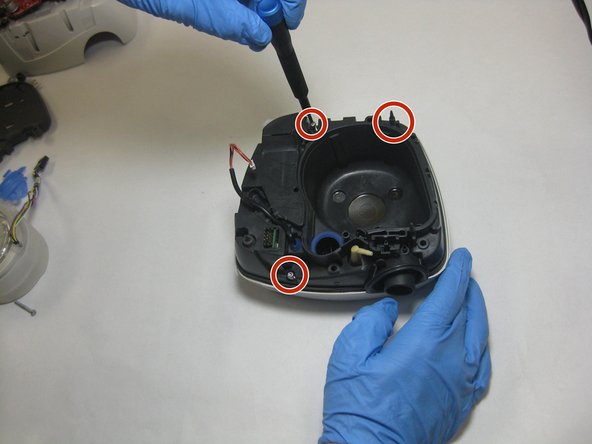
    • Remove the three 26.7 mm T3 Torx screws from the now visible rubber fan motor cover.

    • Lift off the rubber fan motor cover, revealing the fan motor.

  6. ResMed VPAP Auto 25 Circuit Board Replacement: 手順 6、 3の画像 1 ResMed VPAP Auto 25 Circuit Board Replacement: 手順 6、 3の画像 2 ResMed VPAP Auto 25 Circuit Board Replacement: 手順 6、 3の画像 3
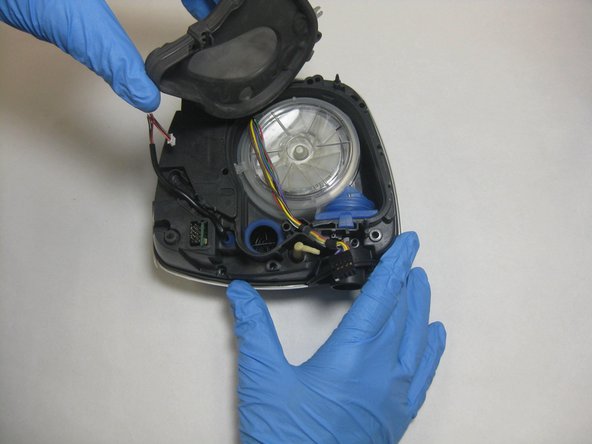
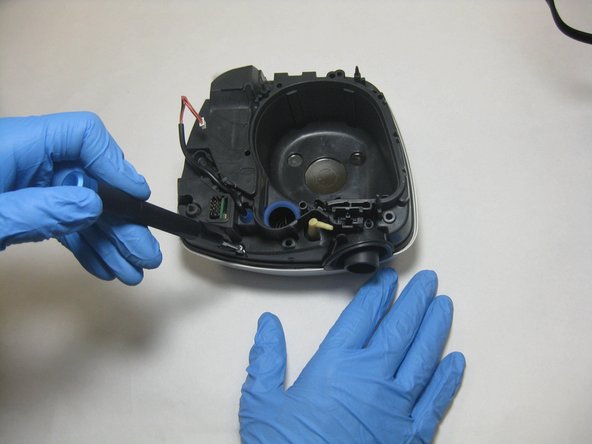
    • Remove the fan motor unit from its housing.

    • Remove the three 26.7 mm screws securing the motor housing to the bottom piece with a T3 Torx screwdriver.

  7. ResMed VPAP Auto 25 Circuit Board Replacement: 手順 7、 3の画像 1 ResMed VPAP Auto 25 Circuit Board Replacement: 手順 7、 3の画像 2 ResMed VPAP Auto 25 Circuit Board Replacement: 手順 7、 3の画像 3
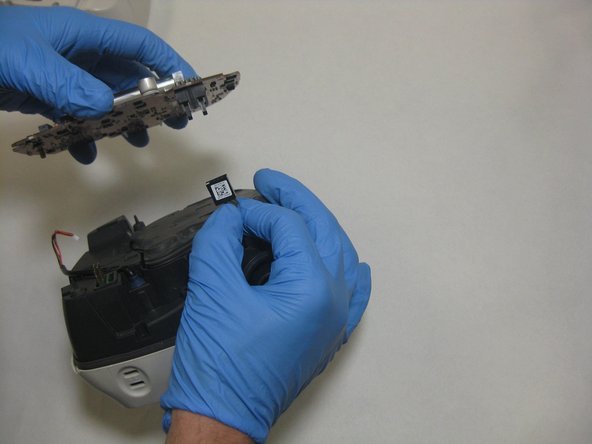
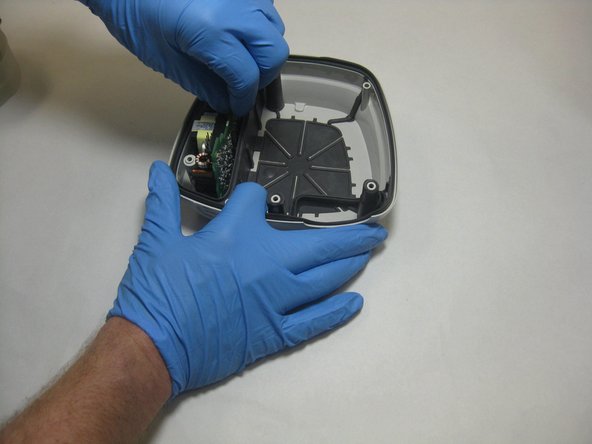
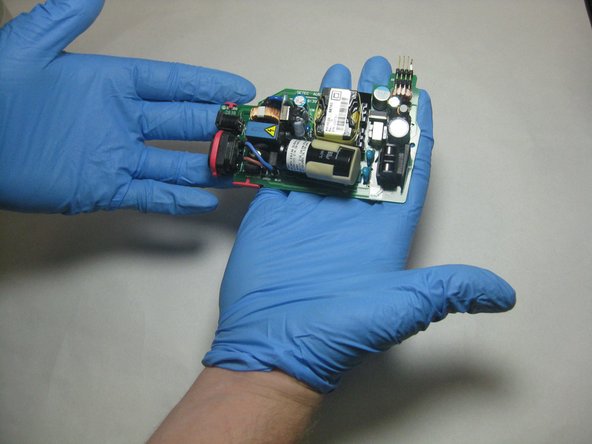
    • Pull out the fan motor housing from the bottom cover, revealing a foam insulation pad and the circuit board.

    • Slide the circuit board out of its plastic grooves in the bottom cover to retrieve the desired component.

終わりに

To reassemble your device, follow these instructions in reverse order.

作成者

1人の作成者と共同作成されました。

Jesse Murdaugh

メンバー登録日: 09/17/20

253 ポイント

2のガイドは作成済み

0 件のコメント

コメントを追加

統計データ:

過去 24時間: 0

過去 7 日: 1

過去 30 日: 2

今までの合計 224