はじめに
Various faults can occur on the heater: Leaks in the supply lines, defective heating or leaks (due to calcification). Depending on the fault, you may need to repair or replace the heater.
Note: The resistance of a heating loop is about 40 ohms, both together about 80 ohms. If this value is not correct, the heater is defective.
必要な工具と部品
-
-
Remove all attachments such as water tank, pulp drawer, brew group.
-
Remove the coffee container lid and take out all the coffee beans.
-
-
-
Lay the machine on its side with the water tank side facing up.
-
The side panel is essentially held on the ground by five strong catches. Pry up the pegs with a strong prying tool. It's pretty difficult and you need a lot of strength.
-
If the catches are loose, you can pull the side panel away from below. But it's still stuck in other places.
-
Use a plastic tool to pry the top cover up a few millimeters and lift off the side panel. Most of the time it's still stuck, especially at the front edge, you have to pull hard.
-
-
-
-
The rear panel is removed in a similar way to the side panel. To do this, lay the machine on its side with the floor facing you.
-
Use a powerful pry tool to loosen the three strong latches on the floor.
-
Put the machine back upright so the back is facing you
-
The back is locked in place like a bayonet with three locking lugs on the left. Lift the top up about 5mm and slide the back up about 5mm, it'll probably pinch a lot the first time. Then you can take them off.
-
-
-
Remove the flap above the brew group and the drawer for coffee powder now. Both often jam and you will need some force. Press the catches away if necessary.
-
Remove the side panel above the brew group in the same way as in the previous steps. (In the picture, the top cover and the bean container have also been removed. This is not necessary).
-
-
-
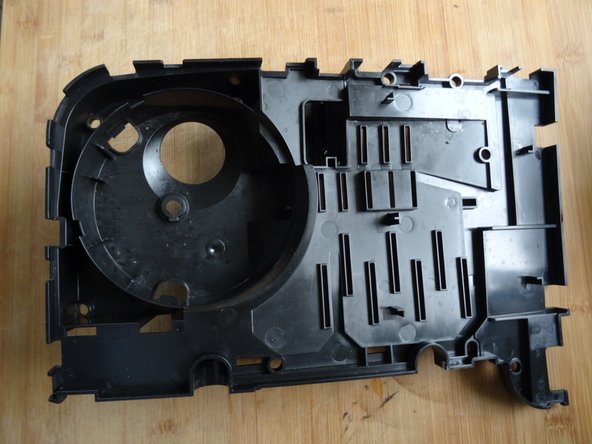
The entire upper part must now be removed. Here you can see the upper part for information, the bean container and top cover have been removed, which is not necessary.
-
The upper part is fastened with four catches and four tabs:
-
Latches
-
Tabs
-
-
-
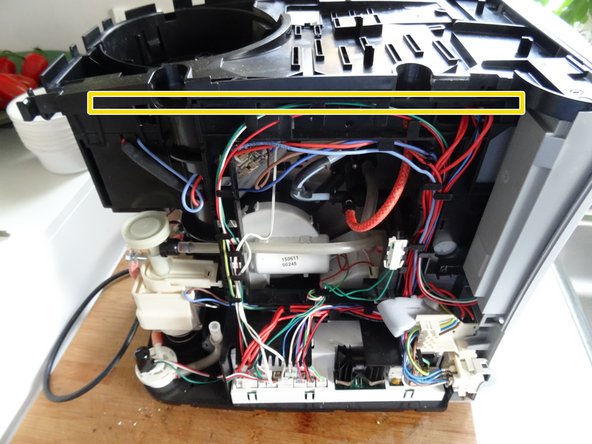
(Again, the lid and coffee container have been removed for better visibility). Insert an opening tool into the gap between the upper part and the rest of the machine, release the catches and tabs until the upper part can be separated. The catches are very tight and you may need to exert considerable force.
-
-
-
Pull off the blade terminals on the green/yellow grounding cables.
-
Unscrew the SW7 nut on the eyelet of the green/yellow ground cable on the thermal switch. Make sure that the switch does not fall off, it is best to secure it with the nut.
-
-
-
Disconnect the thermosensor plug from the electronics box.
-
Unplug the white cables to the thermal sensors.
-
-
-
Pull off the two flat plugs on the blue and brown supply lines.
-
-
-
Pull out the clip on the red pressure hose on the brewing valve.
-
Pull off the red pressure hose.
-
-
-
Position the machine so that the side with the brew group is facing you.
-
Remove the Torx T10 screw that holds the top bracket of the heater in place.
-
Reposition the machine.
-
Carefully pull the heater out upwards. It will then come out of the lower holder. Check whether the seal on the lower bracket needs to be replaced.
-


Work through the steps in reverse order to reassemble your device.
Work through the steps in reverse order to reassemble your device.
以下の翻訳者の皆さんにお礼を申し上げます:
100%

これらの翻訳者の方々は世界を修理する私たちのサポートをしてくれています。 あなたも貢献してみませんか?
翻訳を始める ›
チーム
