In this guide, we will demonstrate how to solder a new output jack on a Hofner Bass Guitar. This will require the use of a soldering iron. It is recommended that you review a guide to basic soldering before proceeding, as the step-by-step soldering procedure in this guide is not all-inclusive.
Using a Phillips #1 screwdriver, remove the jack plate from the bottom corner of the guitar.
Place the components in your container in order to keep track of them.
Proceed with soldering only when working in a well ventilated area.
Warning. When soldering, the tip and shaft of the soldering iron will become extremely hot. Avoid contact.
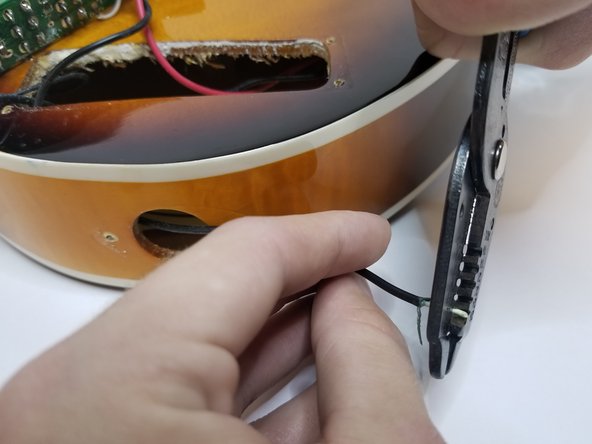
Using your soldering iron, melt the solder connecting the ground wire to the old jack.
Using your wire stripper tool, cut the end of the wire off.
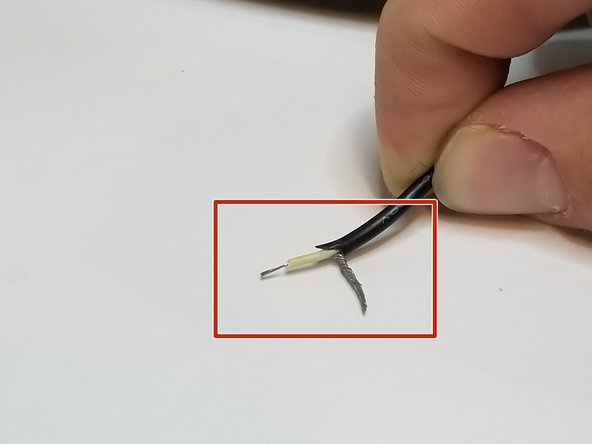
Then, strip the wire so it looks similar to the wire in the red box.
Now we will prep the wire for soldering.
Secure the wire using the helping hands tool.
Heat one of the conductors with the soldering iron.
Maintaining contact between the iron and wire, carefully apply solder to the conductor.
Repeat this process for the other conductor.
Next, prep the jack for soldering.
Secure the jack using the helping hands tool.
Apply the iron to the first conductor tab to heat it.
Now apply the solder to the heated tab.
Repeat this process for the second conductor tab.
Now we will proceed to solder the components.
Touch the hot wire to the hot conductor tab and heat with the soldering iron until they melt together.
Repeat this process, connecting the ground wire to the ground conductor tab.
Put the first nut on the output jack shaft.
Place the jack plate on the shaft.
Put the second nut on the shaft, tightening with a crescent wrench.
このガイドを埋め込む
サイズを選択し、以下のコードをコピーして、このガイドを小さなウィジェットとしてサイト/フォーラムに埋め込みます。
1つの手順
全ガイド
小サイズ - 600px
中サイズ - 800px
大サイズ - 1200px
プレビュー