メインコンテンツにスキップ

Replacement the WiFi card on Dell XPS 12 9Q23

必要な工具と部品

  1. Replacement the WiFi card on Dell XPS 12 9Q23, Battery: 手順 1、 1の画像 1
    • Pop the center cover open on the bottom cover.

    • Remove the center screw with a #00 Phillips screwdriver.

    • Use a T5 Torx screwdriver for the remaining screws around the edge of the bottom cover.

  2. Replacement the WiFi card on Dell XPS 12 9Q23: 手順 2、 1の画像 1
    • Carefully remove back panel after all screws have been removed.

  3. Replacement the WiFi card on Dell XPS 12 9Q23: 手順 3、 1の画像 1
    • After the back panel has been removed, disconnect the battery to prevent electrical shock

  4. Replacement the WiFi card on Dell XPS 12 9Q23: 手順 4、 1の画像 1
    • Use a Phillips #00 screwdriver to remove the 8 screws that secure the battery.

  5. Replacement the WiFi card on Dell XPS 12 9Q23, Remove the battery: 手順 5、 1の画像 1
    • Once all the screws have been removed the battery is now safe to extract

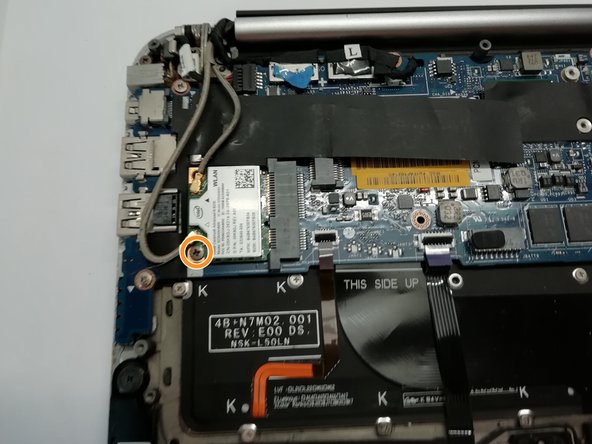
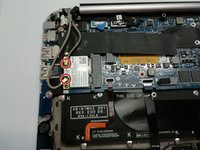
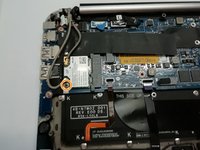
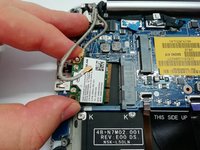
  6. Replacement the WiFi card on Dell XPS 12 9Q23, Remove the WiFi card: 手順 6、 3の画像 1 Replacement the WiFi card on Dell XPS 12 9Q23, Remove the WiFi card: 手順 6、 3の画像 2 Replacement the WiFi card on Dell XPS 12 9Q23, Remove the WiFi card: 手順 6、 3の画像 3
    • We removed the battery to avoid electric shocks.

    • Disconnect the two wires from the WiFi card. You can do this with a pair of pliers or your fingernail.

    • Remove the screw with a #00 Phillips screwdriver.

    • Now remove your WiFi card to replace it.

終わりに

To reassemble your device, follow the instructions in reverse order.

ある他の人がこのガイドを完成しました。

以下の翻訳者の皆さんにお礼を申し上げます:

fr en

100%

Schwarzerさんは世界中で修理する私たちを助けてくれています! あなたも貢献してみませんか?
翻訳を始める ›

作成者

1人の作成者と共同作成されました。

Schwarzer

メンバー登録日: 08/07/19

4,844 ポイント

13のガイドは作成済み

チーム

i.Fixit FR Team i.Fixit FR Team人のメンバー

Community

3 メンバー

40のガイドは作成済み

0 件のコメント

コメントを追加

統計データ:

過去 24時間: 0

過去 7 日: 2

過去 30 日: 12

今までの合計 468