メインコンテンツにスキップ

Replace LCD screen

アーカイブされたガイド
このガイドは将来的な使用のためにのみ保存されてます。ご自身の修理作業には更新バージョンをご利用ください。

必要な工具と部品

  1. Replace LCD screen, Battery: 手順 1、 3の画像 1 Replace LCD screen, Battery: 手順 1、 3の画像 2 Replace LCD screen, Battery: 手順 1、 3の画像 3
    • Open the latch on the right side that secures the battery in place.

    • Open the latch on the left side that secures the battery in place.

    • Now remove the battery.

  2. Replace LCD screen, LCD screen: 手順 2、 3の画像 1 Replace LCD screen, LCD screen: 手順 2、 3の画像 2 Replace LCD screen, LCD screen: 手順 2、 3の画像 3
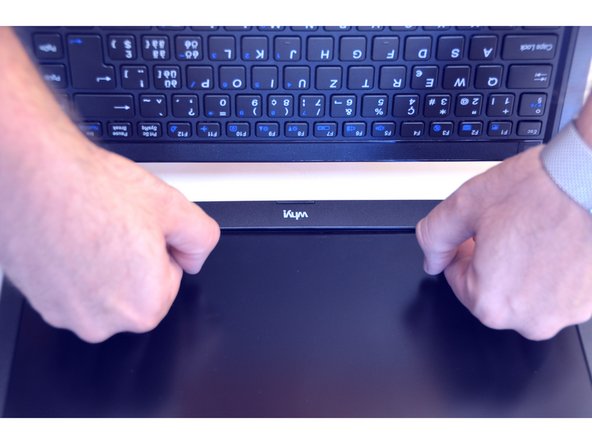
    • Carefully slide the nail between the frame and the glass of the screen.

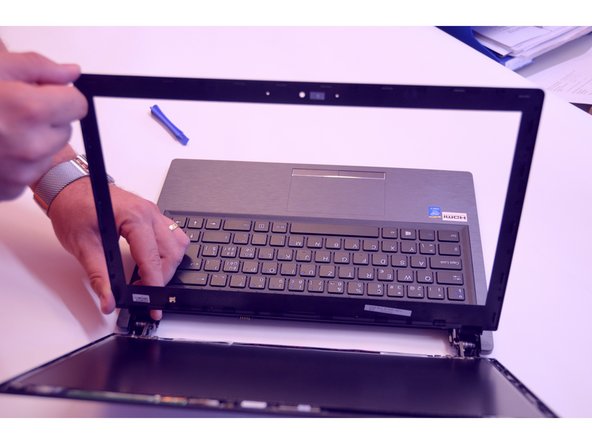
    • First clip off the mounting points of the LCD screen frame.

  3. Replace LCD screen: 手順 3、 3の画像 1 Replace LCD screen: 手順 3、 3の画像 2 Replace LCD screen: 手順 3、 3の画像 3
    • Free the LCD screen frame completely.

    • Locate and loosen the two upper mounting screws of the LCD screen.

    • Locate and loosen the two lower mounting screws of the LCD screen.

  4. Replace LCD screen: 手順 4、 3の画像 1 Replace LCD screen: 手順 4、 3の画像 2 Replace LCD screen: 手順 4、 3の画像 3
    • Carefully place the LCD screen on the keyboard.

    • Locate the plug of the LCD screen.

    • Free the fixing cable.

  5. Replace LCD screen: 手順 5、 2の画像 1 Replace LCD screen: 手順 5、 2の画像 2
    • Disconnect the cable from its plug.

    • Then lift out the LCD screen.

終わりに

To assemble the device again, proceed in reverse order.

以下の翻訳者の皆さんにお礼を申し上げます:

de en

100%

irlandaさんは世界中で修理する私たちを助けてくれています! あなたも貢献してみませんか?
翻訳を始める ›

作成者

2人の作成者と共同で作成されました。

Felice Suglia

メンバー登録日: 06/15/13

31,100 ポイント

264のガイドは作成済み

0 件のコメント

コメントを追加

統計データ:

過去 24時間: 0

過去 7 日: 1

過去 30 日: 1

今までの合計 572