メインコンテンツにスキップ

Repairing the audio amplifier

必要な工具と部品

  1. Repairing the audio amplifier, Repairing the audio amplifier: 手順 1、 3の画像 1 Repairing the audio amplifier, Repairing the audio amplifier: 手順 1、 3の画像 2 Repairing the audio amplifier, Repairing the audio amplifier: 手順 1、 3の画像 3
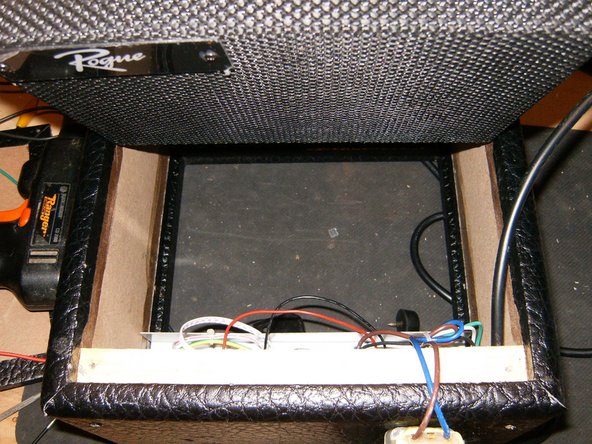
    • Here is the Amp in all its miniature glory. total size is 91/2 inches X 9 5/8inches and 6 inches deep. All controls are in the front panel.

    • Remove the 4 Phillips head screws from the back panel.

    • Here are the 4 #6x1" screws

  2. Repairing the audio amplifier: 手順 2、 3の画像 1 Repairing the audio amplifier: 手順 2、 3の画像 2 Repairing the audio amplifier: 手順 2、 3の画像 3
    • Remove the back panel. Use a small screwdriver, or other instrument to free it from its recess.

    • Work your way all around, since the back is a bit snug in the recess.

  3. Repairing the audio amplifier: 手順 3、 3の画像 1 Repairing the audio amplifier: 手順 3、 3の画像 2 Repairing the audio amplifier: 手順 3、 3の画像 3
    • Once the panel is freed from the recess, fold it down and remove from amp.

    • Something does not look quite right :-)

    • the transformer should be mounted to the PCB, not laying inside the box.

  4. Repairing the audio amplifier: 手順 4、 3の画像 1 Repairing the audio amplifier: 手順 4、 3の画像 2 Repairing the audio amplifier: 手順 4、 3の画像 3
    • Trying to find a mount for it.

    • Closer view of the control panel PCB.

    • Mount for the transformer

    • Unoccupied connector

    • Fuse

    • Before anything else, check the fuse for continuity. this one has failed.

  5. Repairing the audio amplifier: 手順 5、 3の画像 1 Repairing the audio amplifier: 手順 5、 3の画像 2 Repairing the audio amplifier: 手順 5、 3の画像 3
    • Replace the fuse. Insert transformer power cable to PCB.

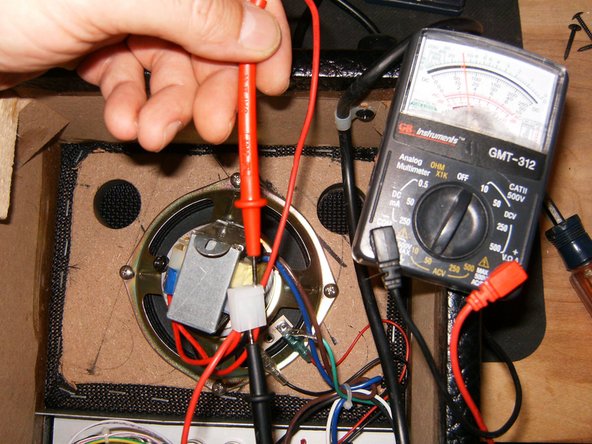
    • Since the Amp did not turn on, check the power out on the transformer. It does show 12V DC. Reconnect it and turn the Amp face forward.

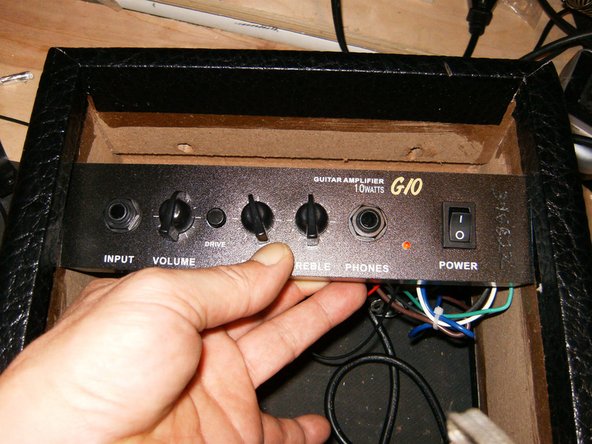
    • The Amp uses a 6.3mm input and output jack. Apply a sound source to the input. Still no sound from the Amp, it is time to check a bit deeper.

  6. Repairing the audio amplifier: 手順 6、 3の画像 1 Repairing the audio amplifier: 手順 6、 3の画像 2 Repairing the audio amplifier: 手順 6、 3の画像 3
    • Remove the two Philips head screws from the carrying handle.

    • Those are 3mm x40mm

    • Remove the Philips screw on the right side of the Amp

  7. Repairing the audio amplifier: 手順 7、 3の画像 1 Repairing the audio amplifier: 手順 7、 3の画像 2 Repairing the audio amplifier: 手順 7、 3の画像 3
    • Remove the Philips head screw on the left side of the Amp.

    • Unplug the speaker wires.

    • Remove the Philips head screw that holds the power cable bracket.

  8. Repairing the audio amplifier: 手順 8、 3の画像 1 Repairing the audio amplifier: 手順 8、 3の画像 2 Repairing the audio amplifier: 手順 8、 3の画像 3
    • Remove the front panel and the attached speaker.

    • Simply lift it at an angle out of the back of the Amp.

    • The control panel and the attached PCB can now be removed.

  9. Repairing the audio amplifier: 手順 9、 3の画像 1 Repairing the audio amplifier: 手順 9、 3の画像 2 Repairing the audio amplifier: 手順 9、 3の画像 3
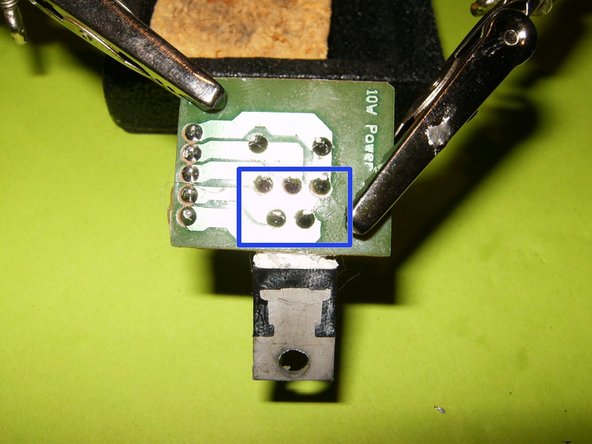
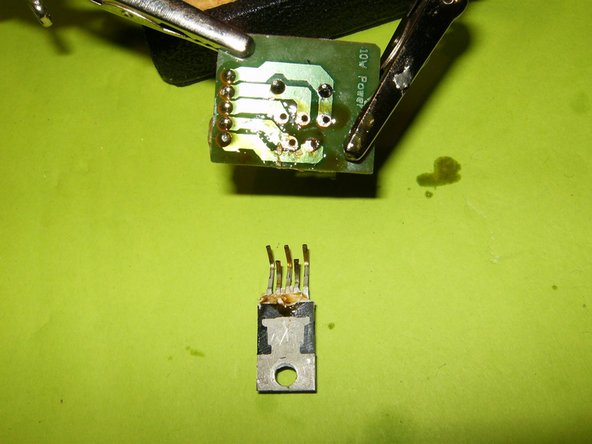
    • Another odd looking piece is the location of the power Amp IC.

    • The smudge marks of the thermal past revealed that the board was loose and the the IC did not make contact with the heatsink

    • The thread in the heatsink was partially stripped. Use a small jewelers screwdriver to wedge under the screw,while using a #2 Philips screwdriver to remove it.

  10. Repairing the audio amplifier: 手順 10、 3の画像 1 Repairing the audio amplifier: 手順 10、 3の画像 2 Repairing the audio amplifier: 手順 10、 3の画像 3
    • Remove the connector from the PCB.

    • Remove the IC PCB from the panel. The IC definitely shows some damage, most likely from overheating.

    • Here is a close up of the damaged IC. It is a TDA2030A 18 W hi-fi amplier / 35 W audio driver

  11. Repairing the audio amplifier: 手順 11、 3の画像 1 Repairing the audio amplifier: 手順 11、 3の画像 2 Repairing the audio amplifier: 手順 11、 3の画像 3
    • These are the tools needed to replace the IC. 15W Soldering iron, flux and desoldering wick.

    • These are the five contacts that need to be desoldered. Apply some flux on the wick and heat up the solder with the soldering iron.

    • Remove the damaged IC

  12. Repairing the audio amplifier: 手順 12、 3の画像 1 Repairing the audio amplifier: 手順 12、 3の画像 2 Repairing the audio amplifier: 手順 12、 3の画像 3
    • Insert wisdom here.

  13. Repairing the audio amplifier: 手順 13、 3の画像 1 Repairing the audio amplifier: 手順 13、 3の画像 2 Repairing the audio amplifier: 手順 13、 3の画像 3
    • Here is the replacement IC.

    • Place the IC properly on the PCB

    • Solder it in place.

  14. Repairing the audio amplifier: 手順 14、 2の画像 1 Repairing the audio amplifier: 手順 14、 2の画像 2
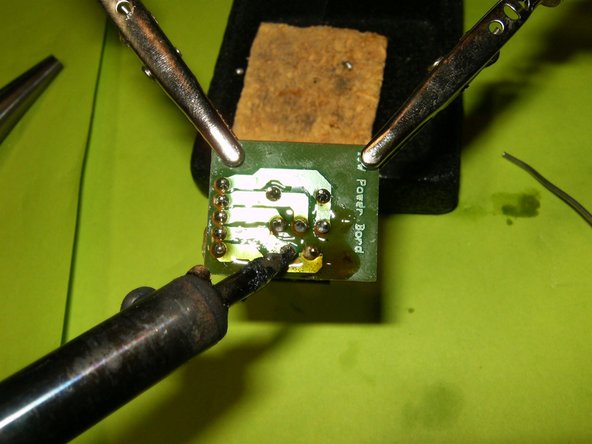
    • Reapply a thin coat of thermal paste to the back of the IC. Use a self tapping screw to attach it to the heatsink.

    • Now is also a good time to properly mount the transformer. I used some M3x15mm machine screws.

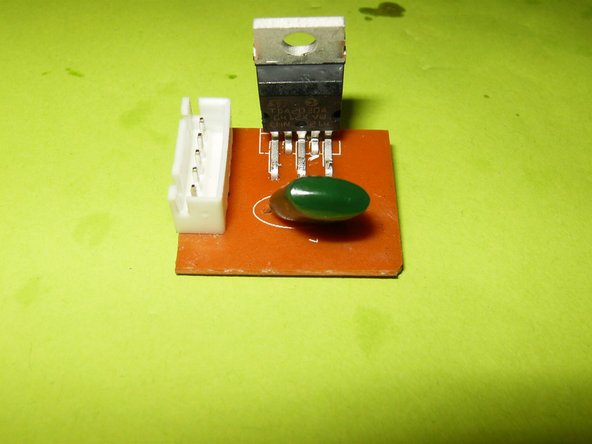
    • With those repairs made, all that is left is to reassemble the AMP. In my case, this Amp worked after replacing the TDA2030A

終わりに

To reassemble your device, follow these instructions in reverse order.

14 の人々がこのガイドを完成させました。

作成者

2人の作成者と共同で作成されました。

oldturkey03

メンバー登録日: 09/29/10

781,610 ポイント

119のガイドは作成済み

チーム

Global Fixers Global Fixers人のメンバー

Community

32 メンバー

531のガイドは作成済み

コメント 1 件

Good Job! Very detailed, narratives good, and photos were excellent for a learning tool. Matt of Martins TV Repair.

Matt Martin - 返信

コメントを追加

統計データ:

過去 24時間: 0

過去 7 日: 9

過去 30 日: 38

今までの合計 21,246