メインコンテンツにスキップ

Repairing a Clogged MakerBot Smart Extruder+

必要な工具と部品

  1. Repairing a Clogged MakerBot Smart Extruder+, Repairing a Clogged MakerBot Smart Extruder+: 手順 1、 1の画像 1
    • Place the extruder on a flat surface with the connection pins facing up.

  2. Repairing a Clogged MakerBot Smart Extruder+: 手順 2、 1の画像 1
    • Remove the 4 screws on the outer edge of the extruder using the 2 mm hex wrench.

  3. Repairing a Clogged MakerBot Smart Extruder+: 手順 3、 2の画像 1 Repairing a Clogged MakerBot Smart Extruder+: 手順 3、 2の画像 2
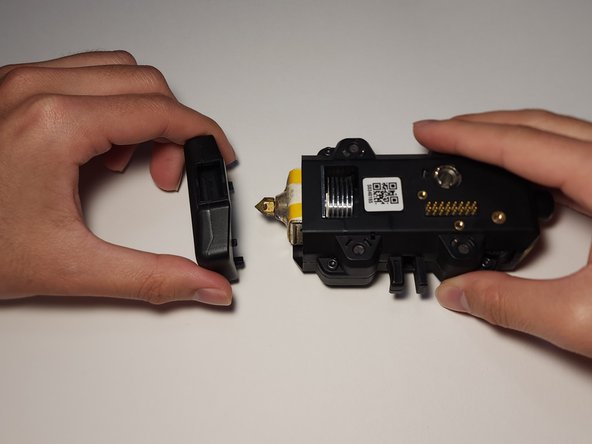
    • Remove the fan shroud from the extruder.

  4. Repairing a Clogged MakerBot Smart Extruder+: 手順 4、 2の画像 1 Repairing a Clogged MakerBot Smart Extruder+: 手順 4、 2の画像 2
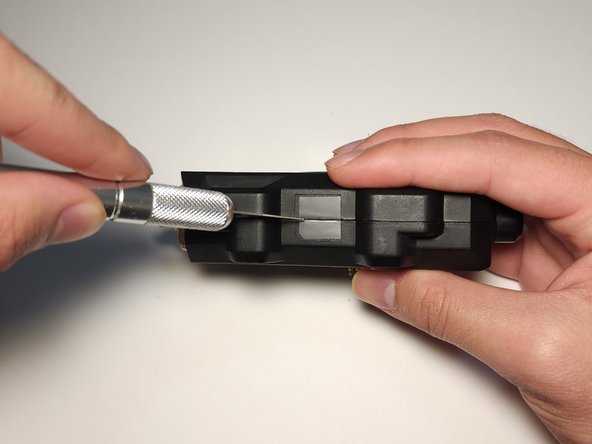
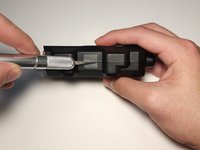
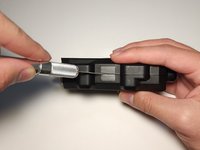
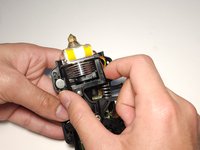
    • Turn the extruder on its side and cut through the black seal using the X-ACTO Knife.

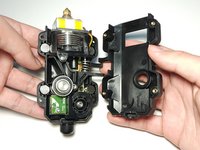
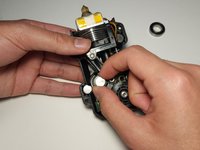
  5. Repairing a Clogged MakerBot Smart Extruder+: 手順 5、 2の画像 1 Repairing a Clogged MakerBot Smart Extruder+: 手順 5、 2の画像 2
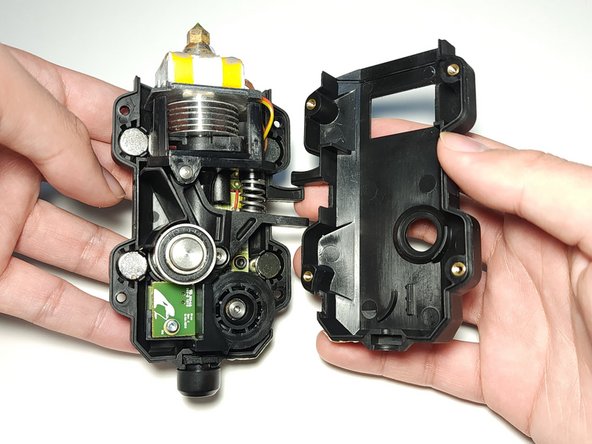
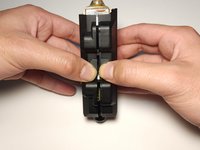
    • Gently pull the two halves of the extruder apart.

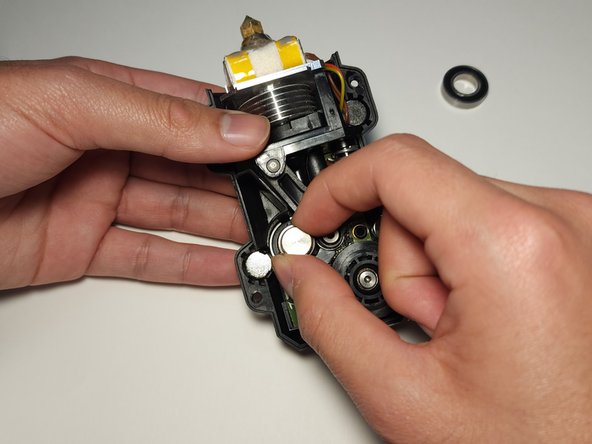
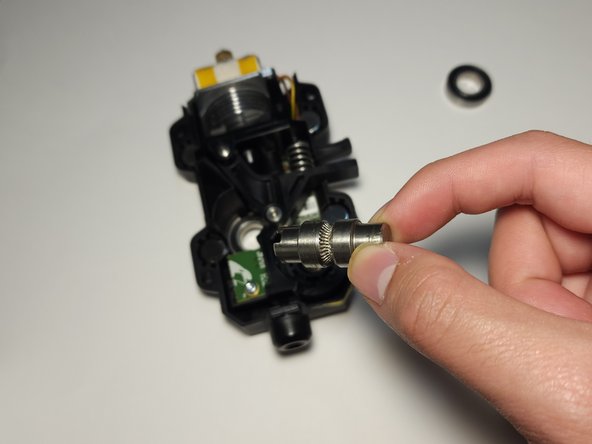
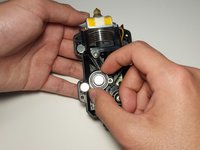
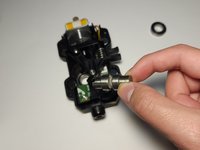
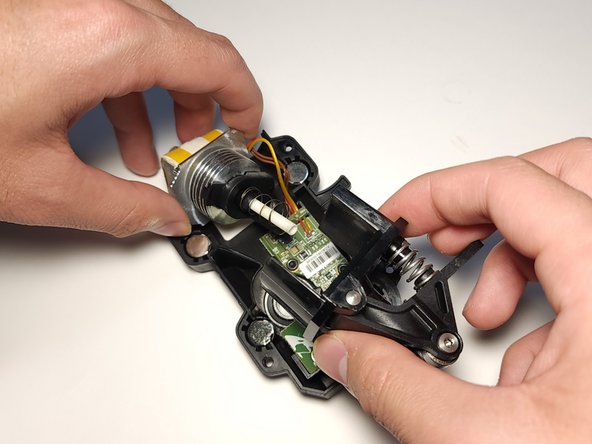
  6. Repairing a Clogged MakerBot Smart Extruder+: 手順 6、 3の画像 1 Repairing a Clogged MakerBot Smart Extruder+: 手順 6、 3の画像 2 Repairing a Clogged MakerBot Smart Extruder+: 手順 6、 3の画像 3
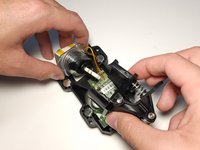
    • Remove the bearing and the hobbed bolt.

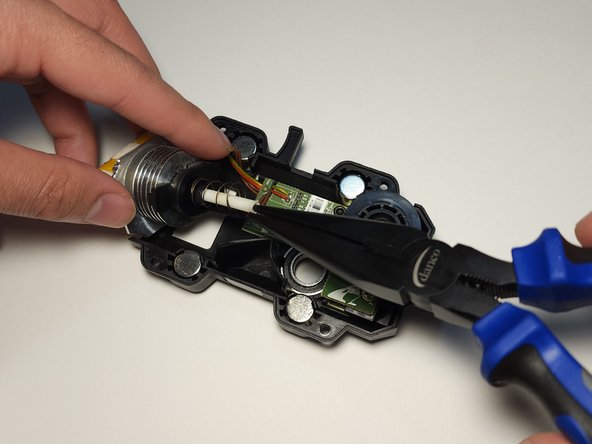
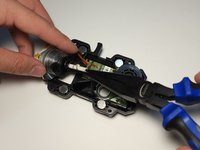
  7. Repairing a Clogged MakerBot Smart Extruder+: 手順 7、 3の画像 1 Repairing a Clogged MakerBot Smart Extruder+: 手順 7、 3の画像 2 Repairing a Clogged MakerBot Smart Extruder+: 手順 7、 3の画像 3
    • Remove the freed nozzle and use needle nose pliers to pull out the filament that is clogging the extruder.

終わりに

To reassemble your device, follow these instructions in reverse order.

作成者

2人の作成者と共同で作成されました。

Aidan Tadeo

メンバー登録日: 01/26/23

145 ポイント

1ガイドが承認済み

チーム

UC Davis, Team 1-6, Morris Winter 2023 UC Davis, Team 1-6, Morris Winter 2023人のメンバー

UCD-MORRIS-W23S1G6

2 メンバー

2のガイドは作成済み

0 件のコメント

コメントを追加

統計データ:

過去 24時間: 0

過去 7 日: 1

過去 30 日: 42

今までの合計 455