このバージョンは誤った内容を含んでいる可能性があります。最新の承認済みスナップショットに切り替えてください。
必要な工具と部品


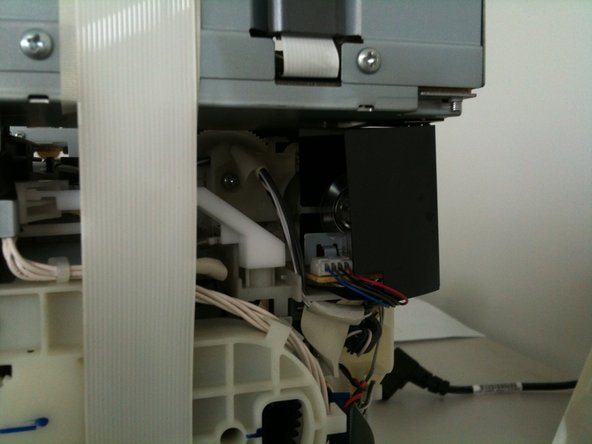


もう少しです!
ゴール
16 の人々がこのガイドを完成させました。
14 件のコメント
Perfect. I used this guide to disassemble my printer.
I had 0xF1 and/or 0xF4. The reason was some paper stuck between the gears of the paper feed (in this guide step 12).
I hope this hint will help others. I didn't find any info about these error code online.
Error descriptions I found here - http://www.fatalerrors.info/
muito obrigado pela ajuda