メインコンテンツにスキップ

Repairing Alarm Clock Clock Projector

必要な工具と部品

  1. Repairing Alarm Clock Clock Projector, The issue: 手順 1、 1の画像 1
    • The Problem: here I should read 12:47

  2. Repairing Alarm Clock Clock Projector: 手順 2、 2の画像 1 Repairing Alarm Clock Clock Projector: 手順 2、 2の画像 2
    • After removing the 2 screws on the bottom, carefully open the bottom frame, see location of the plastic snaps snaps

  3. Repairing Alarm Clock Clock Projector: 手順 3、 3の画像 1 Repairing Alarm Clock Clock Projector: 手順 3、 3の画像 2 Repairing Alarm Clock Clock Projector: 手順 3、 3の画像 3
    • Removes the back panel, taking care of the other plastic snaps

    • The projector and its optics is shown in the blue square

  4. Repairing Alarm Clock Clock Projector, The optics: 手順 4、 3の画像 1 Repairing Alarm Clock Clock Projector, The optics: 手順 4、 3の画像 2 Repairing Alarm Clock Clock Projector, The optics: 手順 4、 3の画像 3
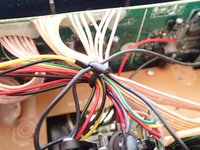
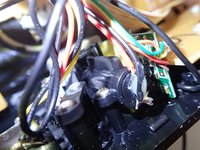
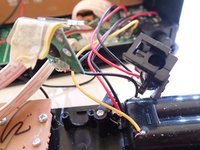
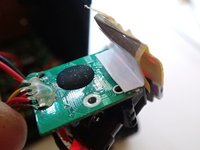
    • cables are tied together with a simple ribbon, in general the inner construction seems very cheap

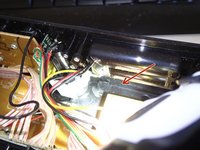
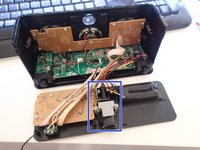
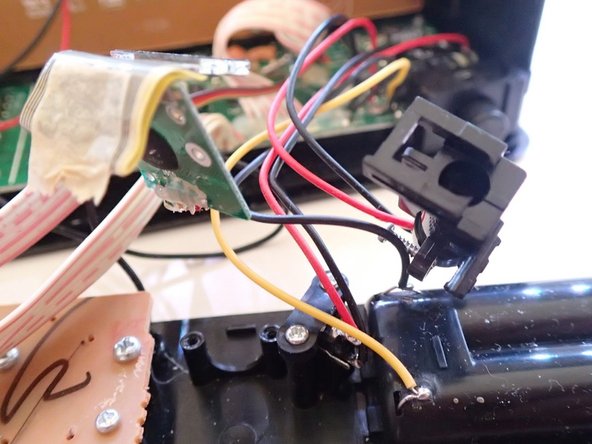
    • The Projector is made of three parts:

    • A red LED

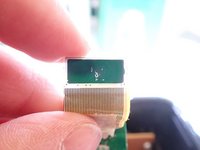
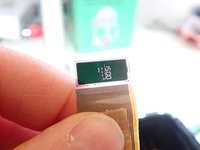
    • The display with its controller

    • the lens with focus mechanics

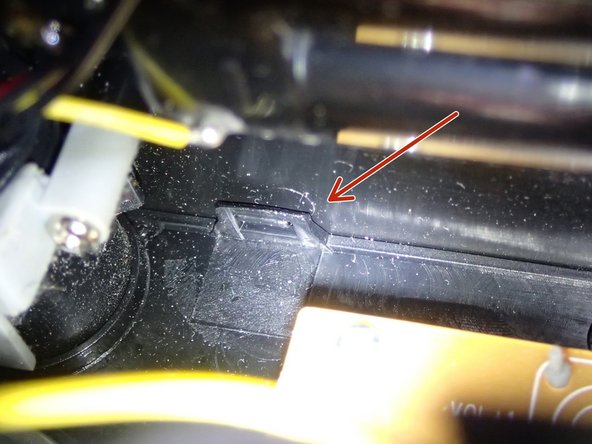
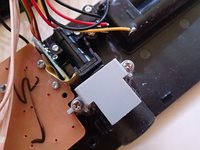
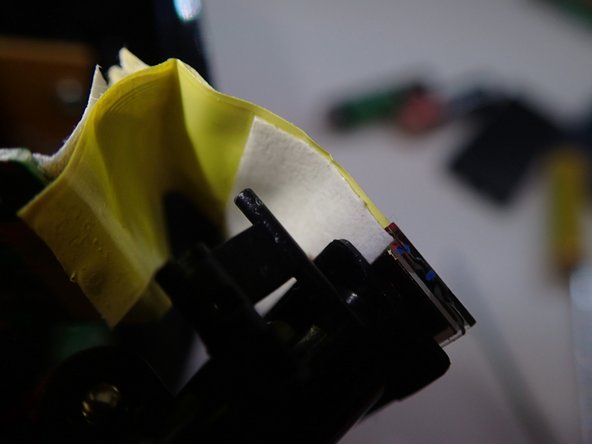
    • All parts are kept by tiny screws that you have to remove

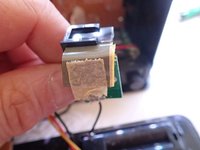
    • Take extra caution when handling the display, the flat cable is very weak and can be damaged by improper handling

  5. Repairing Alarm Clock Clock Projector: 手順 5、 3の画像 1 Repairing Alarm Clock Clock Projector: 手順 5、 3の画像 2 Repairing Alarm Clock Clock Projector: 手順 5、 3の画像 3
    • Carefully remove display from its supporting frame

    • The issue should be ralated to flat cable connecting display to controller

  6. Repairing Alarm Clock Clock Projector: 手順 6、 3の画像 1 Repairing Alarm Clock Clock Projector: 手順 6、 3の画像 2 Repairing Alarm Clock Clock Projector: 手順 6、 3の画像 3
    • Verify that moving the flat the display returns to work

    • put a stiffner on controller side and close to the display

    • if everything is working, reassemble the clock by doing the steps in reverse order

  7. Repairing Alarm Clock Clock Projector: 手順 7、 1の画像 1
    • Problem solved.

終わりに

To reassemble your device, follow these instructions in reverse order.

6 の人々がこのガイドを完成させました。

作成者

3人の作成者と共同で作成されました。

Andrea Gangemi

メンバー登録日: 04/26/15

172 ポイント

1ガイドが承認済み

6 件のコメント

The clock projection displays only partial numbers.one number is missing. The face on the clock displays perfect. It's just The projection on the wall that's missing a digit

eacoch - 返信

my Peakeep clock keeps the correct time but you can't see the time clearly. It's as if the light is turned off.

serena williams - 返信

Thank you for this post! It was the exact starting point to fix my projection clock which was looking dull and had lost a few segments. While the addition of supporting tape helped for a short period, doing it again in conjunction with Step 6 of the following link (http://www.instructables.com/id/How-to-r...) - Applying heat - to the ribbon contact points was the ticket that restored my projection clock functionality.

Adam - 返信

Hi Adam, glad to helped you

Andrea Gangemi -

The display on my clock is missing parts of a number but project correct time , help ?

mandzb87 - 返信

コメントを追加

統計データ:

過去 24時間: 1

過去 7 日: 29

過去 30 日: 105

今までの合計 12,590