はじめに
These instructions tell you how to extract the brewing unit.
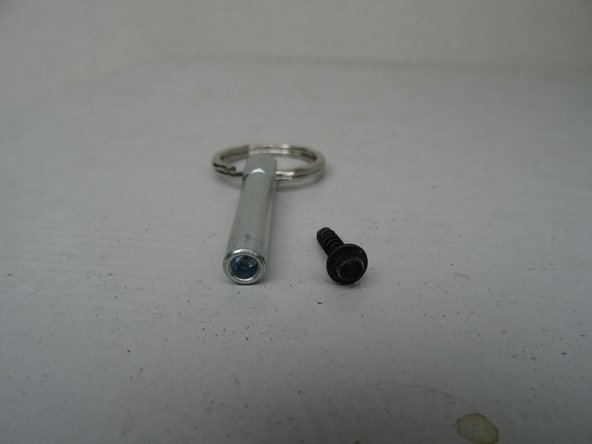
必要な工具と部品
-
-
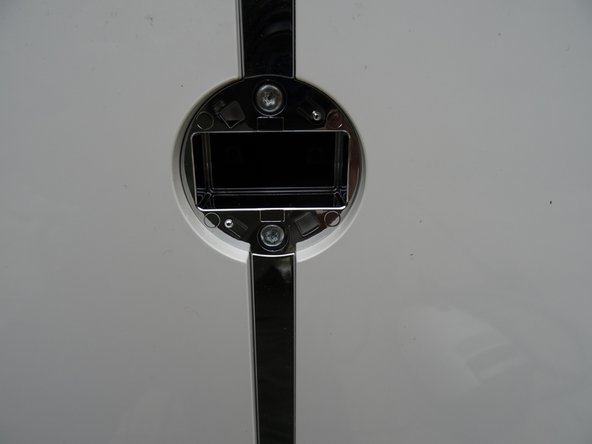
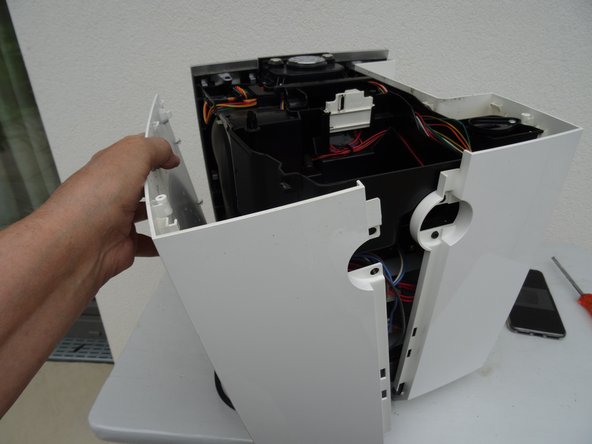
Remove the water tank and the drip tray. Remove all coffee beans from the storage container.
-
-


もう少しです!
Work your way through the instructions in reverse to re-assemble the device.
終わりに
Work your way through the instructions in reverse to re-assemble the device.
ある他の人がこのガイドを完成しました。

チーム
