はじめに
This guide will show you how to remove the back cover of your Removing Creative Zen Vision W.
必要な工具と部品
-
-
Push the black button and slide the battery casing to the left simultaneously, until the battery is completely separated from the device.
 FixBotに聞いてみる
-
-
-
Remove the 2 screws (3.5 mm) on the Compact Flash insert, located on the left hand side, with a Phillips #000 screwdriver.
-
-
-
-
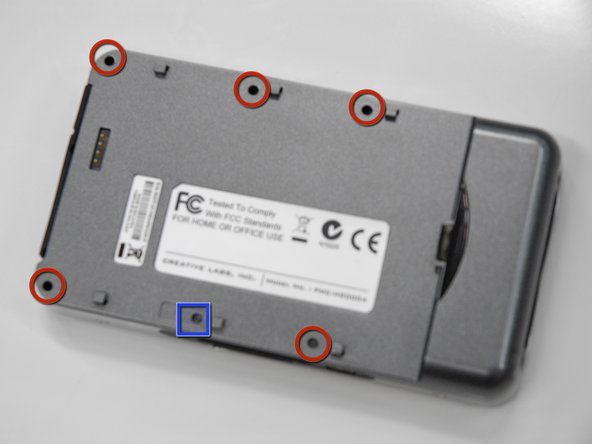
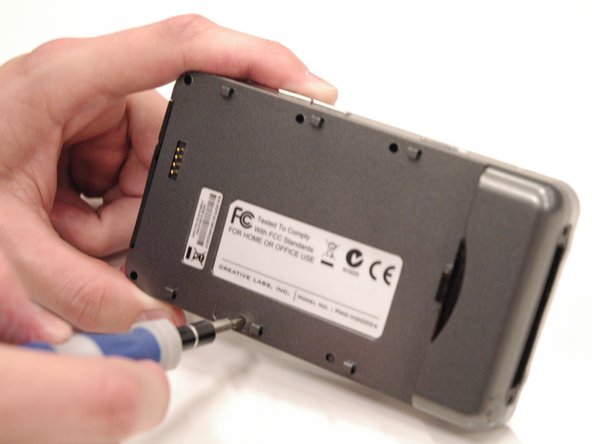
Remove the 5 screws (5.5 mm), circled in red, using a Phillips #0. Use a flashlight if necessary.
-
Peel off the sticker that says "Creative warranty void if broken" and remove the screw (5.5 mm) underneath with a Phillips #0.
-
-
-
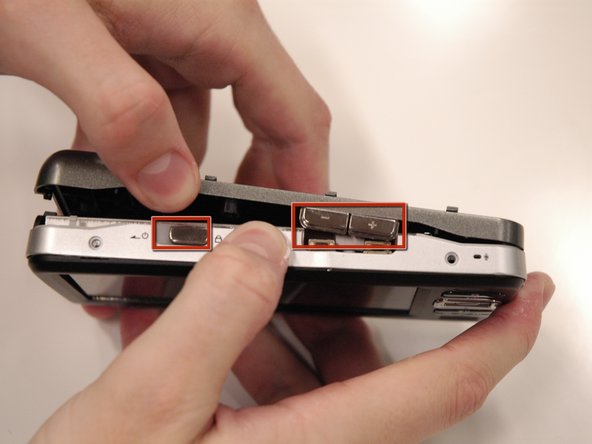
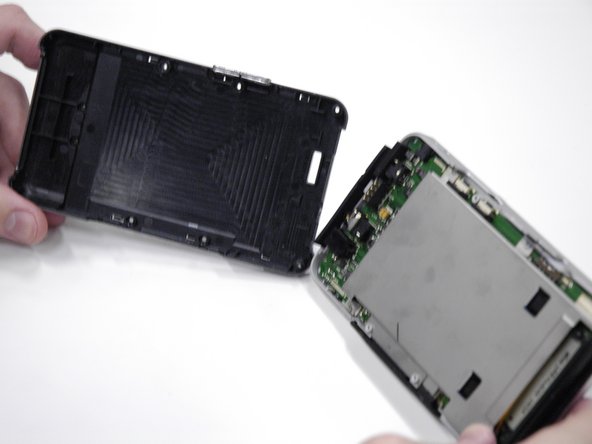
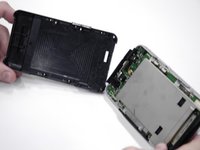
Carefully pull the back cover off of the rest of the device.
-
The volume control buttons and power slider may fall off when removing the cover, do not lose these small pieces.
-
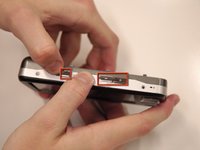
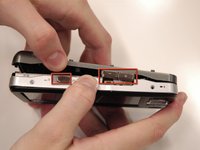
The USB input cover on the bottom of the device may also fall off.
-



To reassemble your device, follow these instructions in reverse order.

チーム

Cal Poly, Team 17-2, Regan Spring 2013 Cal Poly, Team 17-2, Regan Spring 2013人のメンバー
CPSU-REGAN-S13S17G2
4 メンバー
8のガイドは作成済み
