メインコンテンツにスキップ

Remove the Screen

必要な工具と部品

  1. Remove the Screen, Remove Screws: 手順 1、 3の画像 1 Remove the Screen, Remove Screws: 手順 1、 3の画像 2 Remove the Screen, Remove Screws: 手順 1、 3の画像 3
    • Remove the screws from the bottom, right, and left side of camera.

  2. Remove the Screen, Remove back: 手順 2、 1の画像 1
    • Remove the back of the camera, this may require force.

  3. Remove the Screen, Remove Metal Bracket: 手順 3、 1の画像 1
    • Unscrew the right metal bracket of the viewing lens

  4. Remove the Screen, Remove front of camera: 手順 4、 1の画像 1
    • Unscrew the top right corner screw

  5. Remove the Screen: 手順 5、 1の画像 1
    • Unscrew the bottom right corner screw.

  6. Remove the Screen: 手順 6、 2の画像 1 Remove the Screen: 手順 6、 2の画像 2
    • Pull the grey circular facet that sits on the bottom outside of the camera off - may have to use force.

  7. Remove the Screen: 手順 7、 2の画像 1 Remove the Screen: 手順 7、 2の画像 2
    • Pull the front of the camera off of the mother board.

  8. Remove the Screen, Remove the Screen: 手順 8、 1の画像 1
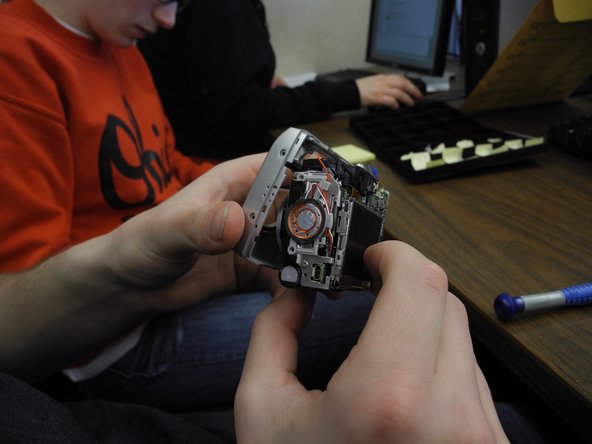
    • Unhinge the outer case of the screen from the back of the camera. The screen should still be hanging by wires.

  9. Remove the Screen: 手順 9、 1の画像 1
    • Remove outer case/rim of screen from the back of the camera. The screen should still be hanging by the red wire and white wire.

  10. Remove the Screen: 手順 10、 1の画像 1
    • Pull out the red wire and white wire attaching the screen to the motherboard.

  11. Remove the Screen: 手順 11、 1の画像 1
    • Flip up black lever holding data cable to motherboard, and remove data cable from motherboard.

終わりに

To reassemble your device, follow these instructions in reverse order.

ある他の人がこのガイドを完成しました。

作成者

3人の作成者と共同で作成されました。

Melissa

メンバー登録日: 02/12/13

240 ポイント

2のガイドは作成済み

チーム

Ohio State, Team 1-2, Buehl Spring 2013 Ohio State, Team 1-2, Buehl Spring 2013人のメンバー

OSU-BUEHL-S13S1G2

2 メンバー

7のガイドは作成済み

0 件のコメント

コメントを追加

統計データ:

過去 24時間: 0

過去 7 日: 0

過去 30 日: 6

今までの合計 368