はじめに
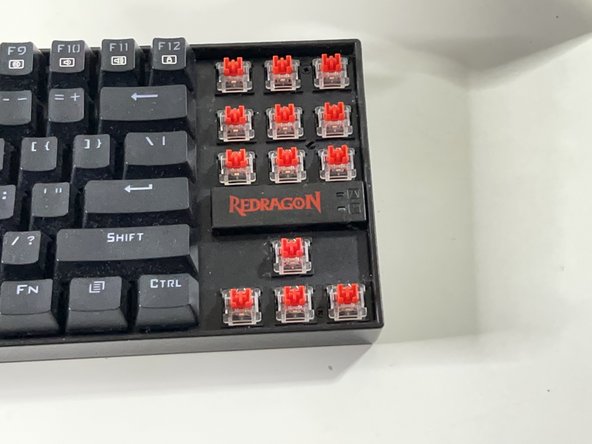
Replace defective key switches on a Redragon K552 keyboard using this guide.
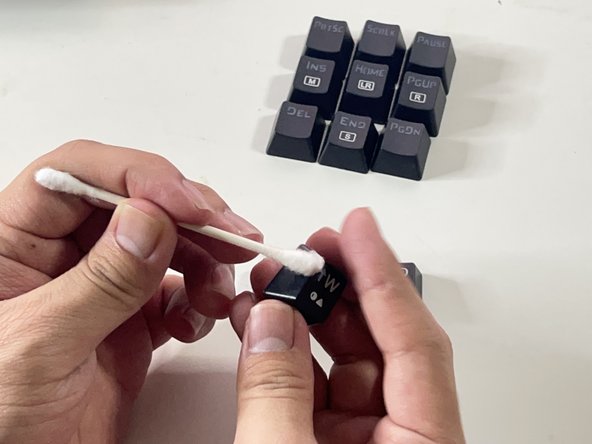
If a specific key does not work properly when using the keyboard, it might be a malfunctioning key switch, or dust may have built up. After replacing the faulty key switches and cleaning the keyboard, the keyboard will operate properly again.
No special skills are required.
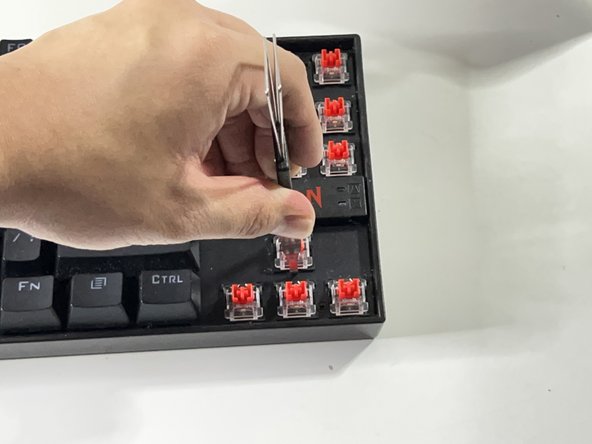
Use appropriate replacement switches with the keyboard. Any Outemu-brand key switch will work for this keyboard.
必要な工具と部品


ある他の人がこのガイドを完成しました。
チーム

CSU Los Angeles, Team 6-2, Briggs Spring 2022 CSU Los Angeles, Team 6-2, Briggs Spring 2022人のメンバー
CSULA-BRIGGS-S22S6G2
1 メンバー
2のガイドは作成済み