メインコンテンツにスキップ

RedOctane X-Plorer Whammy Bar Replacement

必要な工具と部品

  1. RedOctane X-Plorer Whammy Bar Replacement, Rear Case: 手順 1、 2の画像 1 RedOctane X-Plorer Whammy Bar Replacement, Rear Case: 手順 1、 2の画像 2
    • Remove the strap by pulling it off of the mounts located on the body and neck.

  2. RedOctane X-Plorer Whammy Bar Replacement: 手順 2、 3の画像 1 RedOctane X-Plorer Whammy Bar Replacement: 手順 2、 3の画像 2 RedOctane X-Plorer Whammy Bar Replacement: 手順 2、 3の画像 3
    • Remove the nine 12mm Phillips #1 screws around the perimeter of the case with a screwdriver.

    • Remove the two 15mm Phillips #1 screws connecting the body panel to the neck panel with a screwdriver.

    • These screws can also be Torx on some models.

    • Pull off the rear case.

  3. RedOctane X-Plorer Whammy Bar Replacement: 手順 3、 3の画像 1 RedOctane X-Plorer Whammy Bar Replacement: 手順 3、 3の画像 2 RedOctane X-Plorer Whammy Bar Replacement: 手順 3、 3の画像 3
    • Remove the five 12mm Phillips #1 screws along the neck with a screwdriver.

    • Pull off the top shell of the neck to expose the internal features.

  4. RedOctane X-Plorer Whammy Bar Replacement, Whammy Bar: 手順 4、 3の画像 1 RedOctane X-Plorer Whammy Bar Replacement, Whammy Bar: 手順 4、 3の画像 2 RedOctane X-Plorer Whammy Bar Replacement, Whammy Bar: 手順 4、 3の画像 3
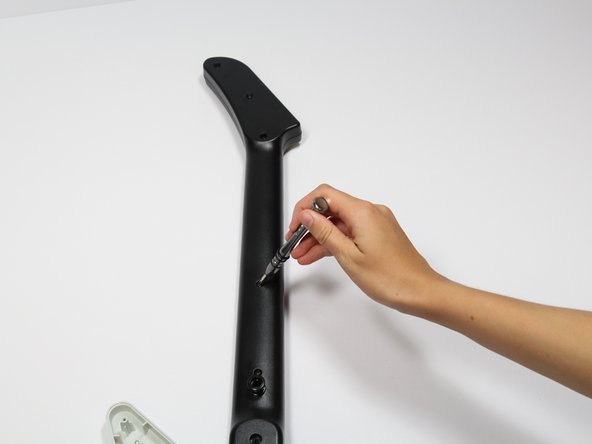
    • Remove the two 7mm Phillips #2 screws from the black wire retainer.

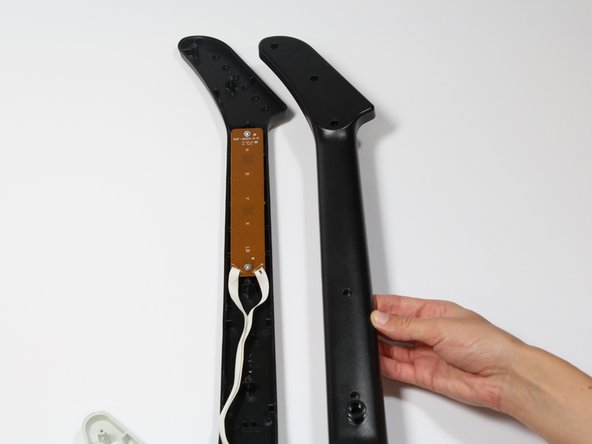
    • Pull off the black wire retainer.

  5. RedOctane X-Plorer Whammy Bar Replacement: 手順 5、 1の画像 1
    • Reach one finger under the guitar to push the whammy bar and its attached components from the case.

  6. RedOctane X-Plorer Whammy Bar Replacement: 手順 6、 2の画像 1 RedOctane X-Plorer Whammy Bar Replacement: 手順 6、 2の画像 2
    • Remove both of the plastic side tabs by gently pulling them off.

  7. RedOctane X-Plorer Whammy Bar Replacement: 手順 7、 1の画像 1
    • Remove the two plastic tabs from the whammy bar casing.

    • Keep the spring connected to the plastic tabs throughout this step.

  8. RedOctane X-Plorer Whammy Bar Replacement: 手順 8、 1の画像 1
    • Using two hands, remove the spring from the plastic tabs.

終わりに

To reassemble your device, follow these instructions in reverse order.

3 の人々がこのガイドを完成させました。

作成者

4人の作成者と共同で作成されました。

[deleted]

メンバー登録日: 04/18/18

175 ポイント

1ガイドが承認済み

0 件のコメント

コメントを追加

統計データ:

過去 24時間: 3

過去 7 日: 21

過去 30 日: 95

今までの合計 3,524