メインコンテンツにスキップ

Reattaching Delphi MyFi XM2GO Antenna Connectors

必要な工具と部品

  1. Reattaching Delphi MyFi XM2GO Antenna Connectors, Battery Cover: 手順 1、 3の画像 1 Reattaching Delphi MyFi XM2GO Antenna Connectors, Battery Cover: 手順 1、 3の画像 2 Reattaching Delphi MyFi XM2GO Antenna Connectors, Battery Cover: 手順 1、 3の画像 3
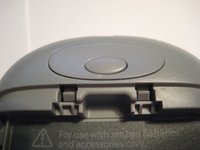
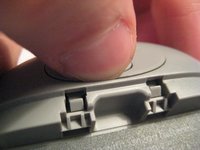
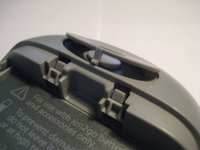
    • Locate the large button on the top of the device.

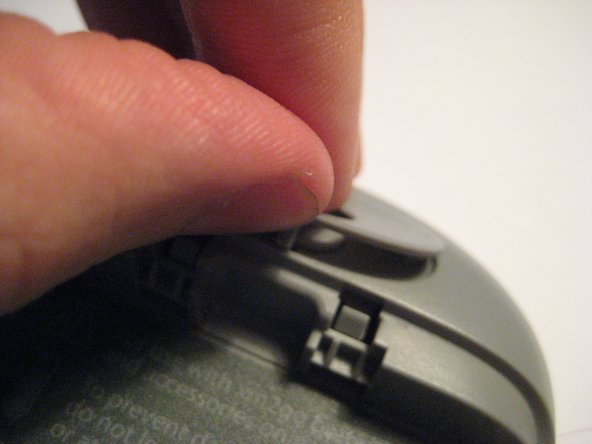
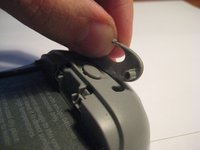
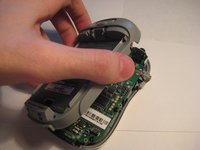
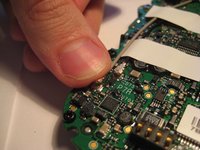
    • Push down on the button and slide the cover away from the button.

    • The battery removal tab may pop up.

  2. Reattaching Delphi MyFi XM2GO Antenna Connectors, Battery: 手順 2、 3の画像 1 Reattaching Delphi MyFi XM2GO Antenna Connectors, Battery: 手順 2、 3の画像 2 Reattaching Delphi MyFi XM2GO Antenna Connectors, Battery: 手順 2、 3の画像 3
    • Grab the red pull tab and pull down to unlock the latch.

    • Pull the battery out.

  3. Reattaching Delphi MyFi XM2GO Antenna Connectors, Motherboard: 手順 3、 2の画像 1 Reattaching Delphi MyFi XM2GO Antenna Connectors, Motherboard: 手順 3、 2の画像 2
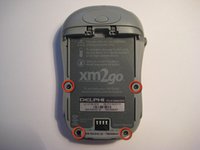
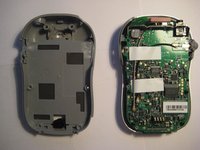
    • Remove the four screws from the bottom of the device using a T6 Torx screwdriver.

  4. Reattaching Delphi MyFi XM2GO Antenna Connectors: 手順 4、 3の画像 1 Reattaching Delphi MyFi XM2GO Antenna Connectors: 手順 4、 3の画像 2 Reattaching Delphi MyFi XM2GO Antenna Connectors: 手順 4、 3の画像 3
    • Remove the button cover on the back of the device by prying it up with a spudger or your thumb nail.

  5. Reattaching Delphi MyFi XM2GO Antenna Connectors: 手順 5、 3の画像 1 Reattaching Delphi MyFi XM2GO Antenna Connectors: 手順 5、 3の画像 2 Reattaching Delphi MyFi XM2GO Antenna Connectors: 手順 5、 3の画像 3
    • Remove the two screws under the button using the T6 Torx screwdriver.

  6. Reattaching Delphi MyFi XM2GO Antenna Connectors: 手順 6、 2の画像 1 Reattaching Delphi MyFi XM2GO Antenna Connectors: 手順 6、 2の画像 2
    • Remove the back cover.

  7. Reattaching Delphi MyFi XM2GO Antenna Connectors: 手順 7、 2の画像 1 Reattaching Delphi MyFi XM2GO Antenna Connectors: 手順 7、 2の画像 2
    • Remove the power button by pulling it to the left.

  8. Reattaching Delphi MyFi XM2GO Antenna Connectors: 手順 8、 2の画像 1 Reattaching Delphi MyFi XM2GO Antenna Connectors: 手順 8、 2の画像 2
    • Remove the plastic antenna extension connector on the right side of the device.

  9. Reattaching Delphi MyFi XM2GO Antenna Connectors: 手順 9、 3の画像 1 Reattaching Delphi MyFi XM2GO Antenna Connectors: 手順 9、 3の画像 2 Reattaching Delphi MyFi XM2GO Antenna Connectors: 手順 9、 3の画像 3
    • Pull up on the motherboard to remove it from the device.

    • The LCD screen and keypad are only connected to the motherboard with ribbon cables. They will hang down as the motherboard is removed.

  10. Reattaching Delphi MyFi XM2GO Antenna Connectors, Reattaching Delphi MyFi XM2GO Antenna Connectors: 手順 10、 2の画像 1 Reattaching Delphi MyFi XM2GO Antenna Connectors, Reattaching Delphi MyFi XM2GO Antenna Connectors: 手順 10、 2の画像 2
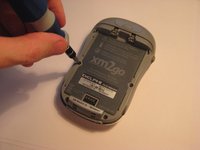
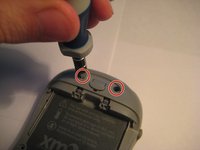
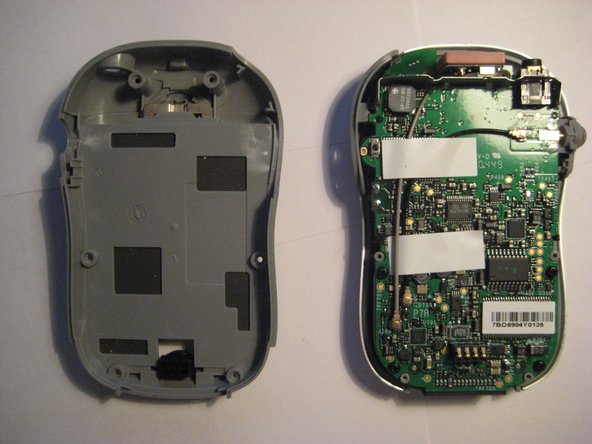
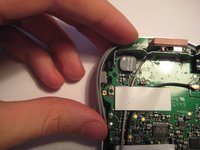
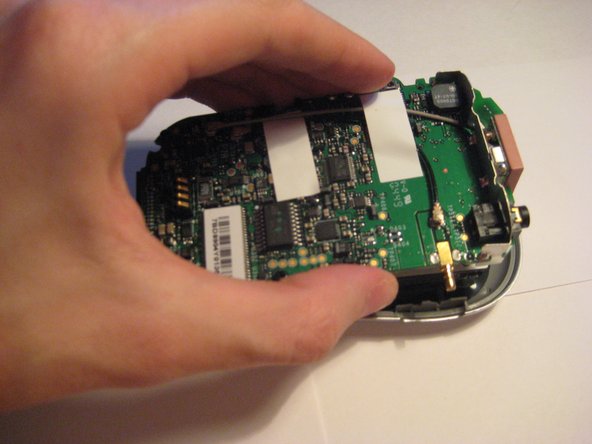
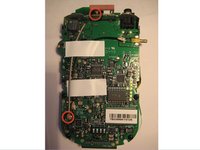
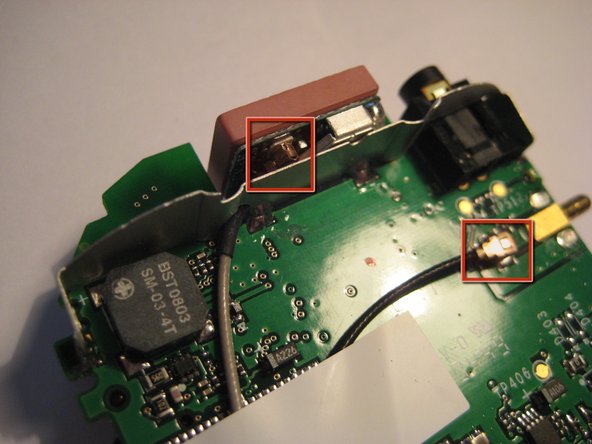
    • In the first picture, a connection may be seen with the black cable connecting the external antenna connector to the internal logic board (PCB) via U.FL connectors. The connectors on the ends of the cable are circled in red.

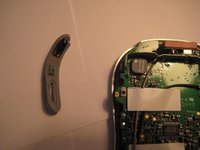
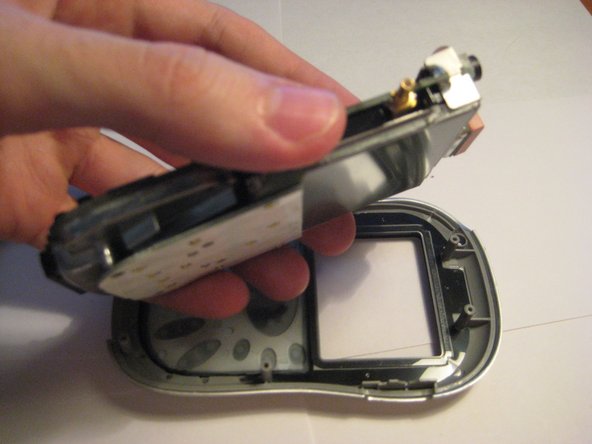
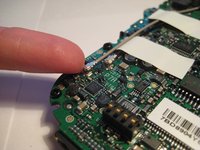
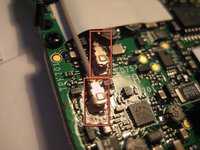
    • In the second picture, a connection may be seen with the with the gray cable connecting the external antenna connector to the internal logic board (PCB) via U.FL connectors. The connectors on the ends of the cable are circled in red.

  11. Reattaching Delphi MyFi XM2GO Antenna Connectors: 手順 11、 3の画像 1 Reattaching Delphi MyFi XM2GO Antenna Connectors: 手順 11、 3の画像 2 Reattaching Delphi MyFi XM2GO Antenna Connectors: 手順 11、 3の画像 3
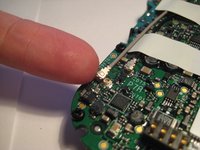
    • These antenna cables may need to be replaced should the connection drop from the XM Satellite service.

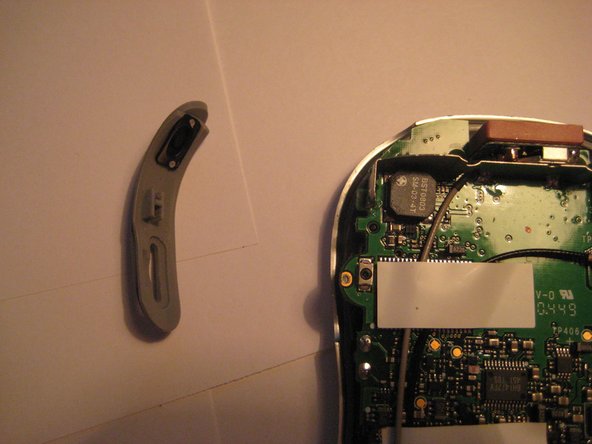
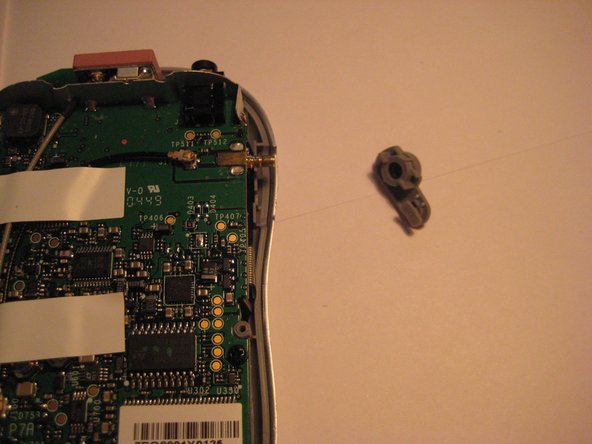
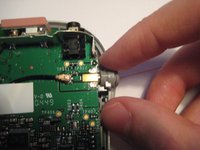
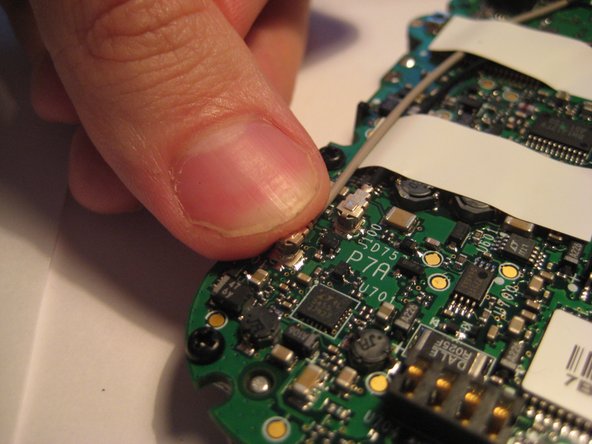
    • To remove, catch the side of the connector with a fingernail moving upward until the connectors pops up from the board.

    • After the U.FL connector is loose, center the new connector cable over the mating U.FL connector and press down firmly.

    • CAUTION: The connectors are delicate, so take much care when reconnecting.

  12. Reattaching Delphi MyFi XM2GO Antenna Connectors: 手順 12、 2の画像 1 Reattaching Delphi MyFi XM2GO Antenna Connectors: 手順 12、 2の画像 2
    • The U.FL antenna connectors should be secure and immobile as shown in the pictures.

    • Try moving them back and forth on the board to assure they are secure.

    • The U.FL antenna connectors are shown to be secure in the pictures highlighted with red boxes.

終わりに

To reassemble your device, follow these instructions in reverse order.

作成者

4人の作成者と共同で作成されました。

RoNique Staley

メンバー登録日: 03/09/12

21 ポイント

1ガイドが承認済み

チーム

Clemson, Team 1-2, Benson Spring 2012 Clemson, Team 1-2, Benson Spring 2012人のメンバー

CLEM-BENSON-S12S1G2

3 メンバー

9のガイドは作成済み

0 件のコメント

コメントを追加

統計データ:

過去 24時間: 0

過去 7 日: 1

過去 30 日: 4

今までの合計 2,543